[ad_1]
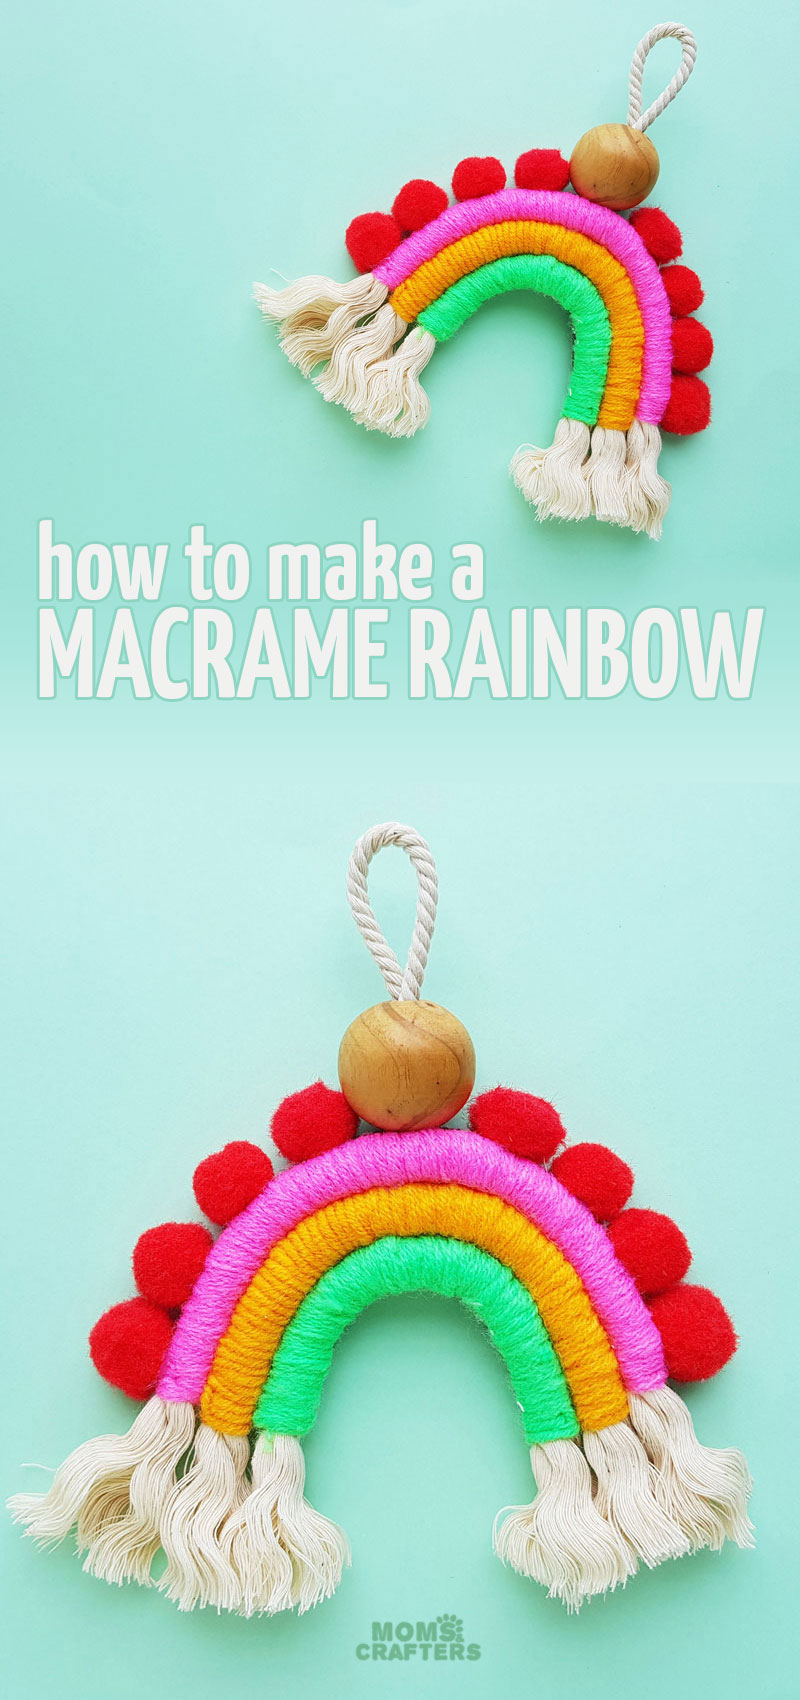
It’s easy to make a macrame rainbow – or ten- using this super easy tutorial! Hang it in your nursery, or get your teen unplugged and then check out more easy and cool crafts for teens ! This post contains commissioned links.
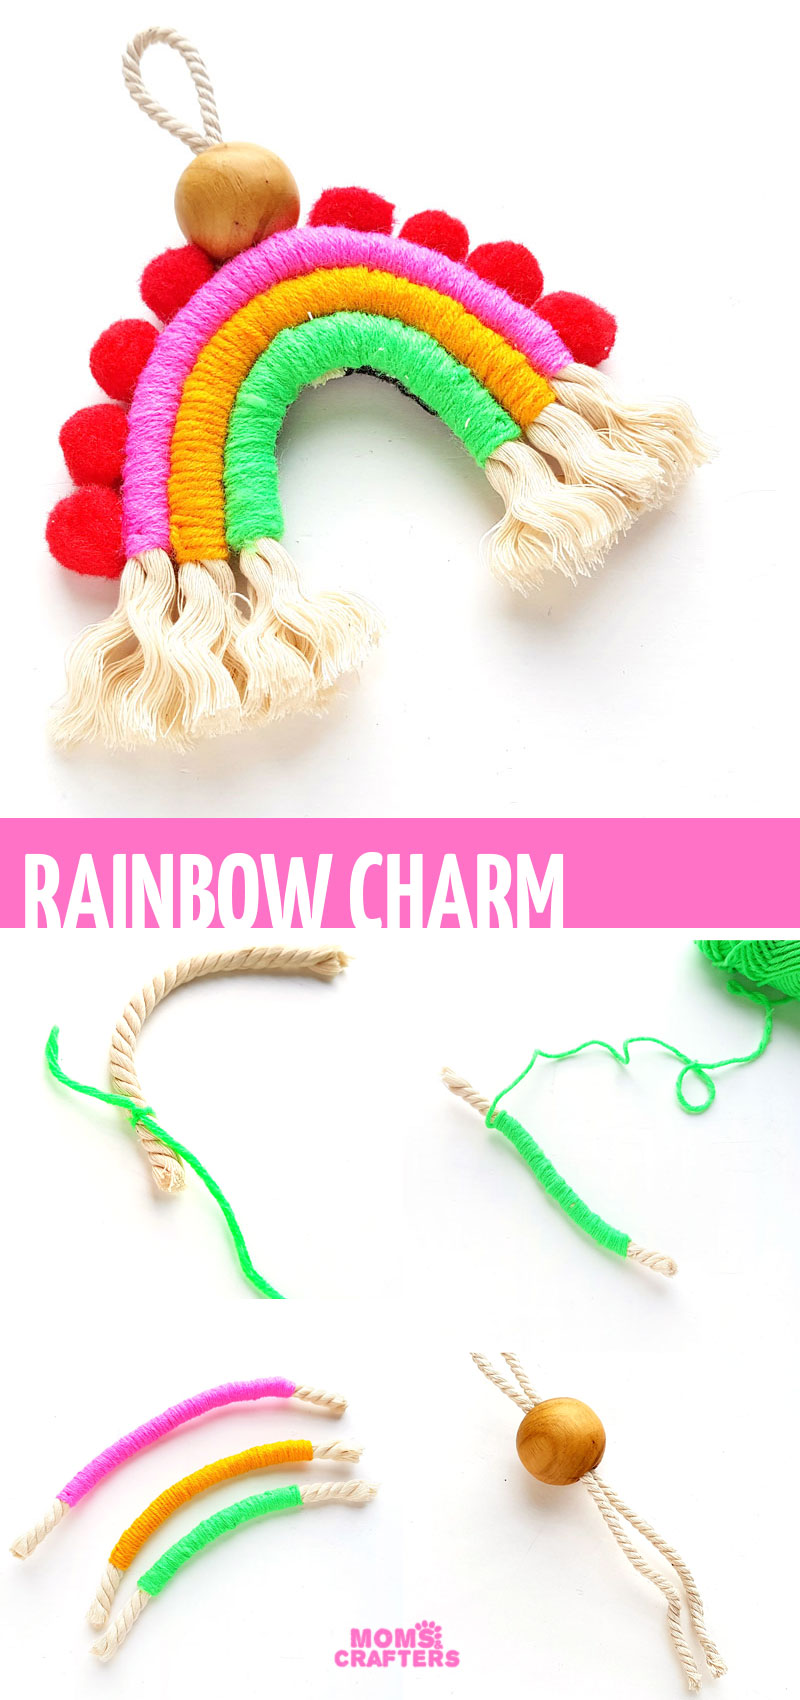
If you or your kid wants to get started with macrame crafts, this rainbow macrame charm/hanging is the perfect place to start.
Here’s why:
- It’s so happy. I mean, if I had to find a craft that fit into the one word “happy” this is definitely it!
- It’s easy. A lot easier than it looks.
- It’s a super trendy craft right now.
- It doesn’t even cost a ton to make!
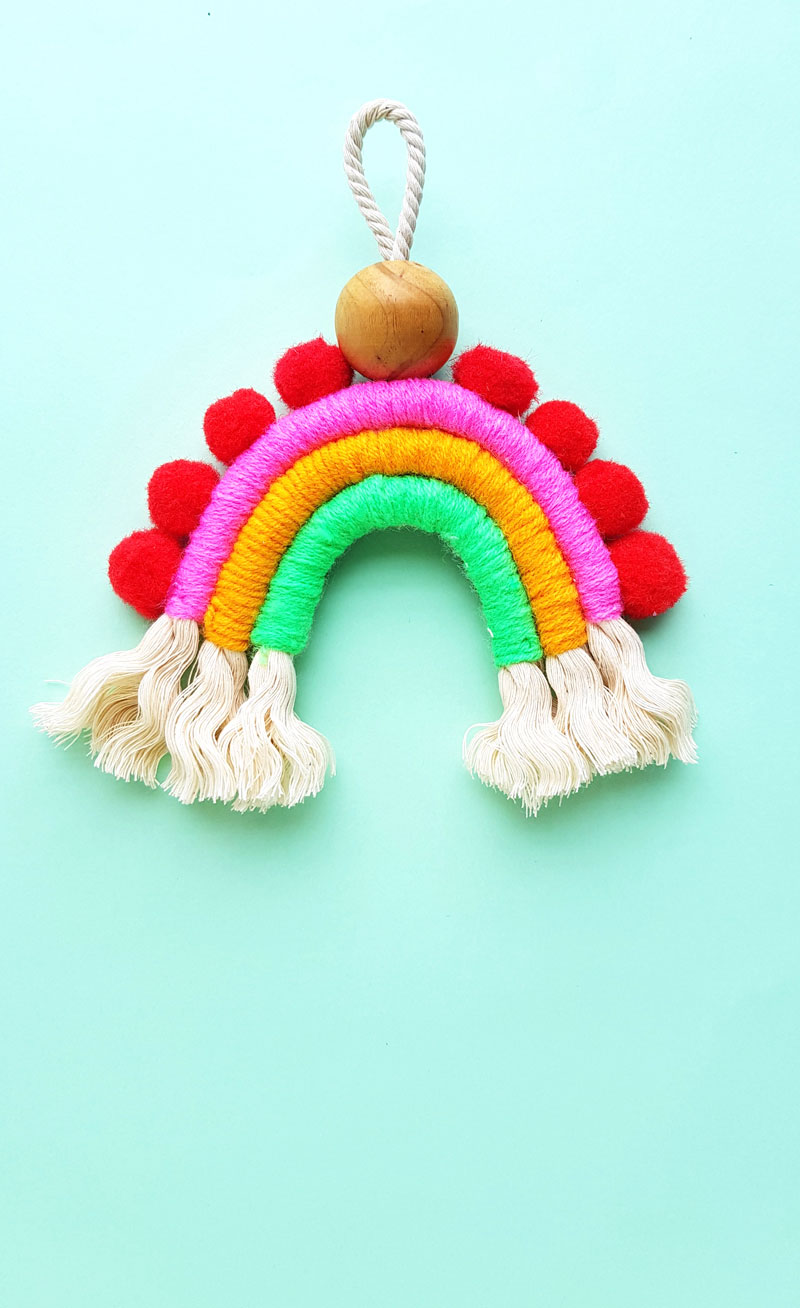
This particular macrame rainbow tutorial was designed as a charm. You can make it right into a hoodie zipper, hang it from a backpack, or even wear it if you make it in super micro.
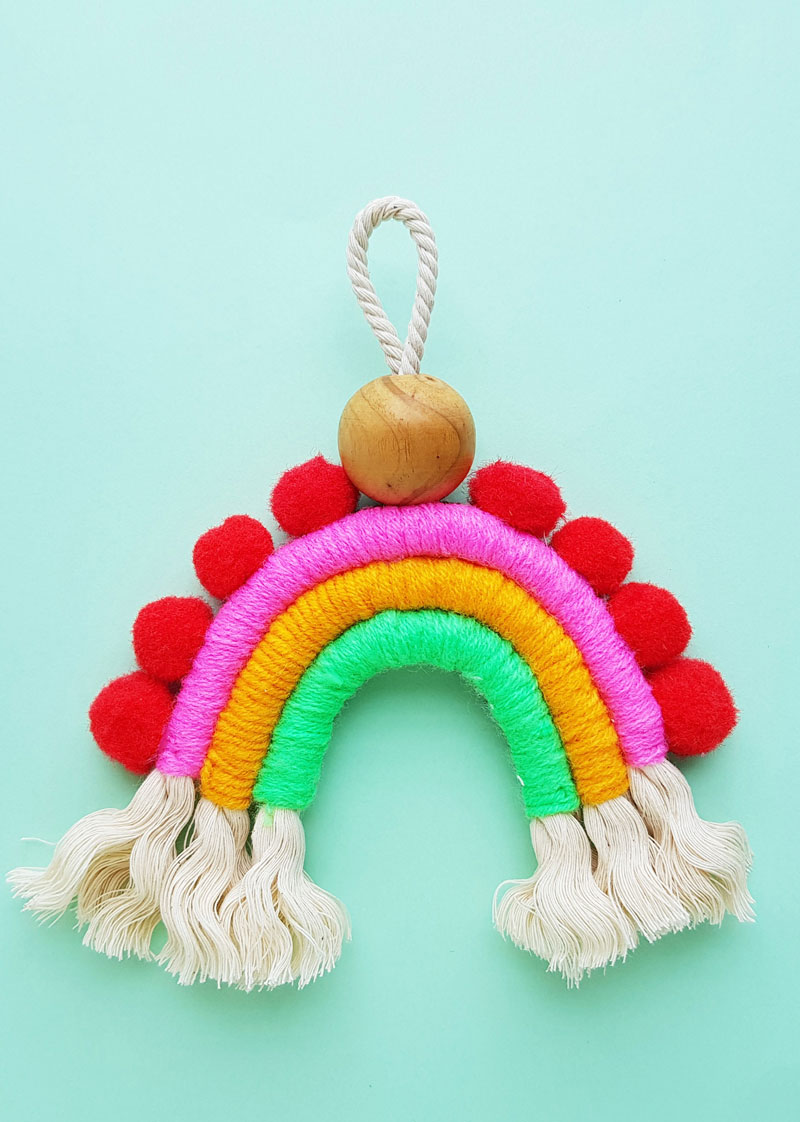
However, since this is a general process tutorial you can adapt it and just scale up a little to make a full-size wall haning.
You can also make a macrame rainbow grouping for larger scale artwork.
And finally, craft a few of these to hang at the ends of macrame wall hangings similar to this animal wall hanging.
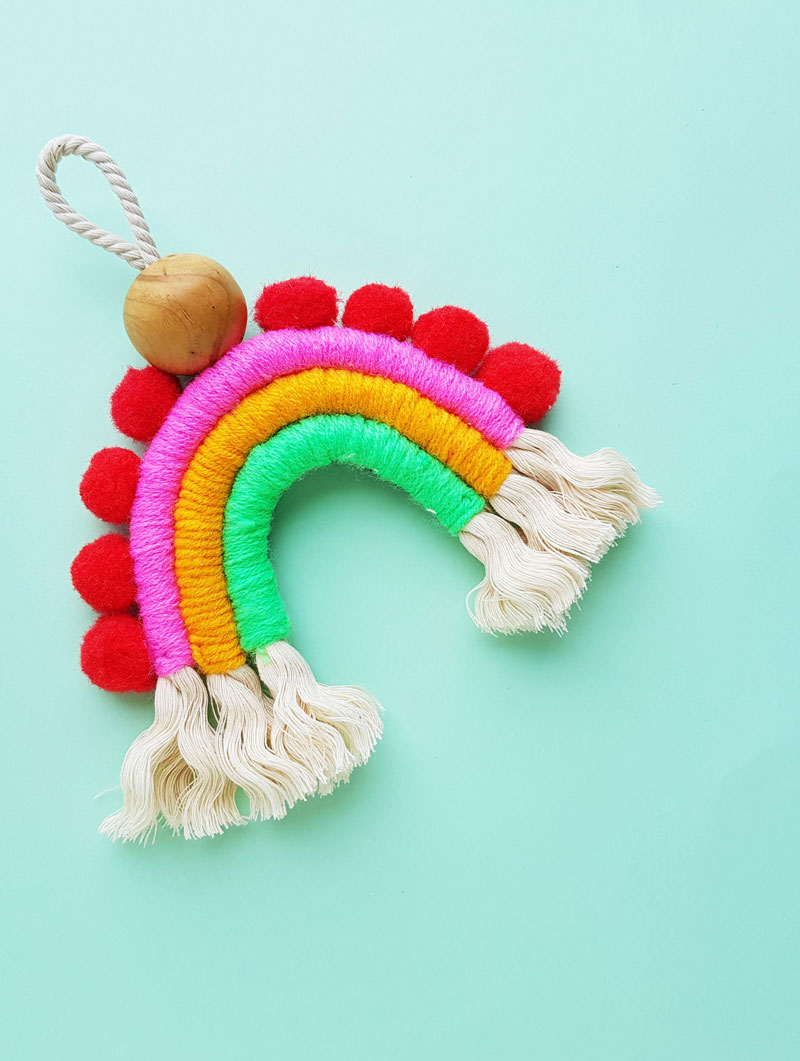
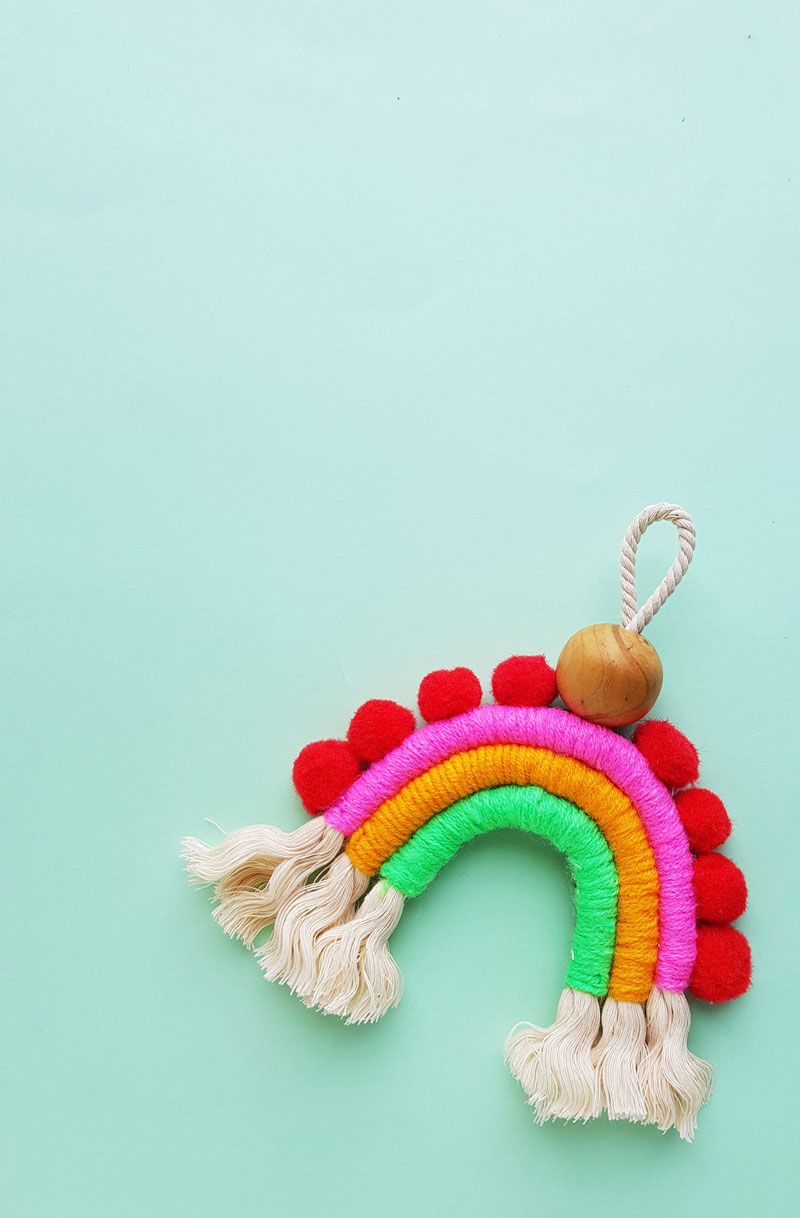
Make macrame rope rainbows as part of a group crafting workshops. The best workshop crafts, in my experience, are beginner level skill-based but open ended.
This one fits the bill! Make sure to offer multiple bead and pom pom options, many different colors and textures of string and various “finishes” such as:
and more!
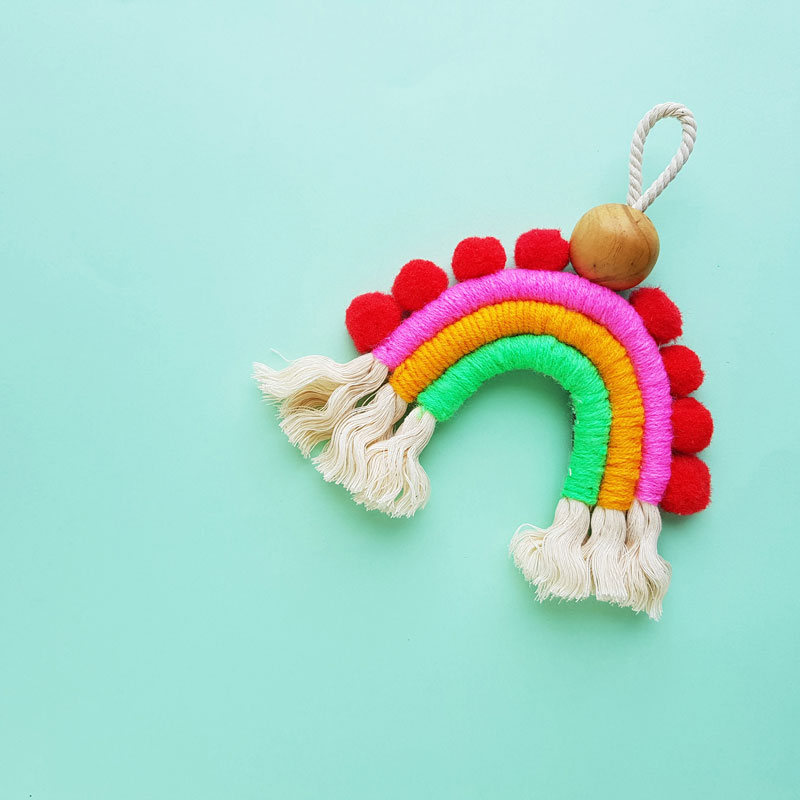
Supplies needed to make macrame rainbows:
- Natural twisted rope in the thickness you want your rainbow to be, and a scrap of thinner rope. The size of this will establish the final size of your rainbow
- Colorful yarn or thread. The thicker the easier it will be to make HOWEVER the quality and texture of your string will make a big difference to your final project. Sampler packs are perfect for this project.
- Felt fabric scrap
- Scissors
- Hot glue gun
- Round wooden bead (large-holed)
- Pom poms
- Tapestry needle
Want another classic wall hanging craft? Learn how to make a dreamcatcher – a great complement to this tutorial!
How to make a macrame rainbow:
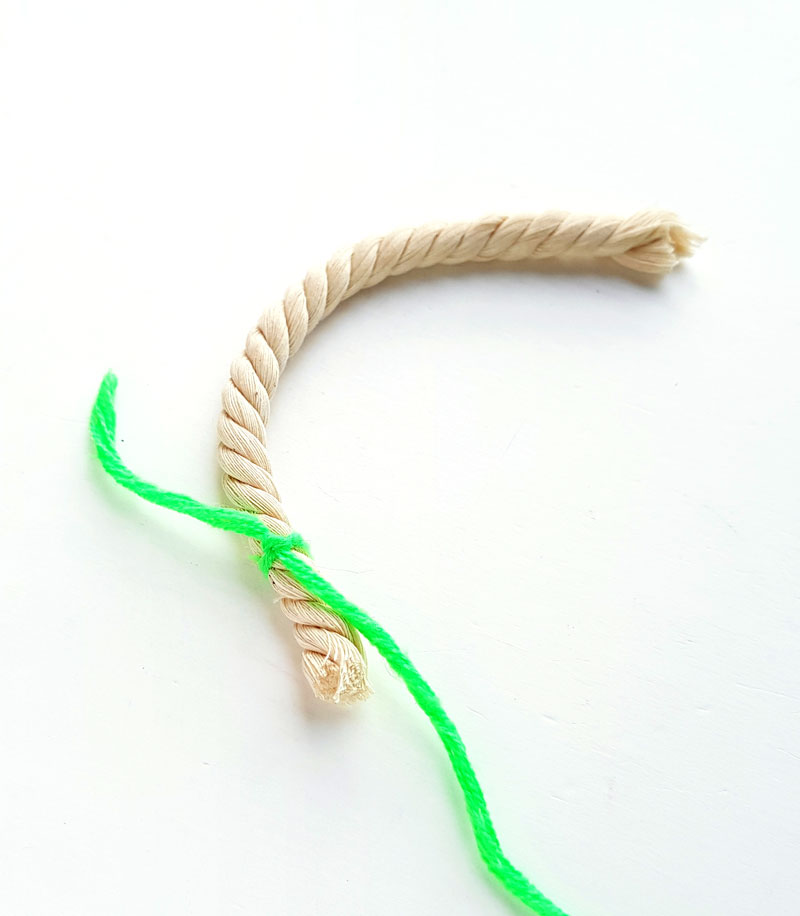
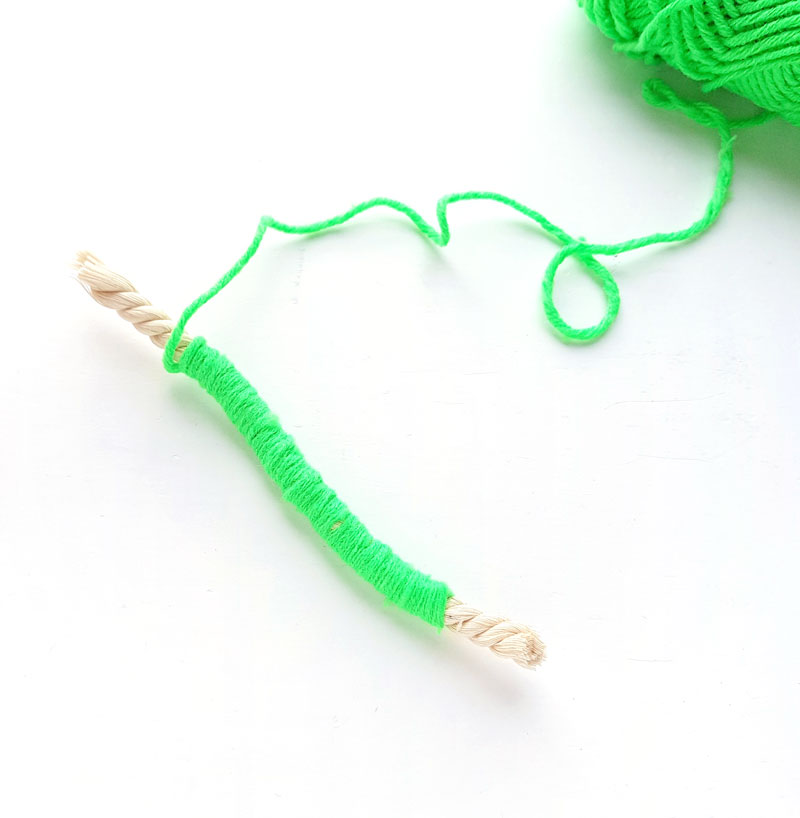
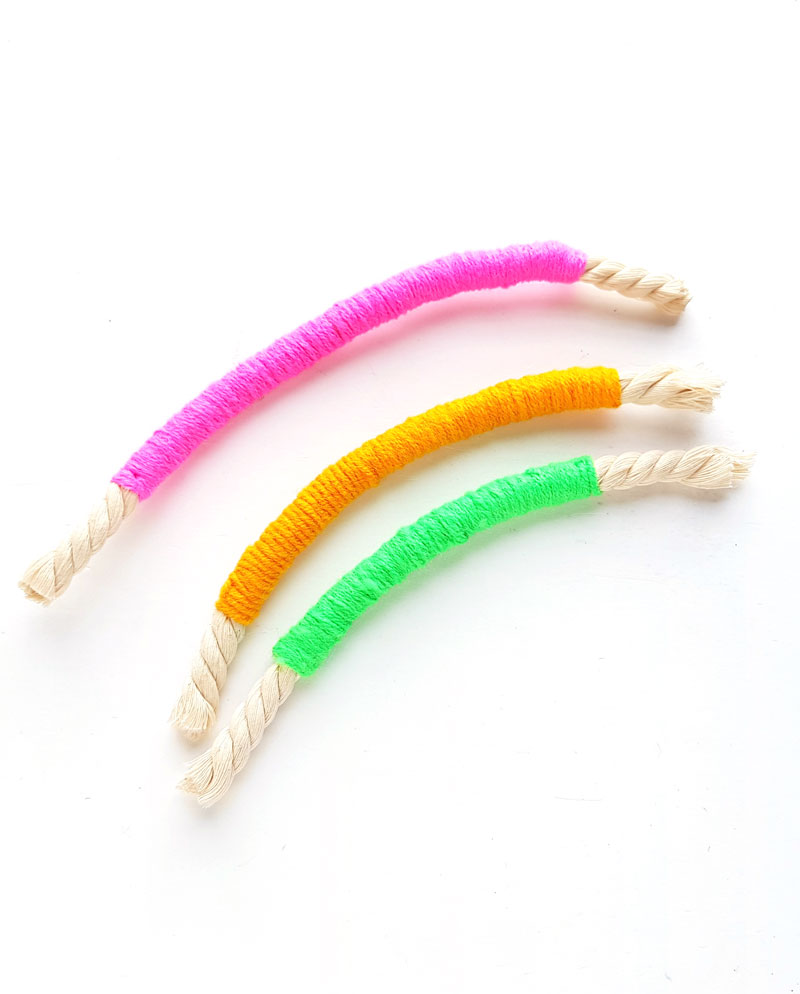
1. Determine the size of the macrame rainbow and cut 3 (or more) pieces of thick rope to size. I’m creating a 3 layer-rainbow pattern. I’ve cut 3 pieces of rope, each 2 cm longer than the previous one. Take your first rope and your first color yarn. Leaving 1 inch of the rope unwrapped from its open end, start wrapping the yarn around the rope by tying a knot.
2. Wrap the yarn around the rope until you reach the other end of the rope, but make sure to leave an inch intact on that end as well. Leave more than an inch if you’re making a larger rainbow.
3. Trim your yarn from the skein, leaving 2 or 3 inches extra attached to your wrapped rope. Insert a tapestry needle through the attached end of the yarn, and thread through the rope up against the last wrap of the yarn. Pull the needle all the way through.
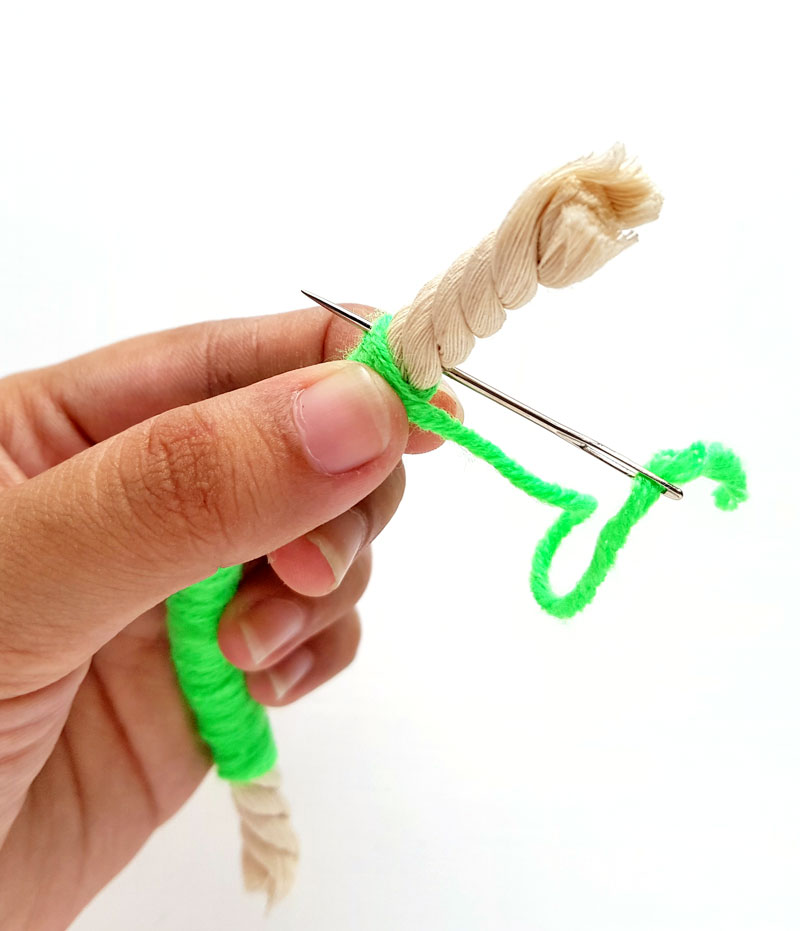
4. Now thread the needle through the first few yarn wraps and draw it out again.
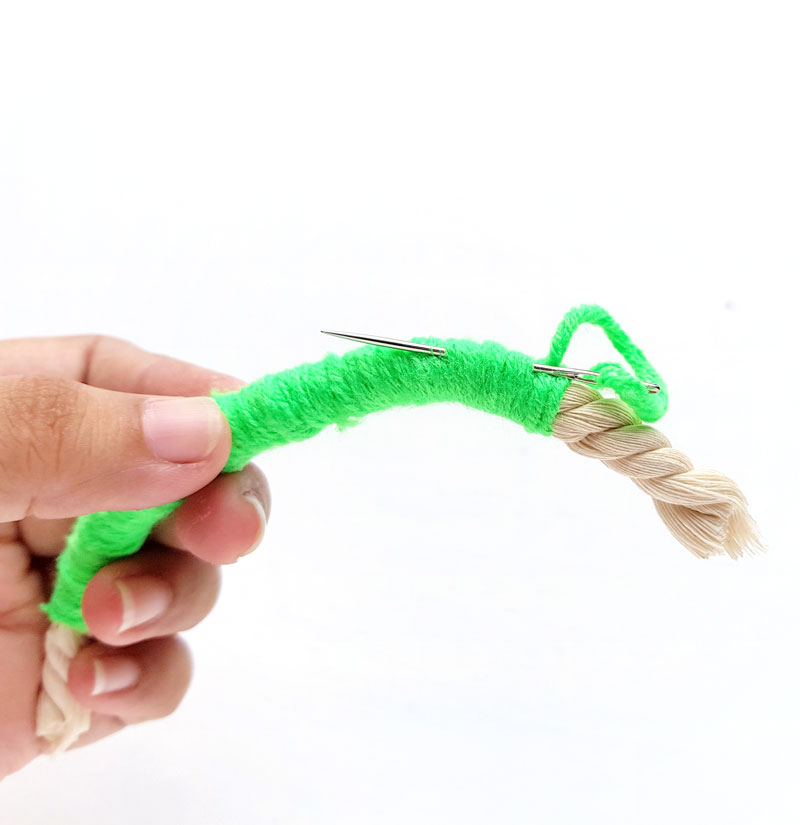
5. Cut off extra yarn if there is any and the wrapping will be secure. You can touch up the ends with fabric glue if you want but don’t overdo it.
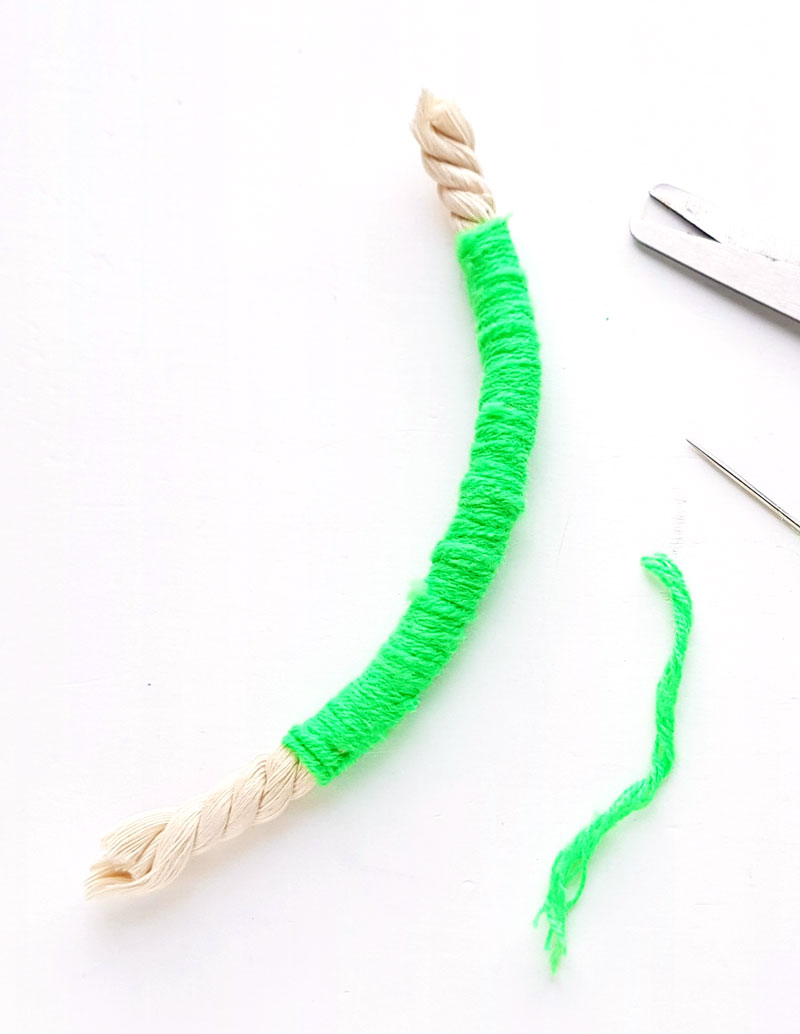
6. Wrap the rest of your rainbow layers the same way.
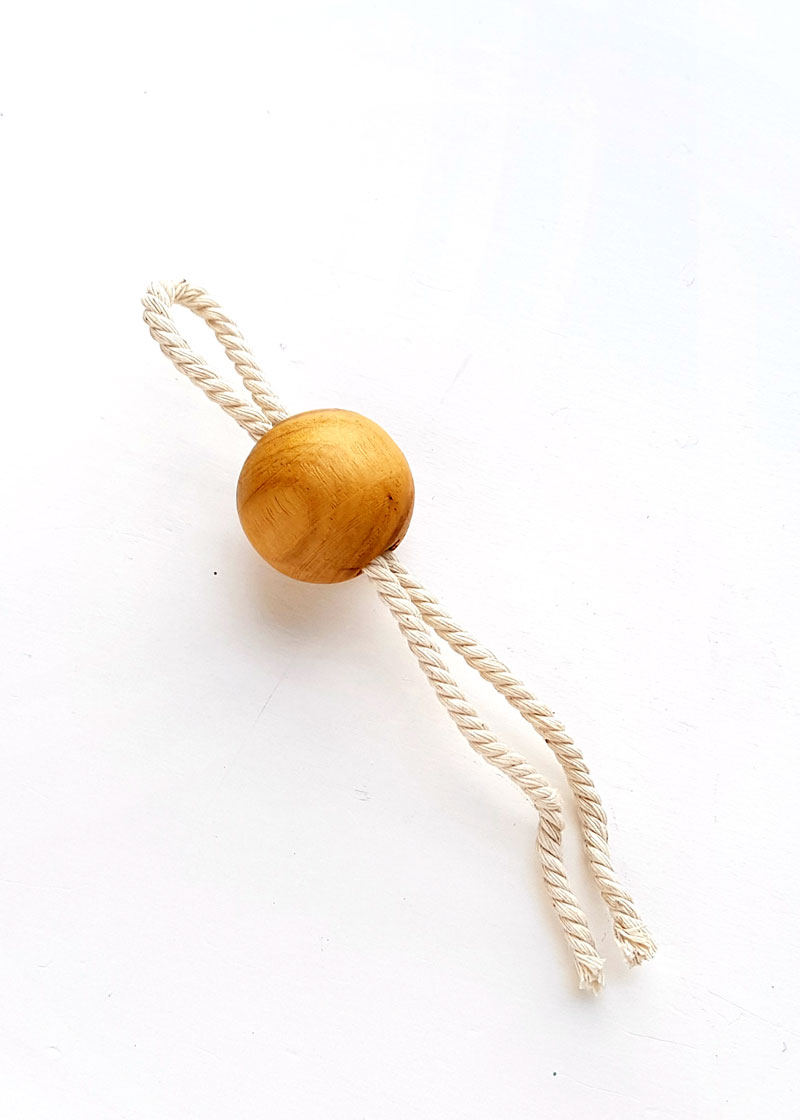
7. Take a large-holed wooden bead (at least 3x the diameter of your thin rope) and a piece of thin rope (at least 8 cm long). Fold the rope in half and thread through the bead, about halfway through, to form a loop.
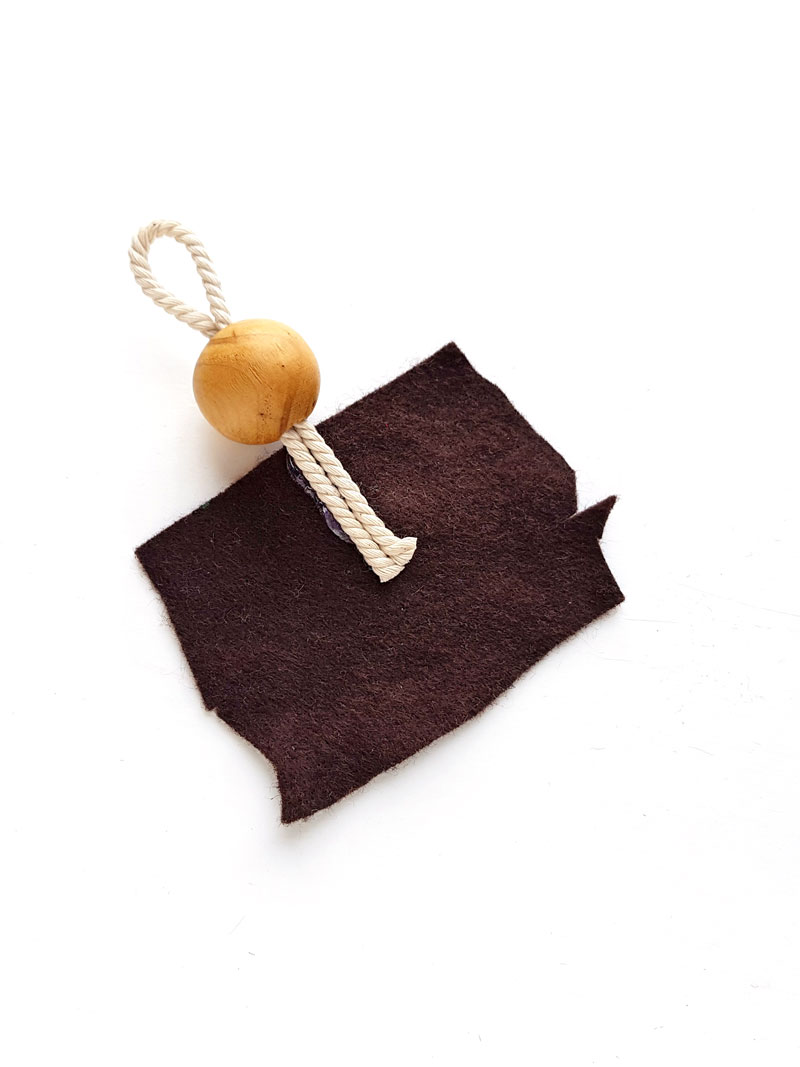
8. Take a scrap of felt and attach the open ends of the beaded rope to the felt, keeping the bead and the looped end of the rope outside the felt fabric. Note: if there’s any chance your back will show, you may prefer to cut a circle or a nice shape from the felt. You may also prefer to glue the elements together directly, or to sew them – it’s just a little harder that way.
9. Take the longest yarn wrapped rope and attach it to the felt base, creating a curve. Use hot glue to attach it.
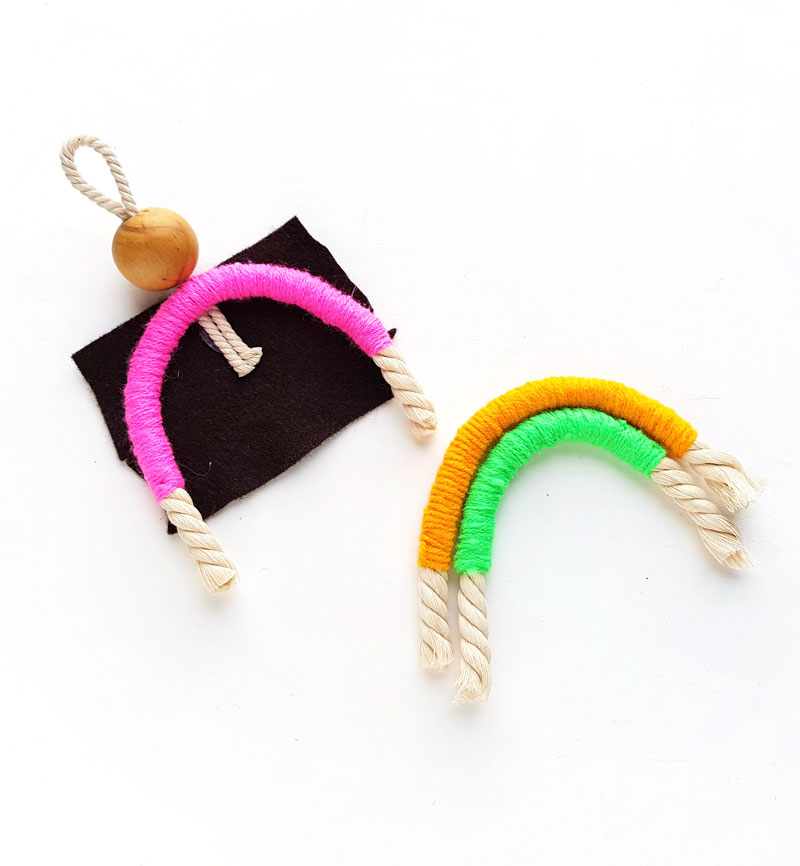
10. Attach the medium rope next and the shortest rope last. Try to keep the ropes as close to each other as possible.
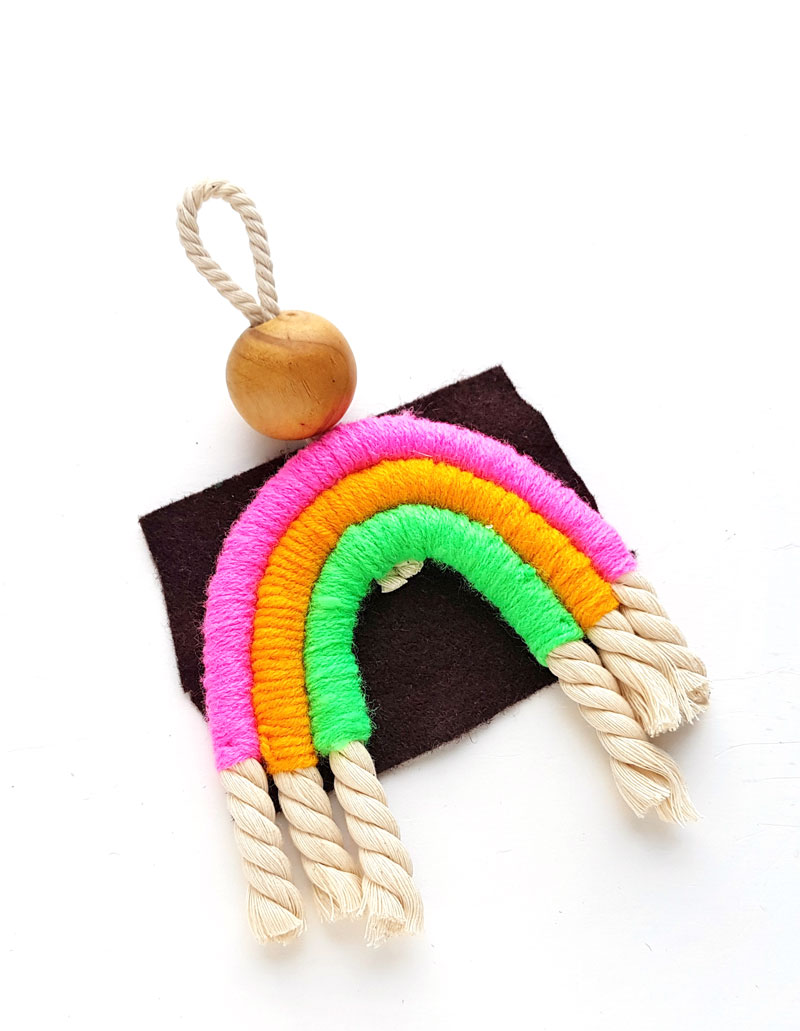
11. Carefully trim the felt that peeks out around your rainbow.
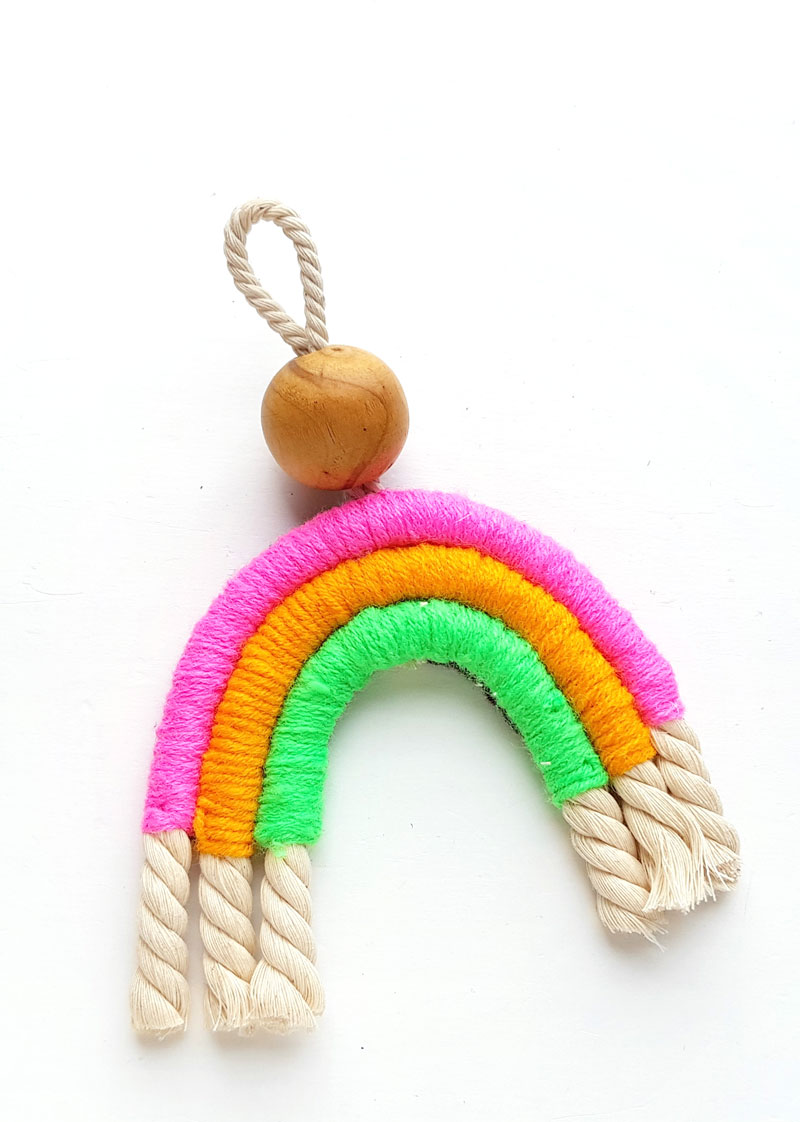
12. Glue pompoms along the top end of the rope rainbow – if you want! Unravel your ends and give ’em a trim – also only if you want.
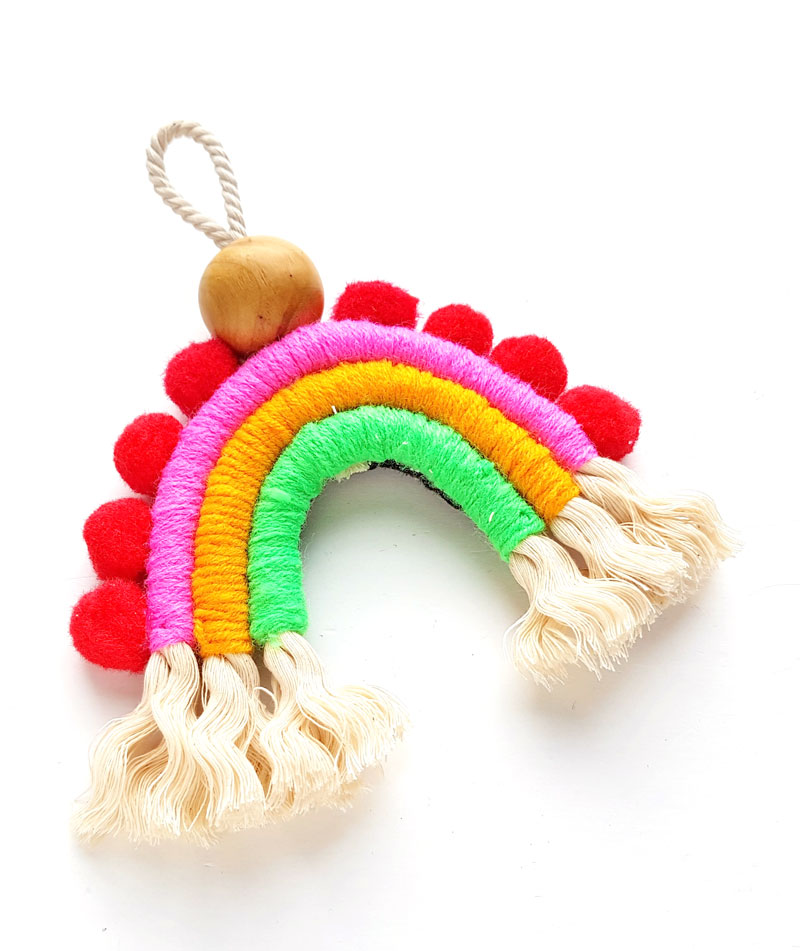
The result of this macrame rainbow is a smile on your face. Did you ever notice the common shape before? Now you do!
[ad_2]
Source link


