[ad_1]
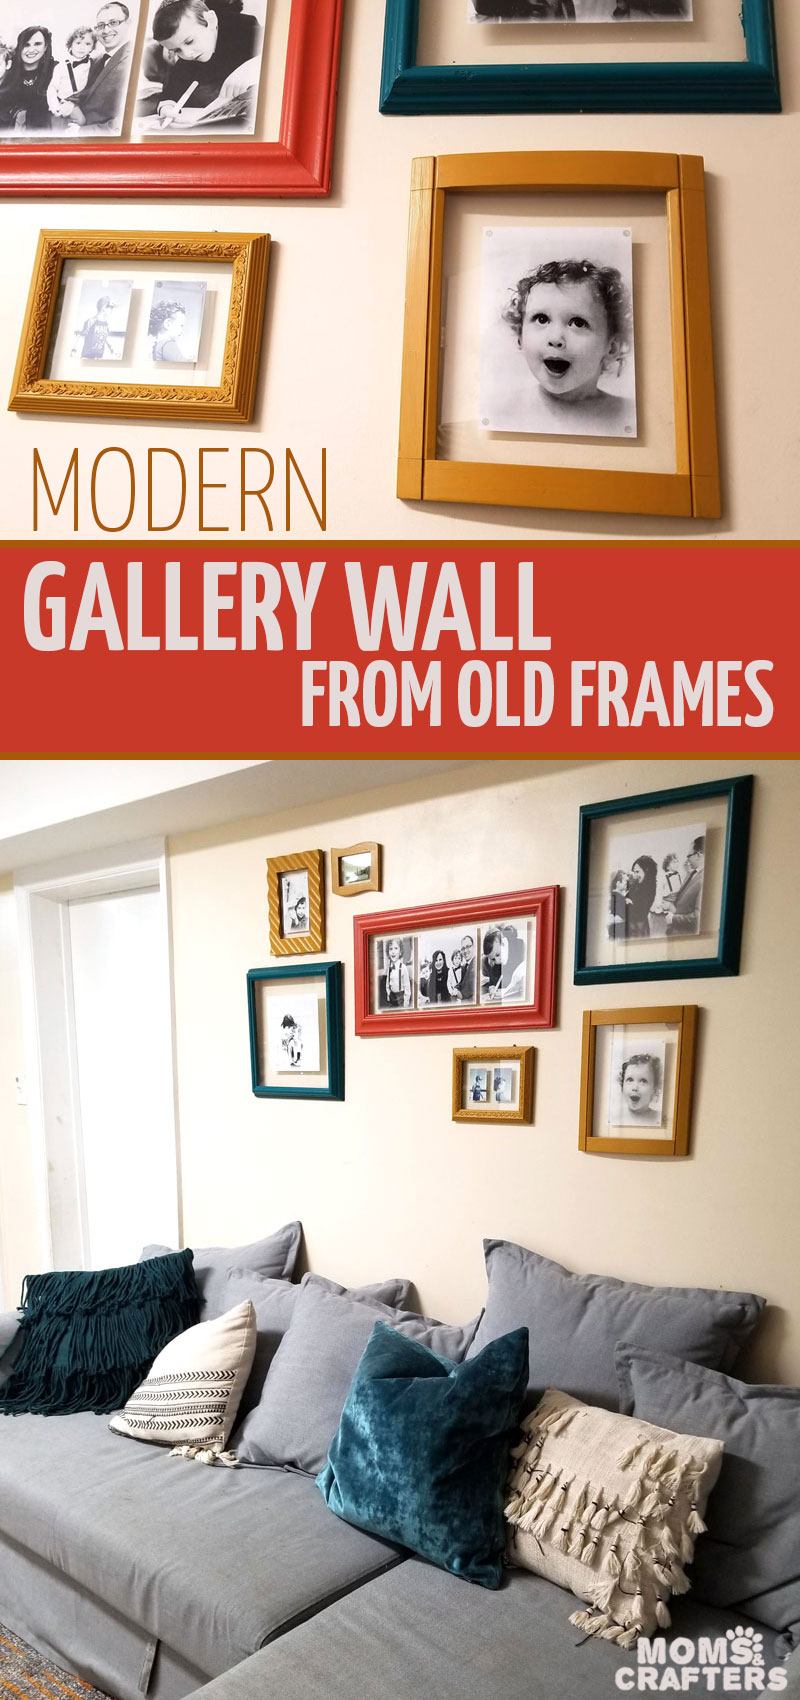
It’s amazing how an upcycled DIY gallery wall made from old frames can totally pull a room together! I made this one to update our family/living/playroom and bring together the different elements. You can check out some more decorating tips on a budget or scroll down for this tutorial. Disclosure: this post contains commissioned links. Some of the product for this post was received free of charge from Plaid Crafts and Arrow Fastener in the hopes I’ll use them and share with you.
Our living room (which is really more of an informal family/playroom rather than a formal living area) was ugly for ages. We had a dark oriental-style rug, with a hand-me-down black sofa.
Considering that we live in a dark space with few windows, it was really depressing.
I recently splurged on this couch from IKEA, as well as this rug. Those two really turned the place around.
Choosing the couch was hard: I had specific requirements:
- I needed something that’ll block off my back work area without blocking off the back door to our house.
- It had to fit as many people as possible
- It still had to fit a very small space.
We found this couch that unlike most L-shaped chaise couches has a full arm along the chaise. Since it’s not a full L-shaped sectional, it doesn’t block access to our door, but it still blocks my work area because of that arm. It also has storage, and a queen-sized bed built in making it perfect for the space, even if it’s not my favorite style.
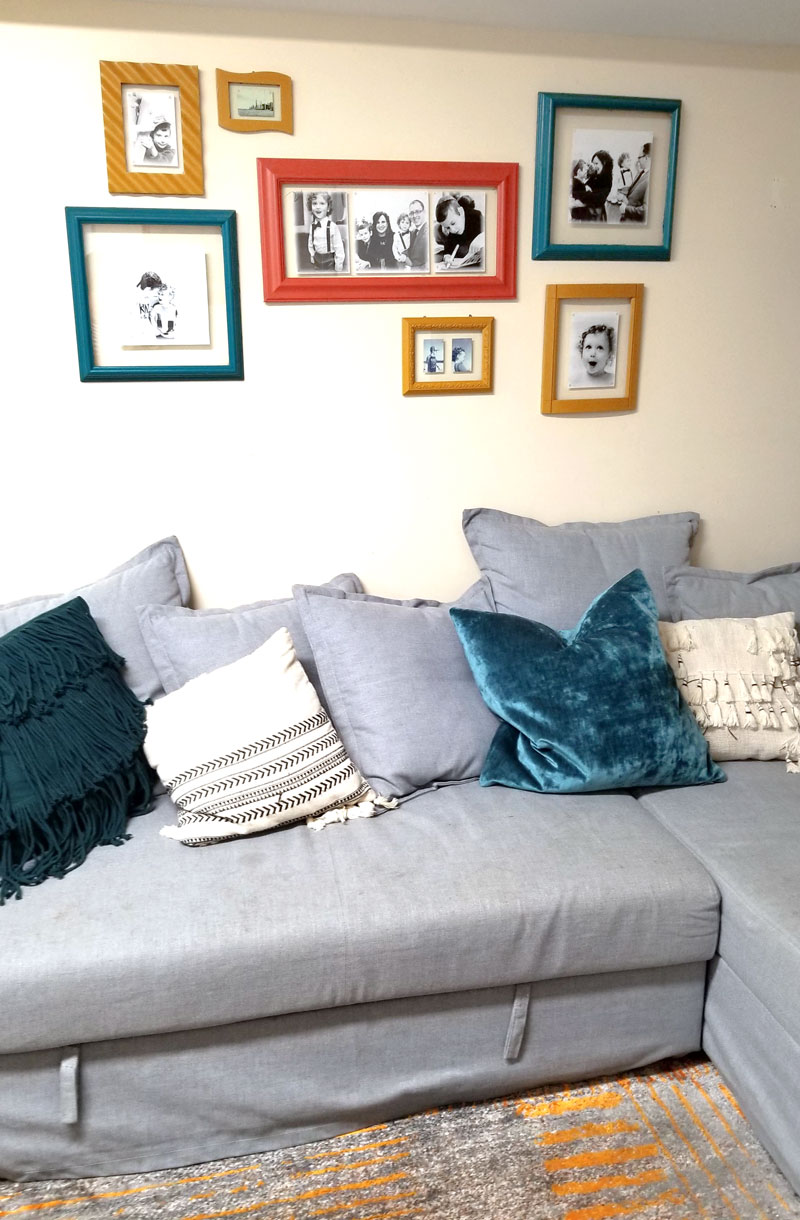
It also seats 4-5 when we have guests. It’s really comfortable, slipcovered, etc.
But it doesn’t really match. Oops. Our walls are cream and not going to be painted any time soon. Our floor is a really ugly cream/brown mix. And we got a gray couch.
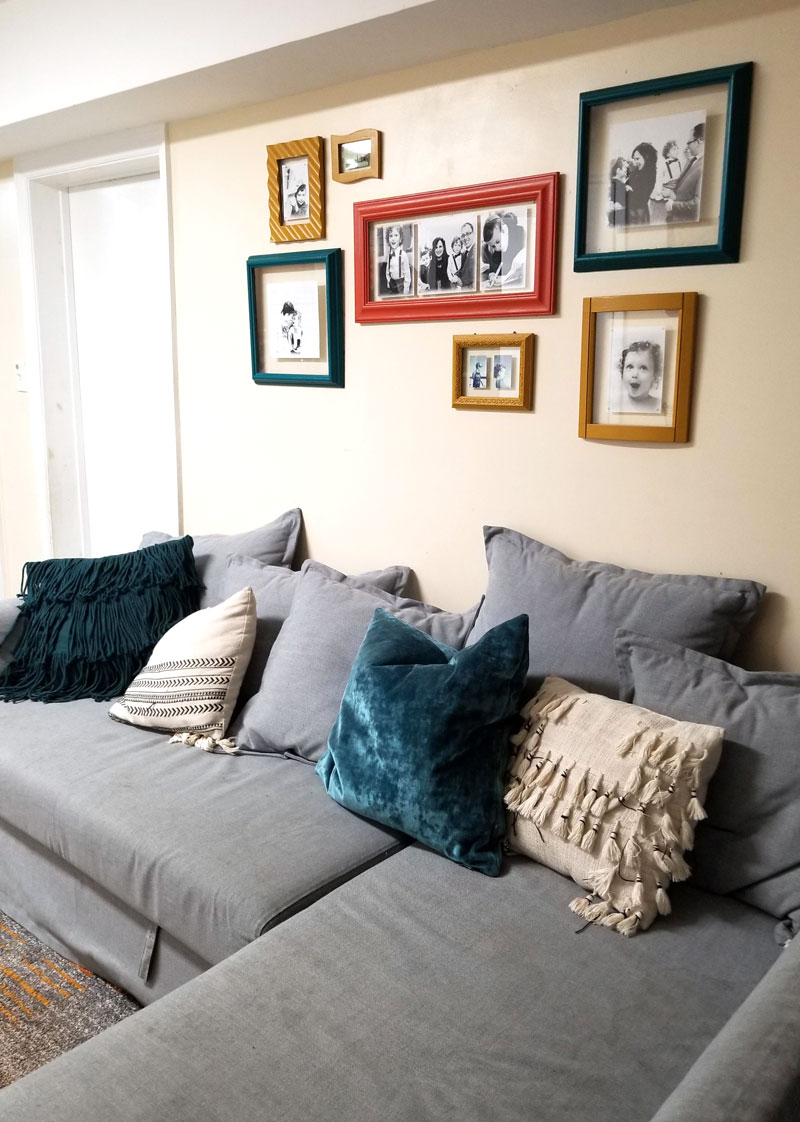
We tied it all in with a fun rug that totally brightened the space up, and blended the creams/browns along with some yellows and oranges. It also has the blue-grays of the couch. I added some teal throw pillows to our couch and finally, with all the pops of color, our living room was looking great. Except that it was still a bit arbitrary, and there was a huge blank wall behind the couch.
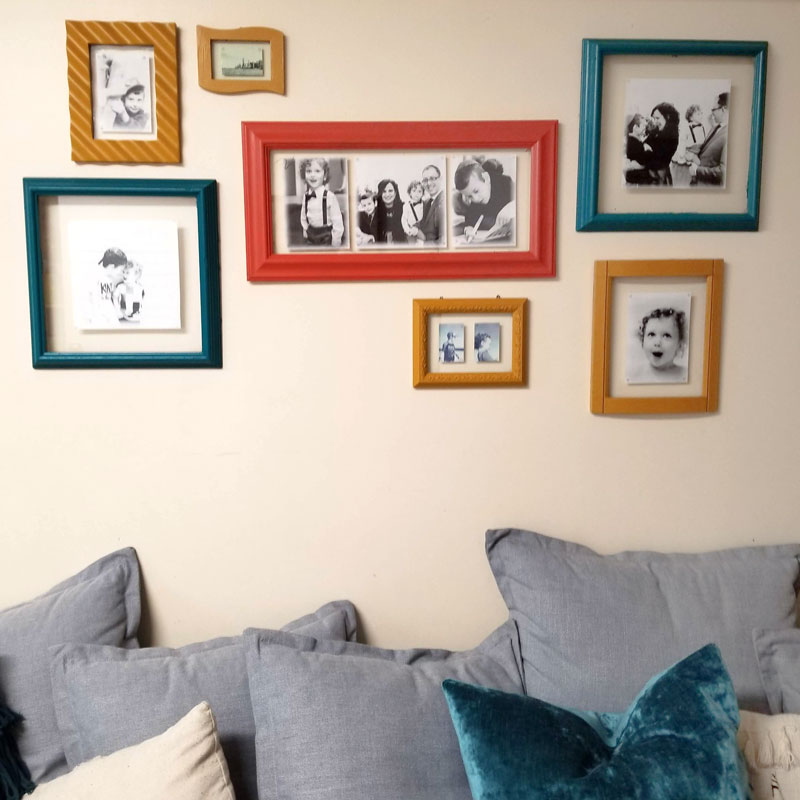
So that’s where my DIY gallery wall came in.
I started collecting frames: from peoples’ garbage dumps, neighbors who were giving some away, thrift stores, etc. If you don’t have a source for used frames, you can still make an amazing looking modern DIY gallery using a cheap pack designed for gallery walls.
Those tend to also come with layout templates so it takes the guesswork out of it.
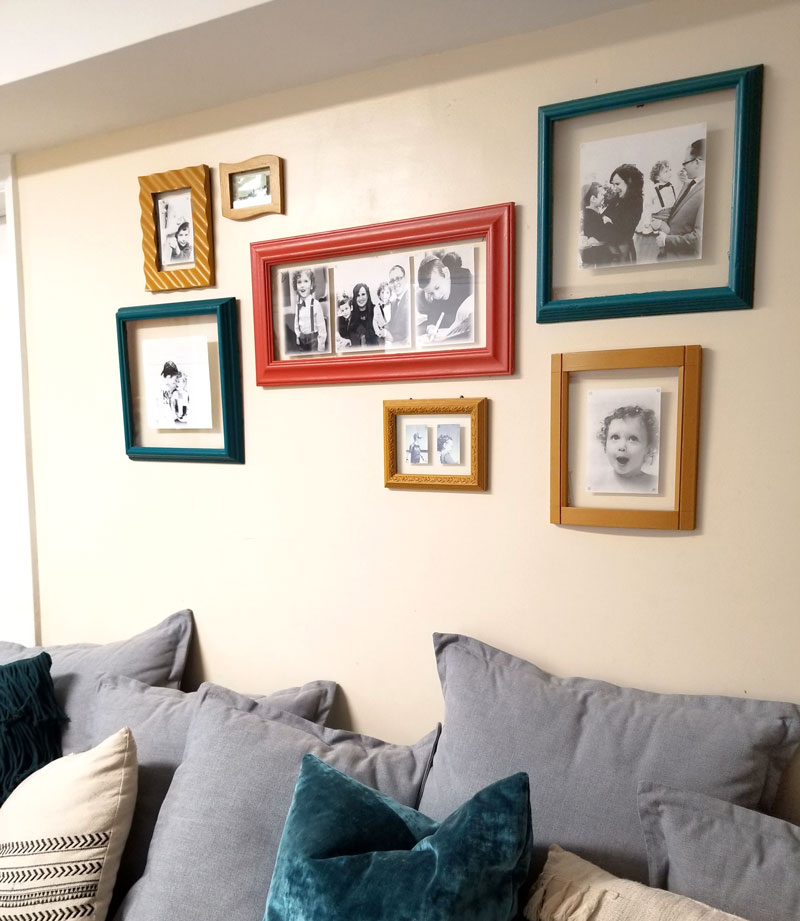
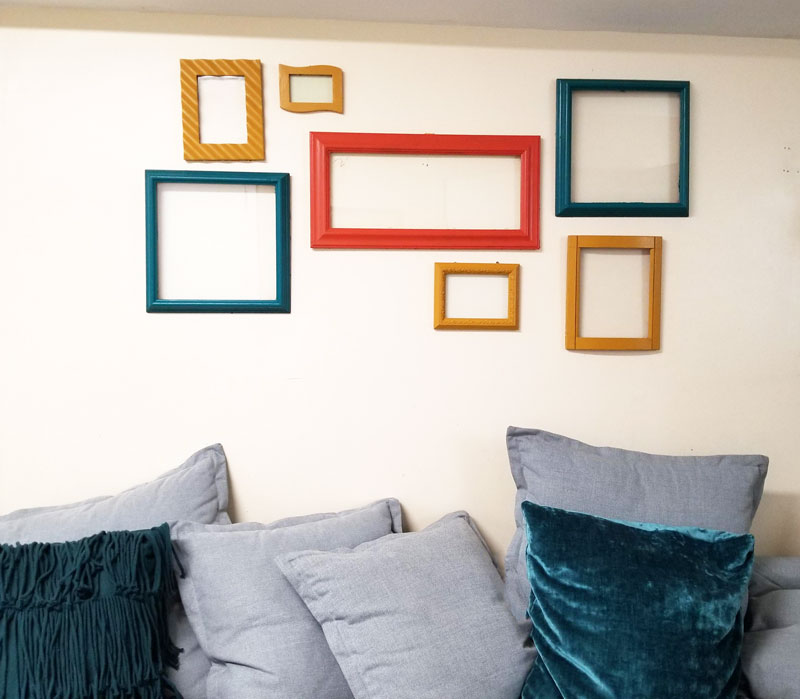
I painted my frames using the dark teal of the throw pillows, and two more obscure colors from the frame. I went for the deeper rust color and the mustard yellows rather than the bright orange, so that they can lend a sophistication to the colors.
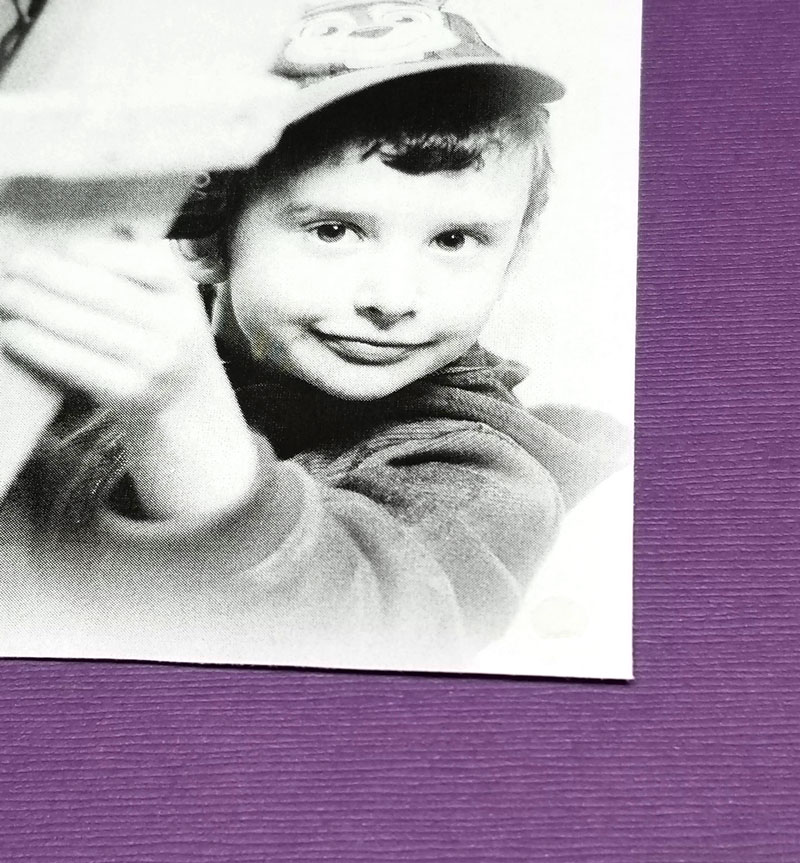
To add a modern twist and to keep things cohesive, I removed the frame backings, keeping the glass in place. I printed my photos in grayscale, adding a vintage touch, and picking up on the couch. I actually am not totally satisfied with the editing on all the photos – I plan to replace some of the busier ones with simpler ones that have cleaner lines. Note: printing it on photo paper, using a colored printer is highly recommended. The quality simply can’t compare.
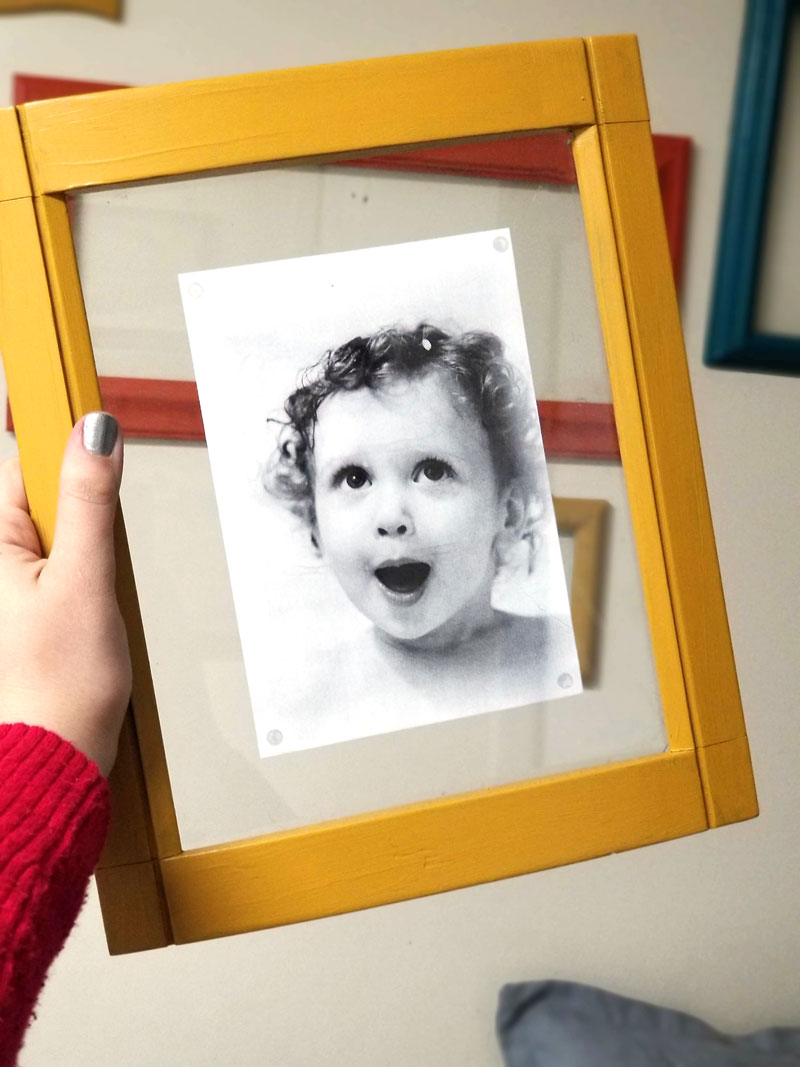
I mounted the photos to the back of the glass, allowing the glass to form a “mat”.
The result? A bright, cheerful, modern room.
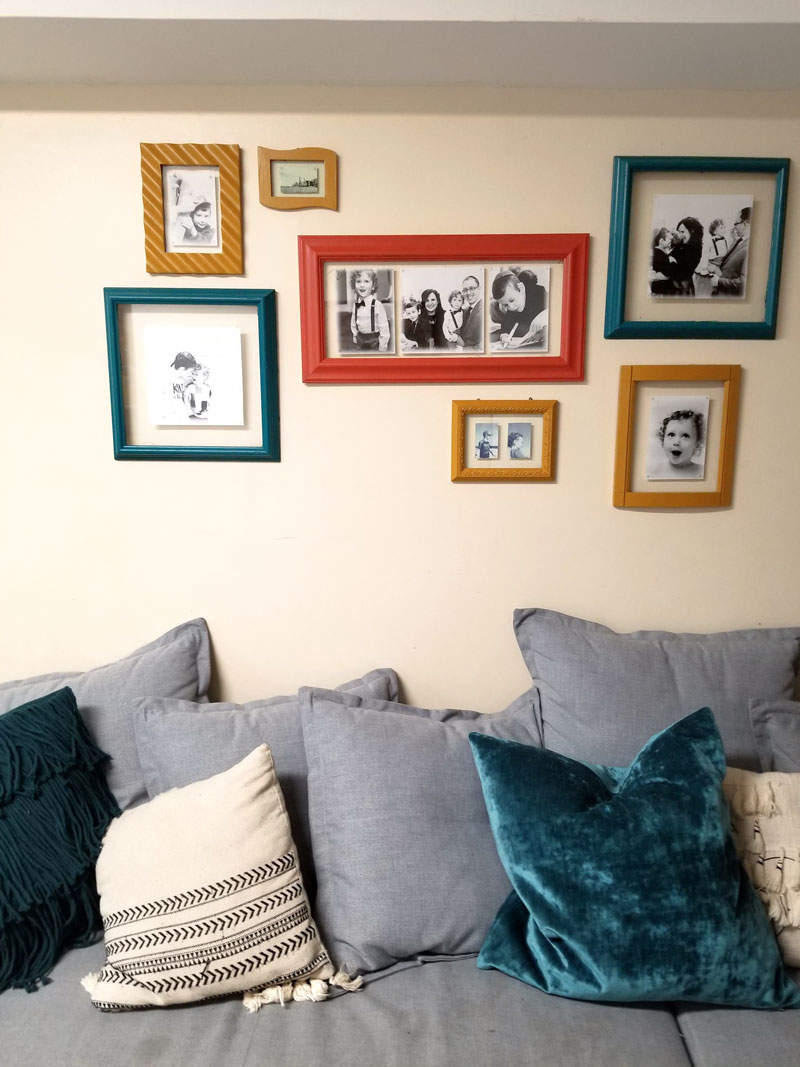
Our home is an open floor plan – but a poorly designed one. It’s a long, long rectangle, starting with the dining room, then the kitchen, and then the living room in the back (with my “office” tucked behind the chaise). As soon as you walk in, you can see the whole entire shebang.
Our new living room pulls the attention there, and away from the dining table clutter, the desk clutter, the kitchen mess of day-to-day living… The bright colors just catch your eye, and they make the space feel much more inviting.
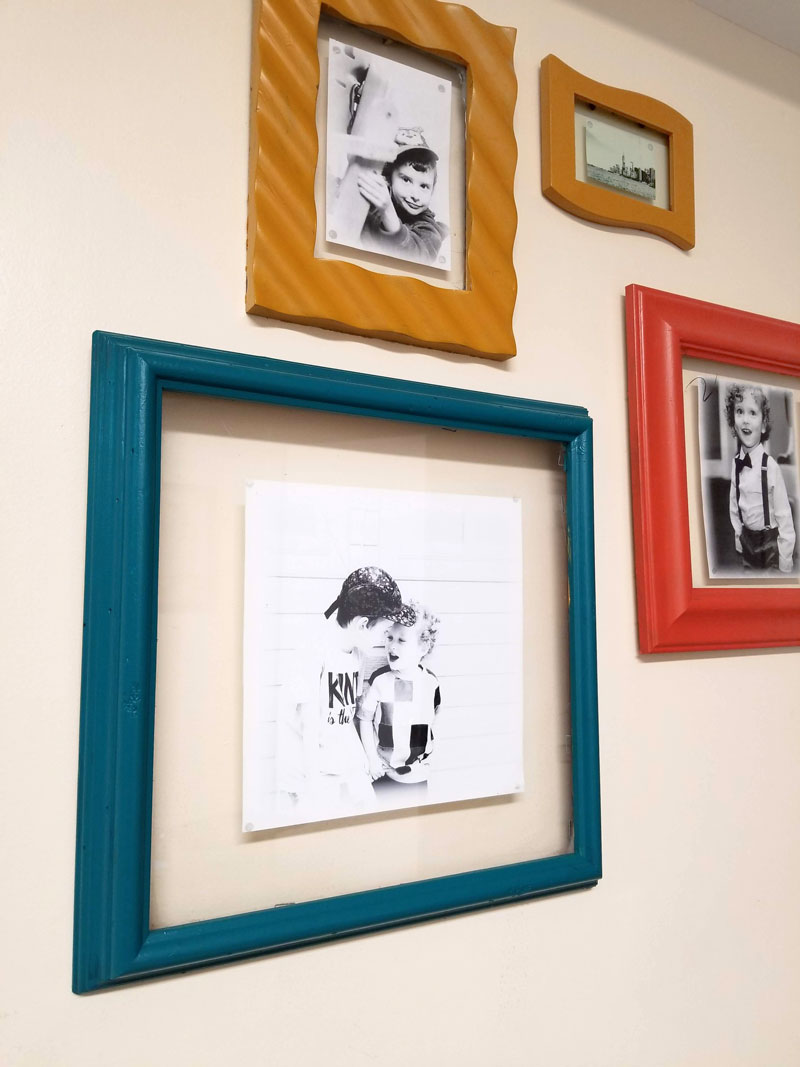
When you have a challenging space, having a good focal point like this DIY gallery wall can make all the difference.
Granted, this is NOT my “preferred decorating style”. I’m a fan of texture, although I do love clever use of color. I like the man cave look – lots of distressed wood, leather, copper, raw materials. But when you have a space, you need to work with it, and I’m in love with the results.
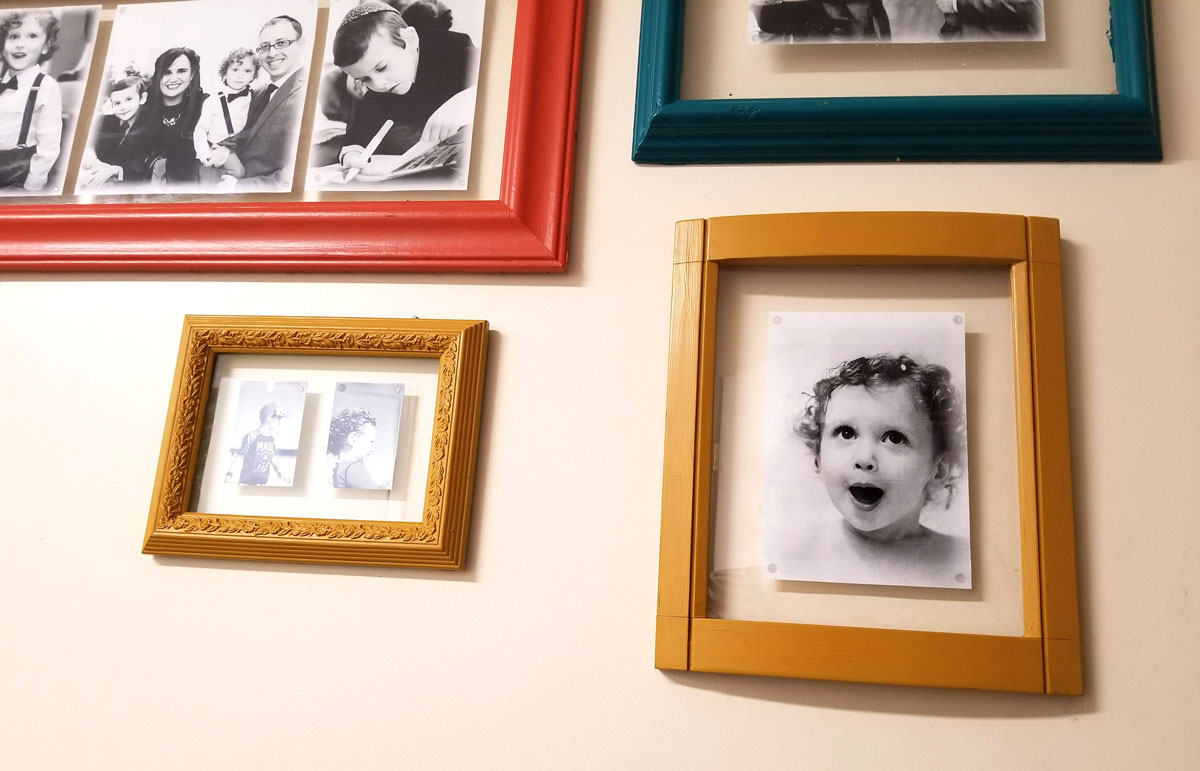
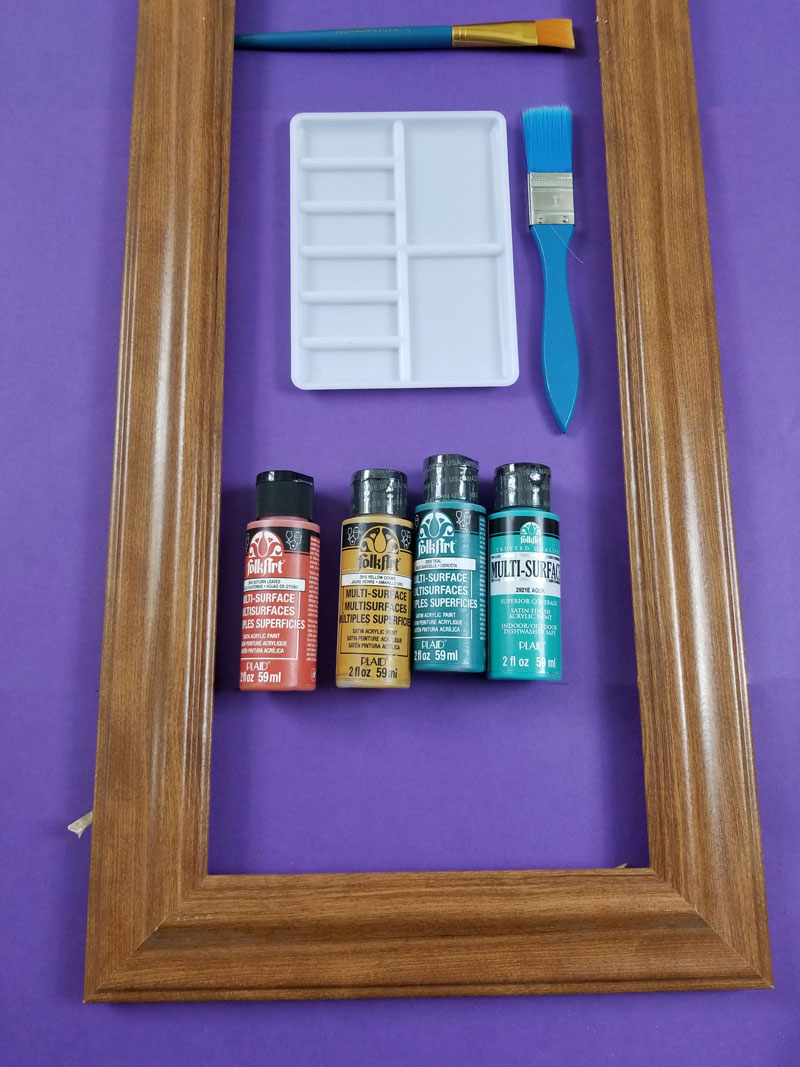
What you need to make a DIY gallery wall:
Tip: sign up for Instant ink if you have a compatible HP printer. Plans start at $0 for 15 prints a month, and you have no limits on how ink-heavy your prints can be. You get automatic refills before you use up your current cartridge.
How to make a modern DIY gallery wall:
1. Remove the backing and glass from your frame. Choose your colors and clean your frame. You can sand it if you want better paint adherence, but I didn’t bother because it’s not like it gets used actively.
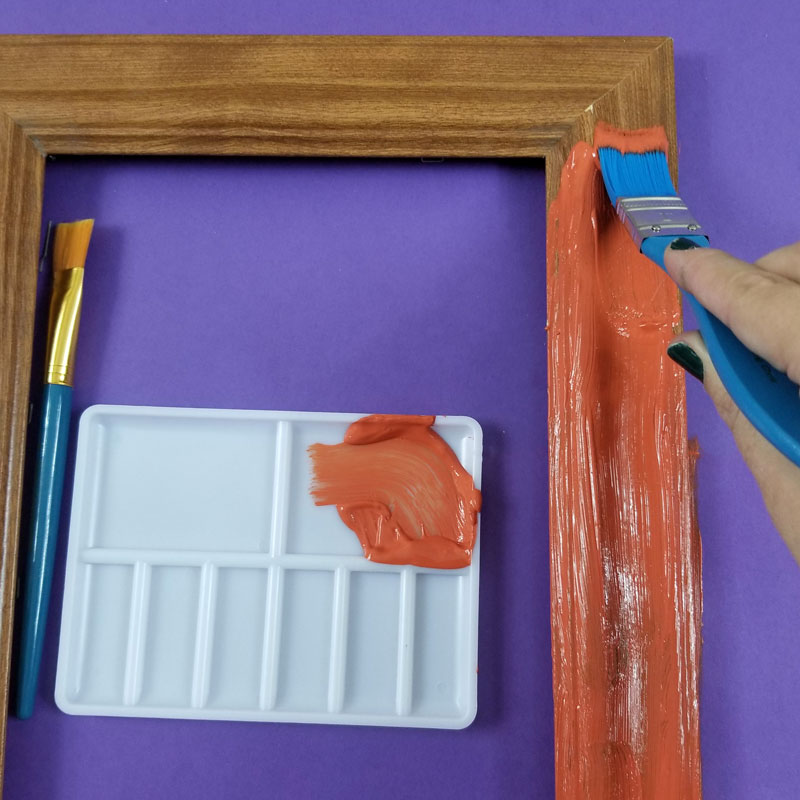
2. Use a flat paintbrush to paint a smooth, even layer on your frame. Be consistent with the direction of your brushstrokes.
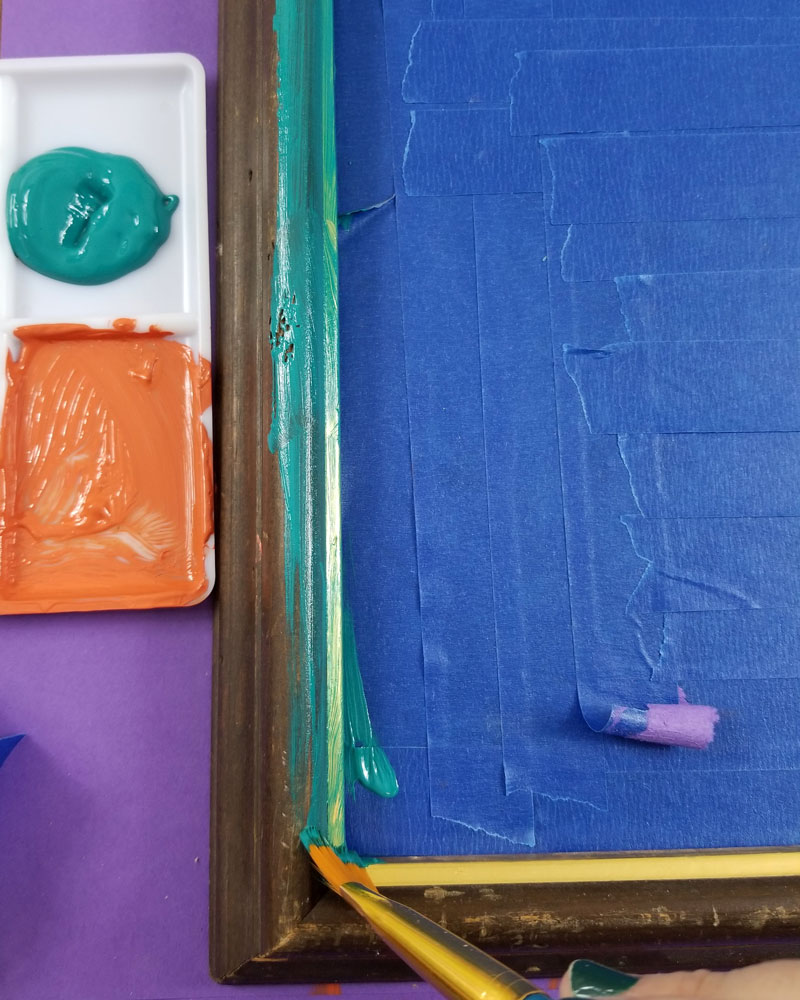
If you didn’t manage to remove the glass from your frame (some older frames are harder to work with) cover it well with painter’s tape.
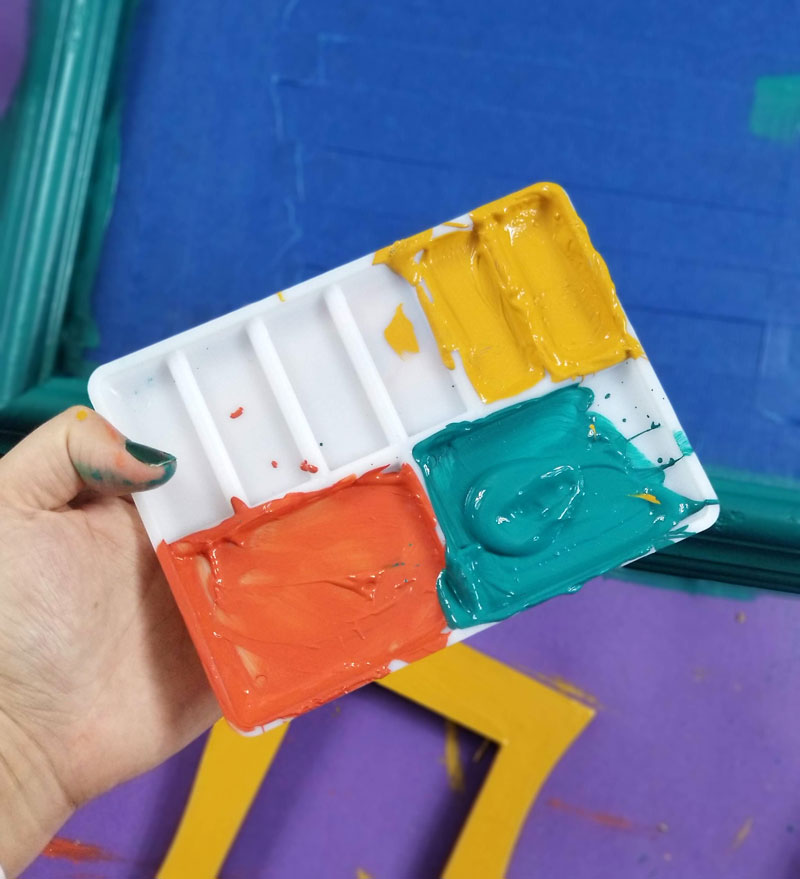
3. Reload your palette and paint a second layer when the first is mostly dry. Repeat with a third if needed, and allow it to dry completely.
4. Reassemble your frames. A few things to note:
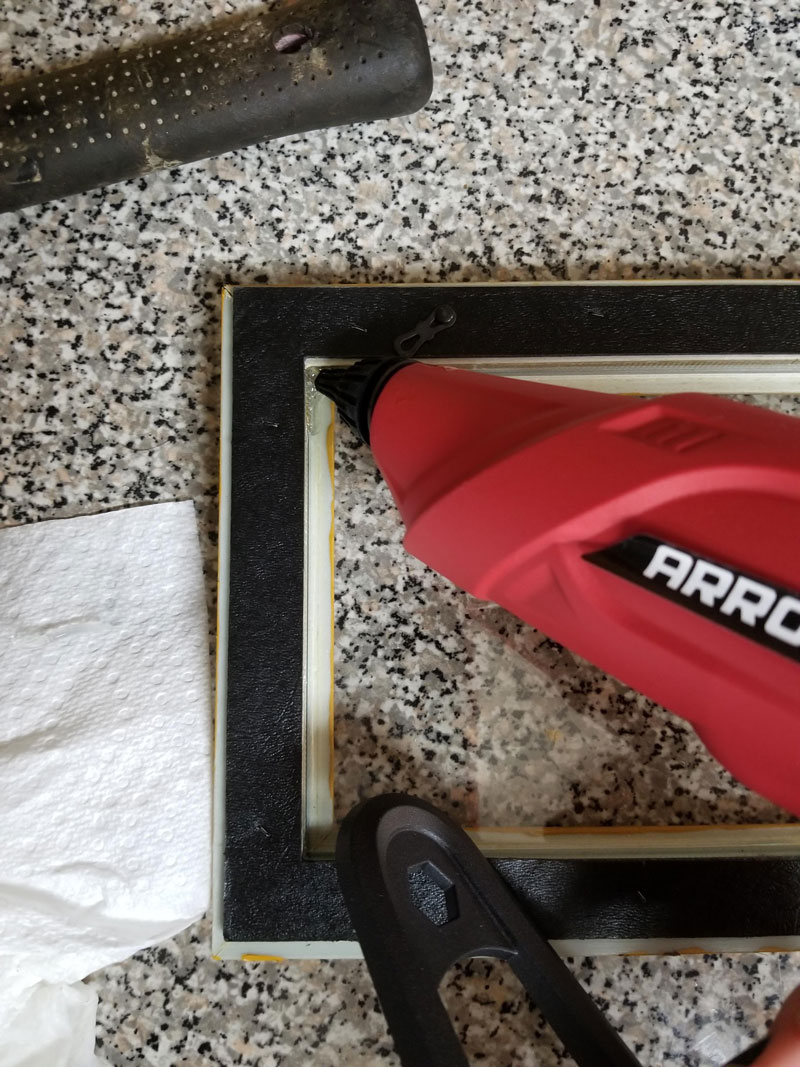
- Sometimes, the cardboard backing is what holds the glass in place. In that case, hot glue around the edges of your glass, being careful not to touch the glue gun to the glass – just the glue. You don’t want the sudden heat to make the glass crack. Pay extra attention to the corners.
- Sometimes the mounting hardware is on the cardboard backing. In that case, add a new hanger to your frame.
- Be careful with the glass! They sometimes have sharp edges.
5. Arrange your frames on the wall and hang so that you can get a good idea of placement, orientation, and know which photos to print. I started with the largest focal frame in the center, and added the other frames around it to create a balanced scattered look.
Check out gallery wall layout tips here.
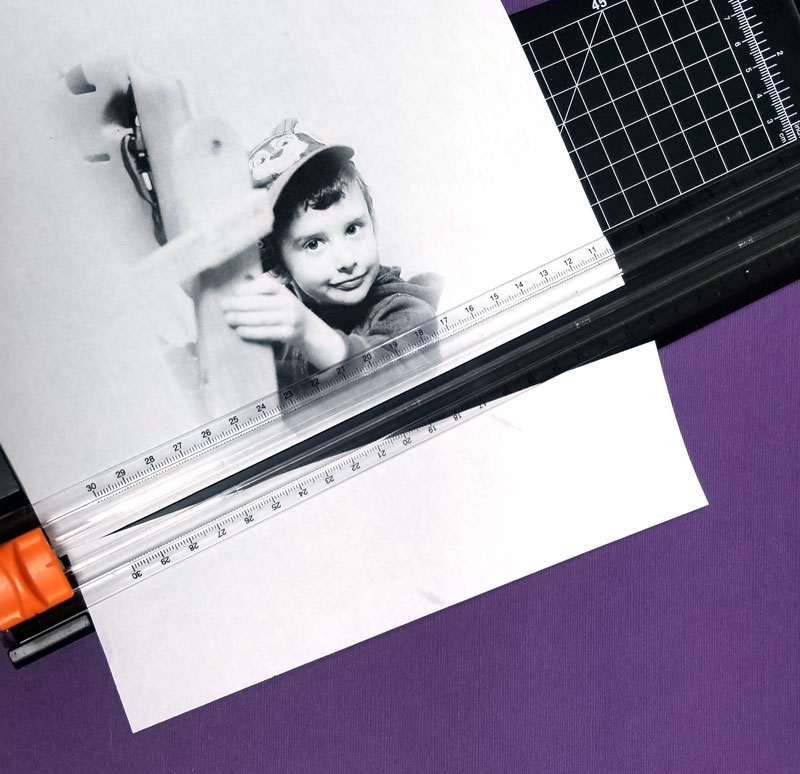
6. Print your photos, turning them into high-contrast, bright, grayscale photos first. Print them so that they are 1-2 inches smaller all around than the frame. Trim them using a paper cutter – you want a nice, sharp edge because any tiny discrepancy will show on this DIY gallery wall.
7. Add glue dots to the inner corners of the front of your photo. Center them on the back of the glass and glue them in place.
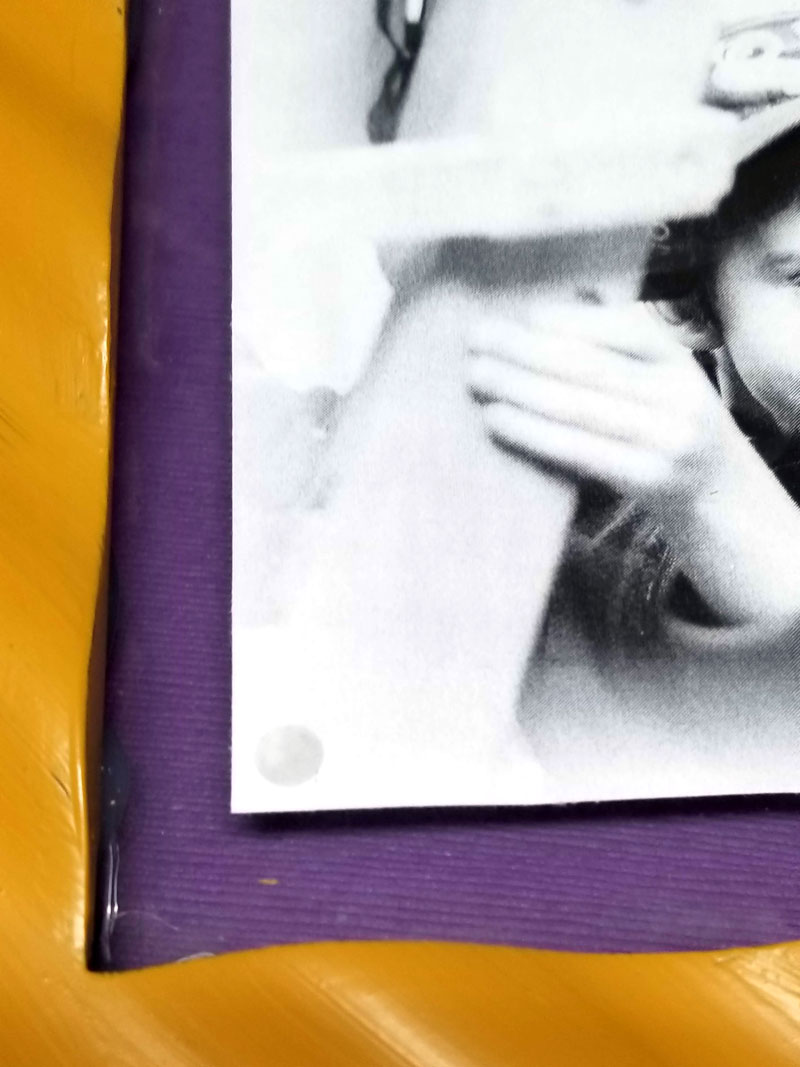
Hang your framed photos back up. Enjoy the modern, clean look of all that glass, and the burst of color!
You can put anything in these frames: family photos, vacation photos, artwork and drawings, or anything you want! You can even fill the frames with faux stained glass art instead of photos like I did here.
Have you ever made a modern DIY gallery wall? Got any tips to share? Comment below!
Loved this DIY gallery wall? Check out the cool upcyled home decor ideas below, or visit this list of simple DIY projects for the home:
[ad_2]
Source link


