
[ad_1]
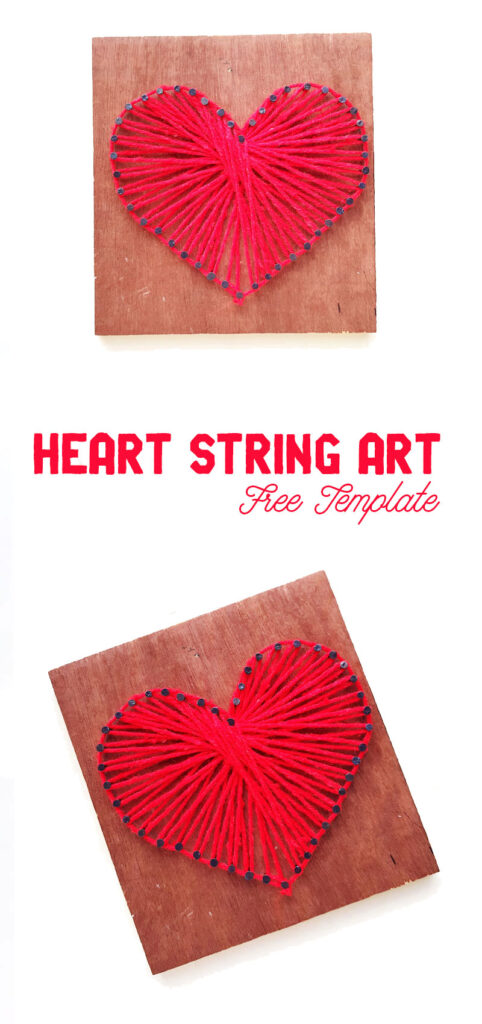
Whether you’re looking for a classic Valentine’s Day craft or a sweet, easy gift for a loved one, this heart string art template is easy to use and assemble! Or, give these valentine pillows a go instead. This post contains affiliate links.

There’s nothing like a good old classic made with a holiday theme to get in the spirit of things! With Valentine’s Day, things can get very tacky but a heart string art template makes classy decor easy to make.
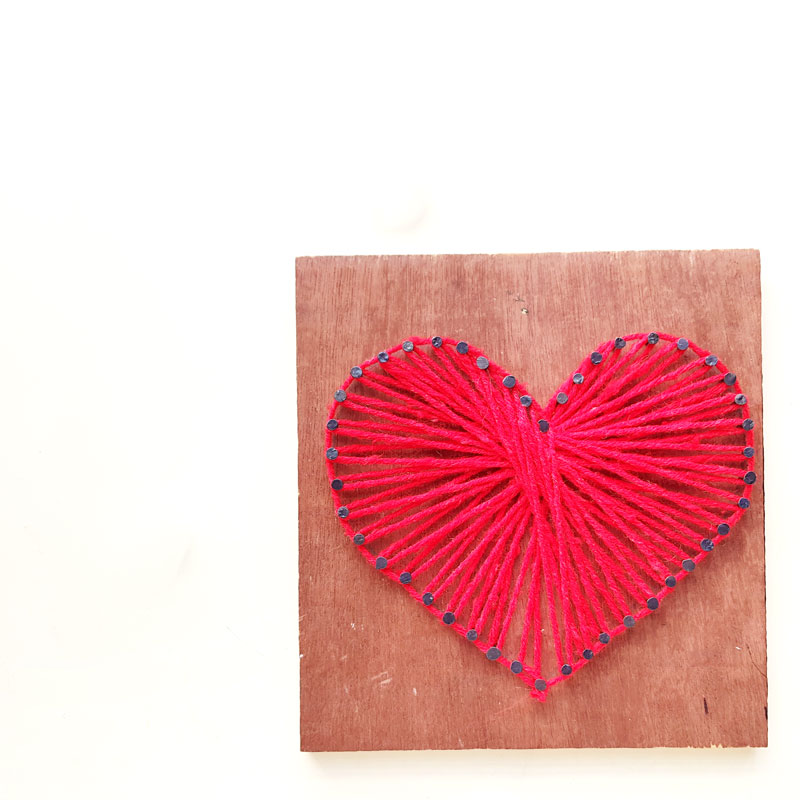
This one is red, but you don’t need to keep things anatomically correct (hint: the heart anyway doesn’t really look like this). Make it white or cream to keep things clean and stand out on the wood background. Use black string for a more industrial look that goes nicely with the rough wood and nails.
You can even brighten things up with metallics!

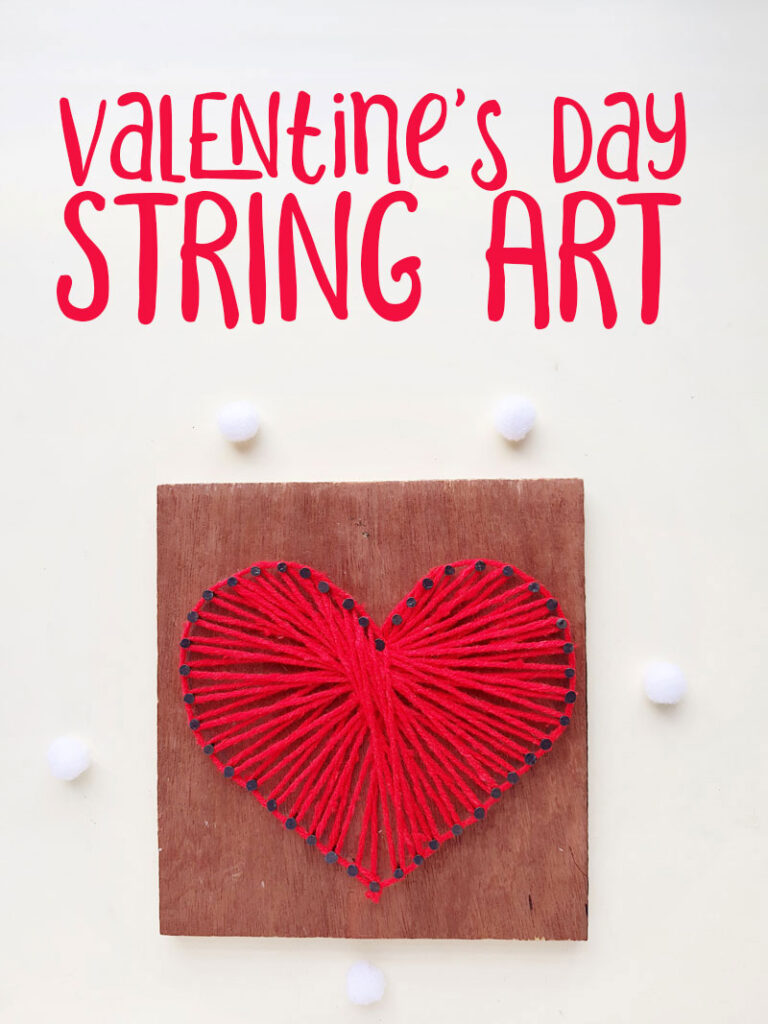
The Valentine’s Day string art is a great group workshop craft too. I created a free template for you to work with. That way people of all skill levels can make this!
The template is really just a heart shape. So if you’re confident in your heart drawing skills, you can skip the template. If you’re doing this with a group, I recommend providing the template.
You can get wood art panels in multi-packs. You can paint it with diluted white acrylic paint for a whitewashed look that’ll make bright or dark colored yarn stand out more.
It all depends on the look you’re after!
To create the optional whitewash: add a dollop of white acrylic to a bowl or palette. Add a splash of water and mix it. Paint with a wide foam brush on the back to make sure you like the opacity. If you want it more sheer, add some more water. Keep going until you’re satisfied, then paint the front. (I did this on wood boards for other projects that I haven’t shared, not this one, so no photos or real step-by-step – I apologize!).

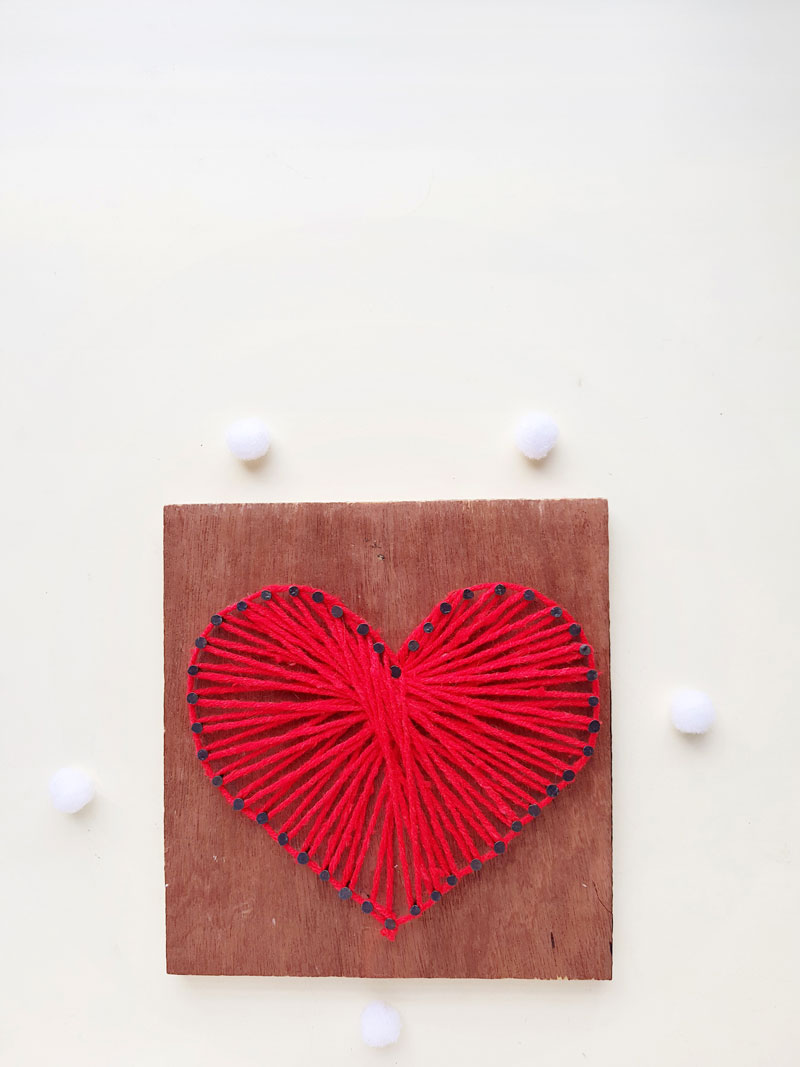
Heart string art makes a fantastic gift, and a perfect piece for propping and gathering with other seasonal decor in a mantel, sideboard, or shelf display. It’s fun to make and a fantastic beginner string art project for tweens and teens as well.
The shape is simple enough that any child old enough to use a hammer and nails can make it (always supervise children). Once you make this heart, you’ll want to try other shapes too!
What you need to make heart string art
How to assemble this heart string art template
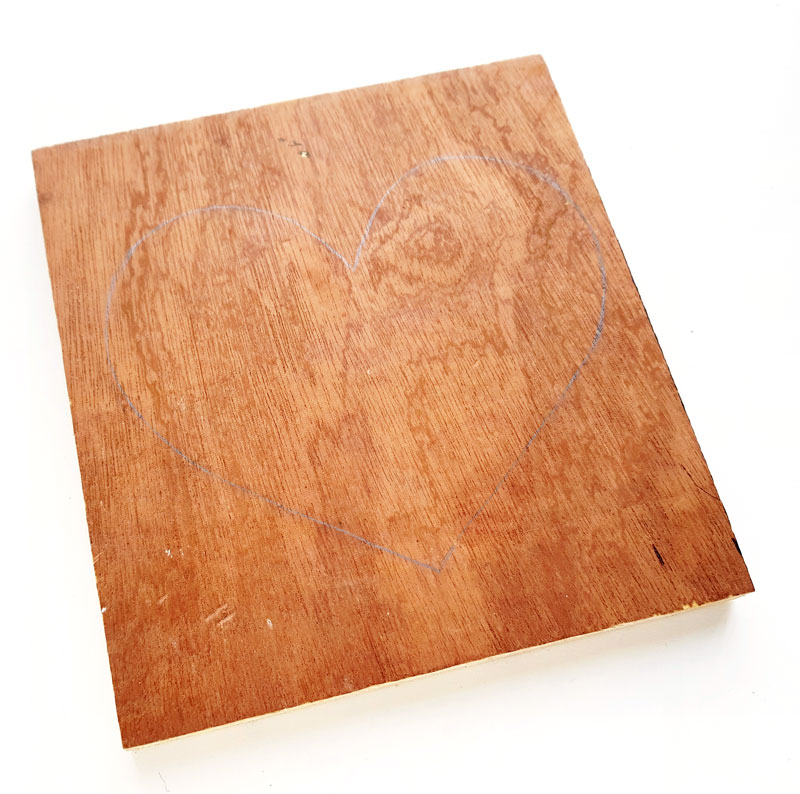
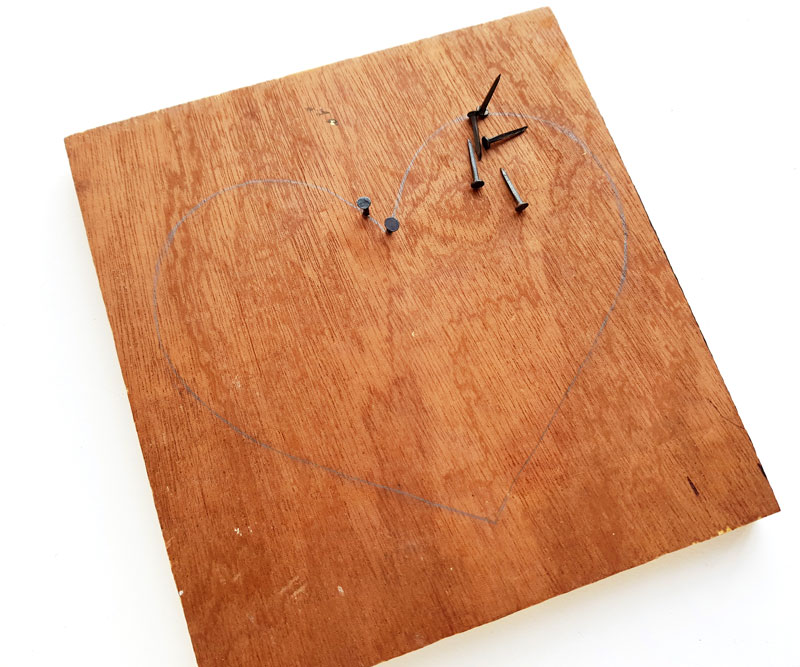
1. Prepare a piece of wood for the nail art. You can finish it, whitewash it, or keep it as is. I’m using a rectangular wooden art board for my project. Trace a heart pattern on the wooden board using a pencil. Draw this yourself, or use the template I provided.
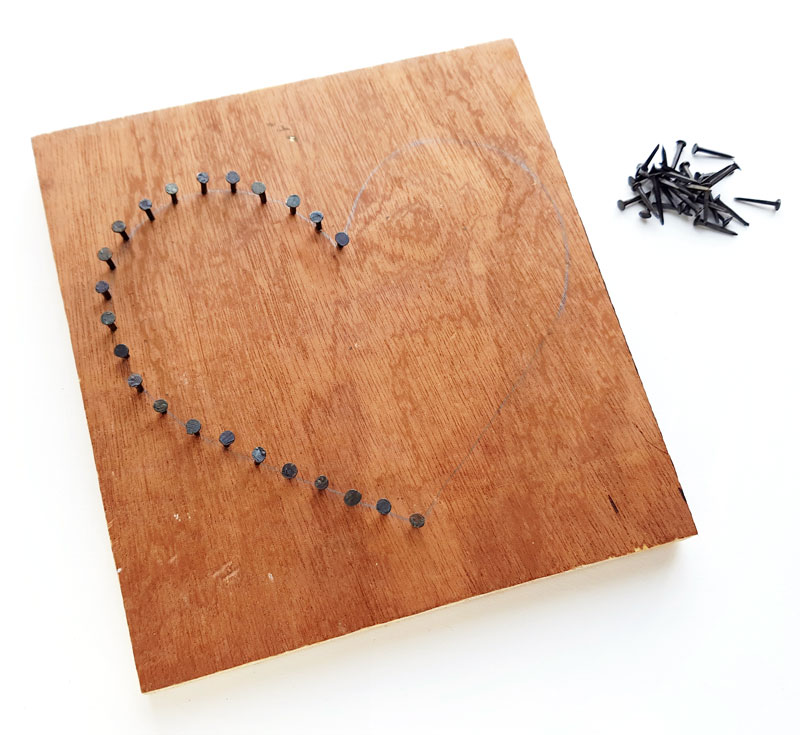
2. Hammer the nails into the wooden board along the traced heart line. Leave a comfortable amount sticking out.
Make sure to keep an even gap between the nails. On a small-scale project like this, you should be able to eyeball it without a problem.
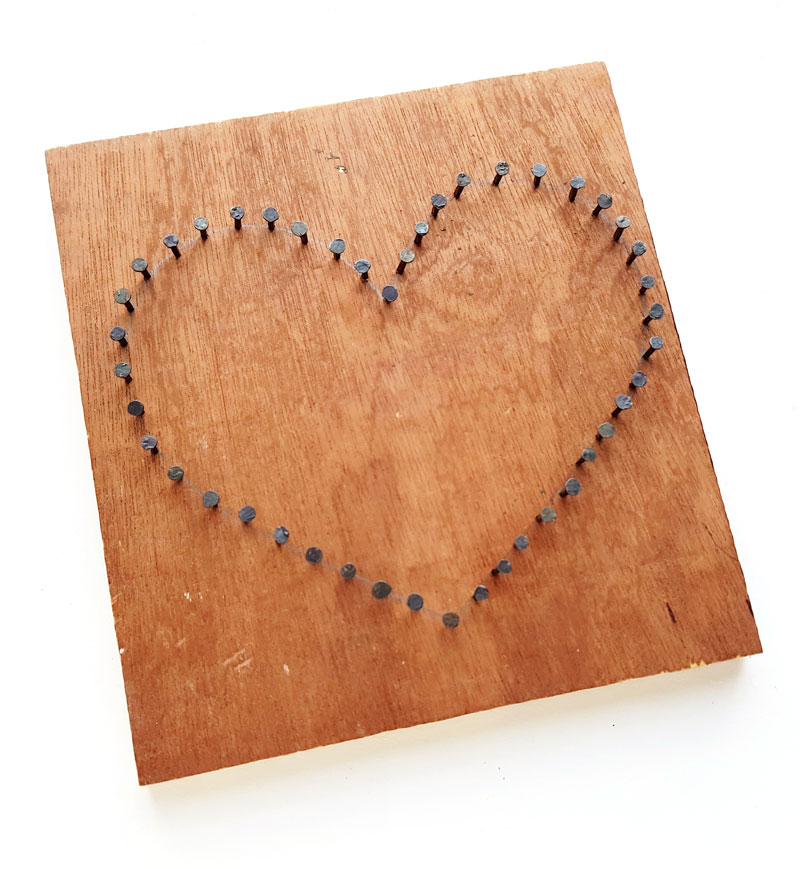
Fill the entire heart outline with nails.
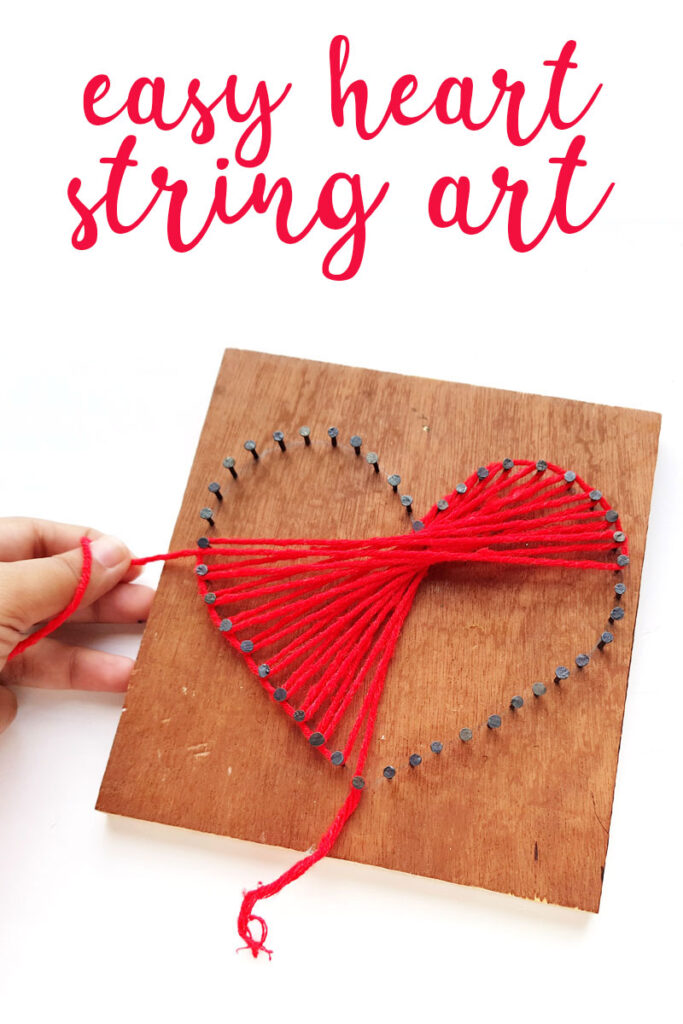
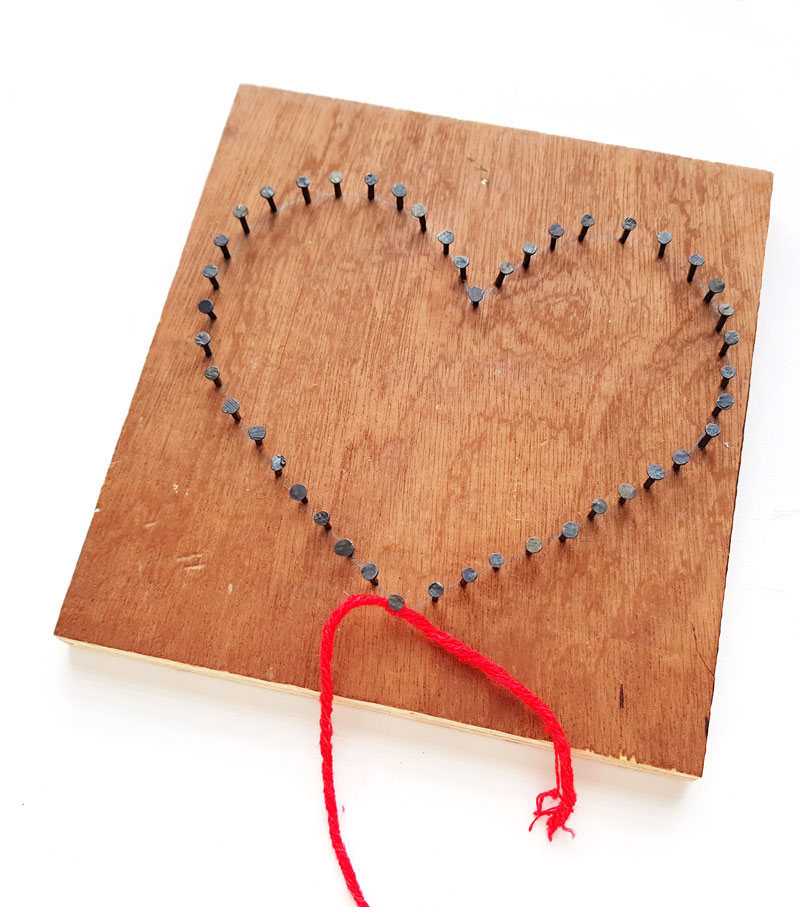
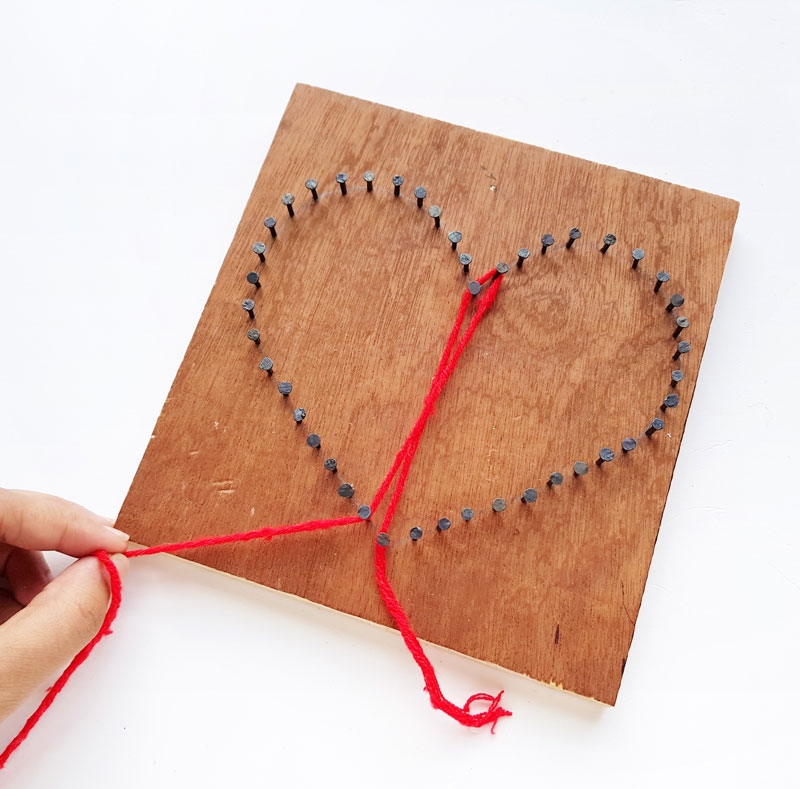
3. Knot your string or yarn around the nail you choose to start with. I recommend starting from the top or bottom corner, where the heart shape dips and forms a peak.
4. Cross the yarn over to the opposite nail and wrap it around that nail once. Make sure it’s wrapped nice and tight. Now, wrap the yarn once around the nail to the right of this one. Cross it over, and wrap around the nail to the left of the one you started with.
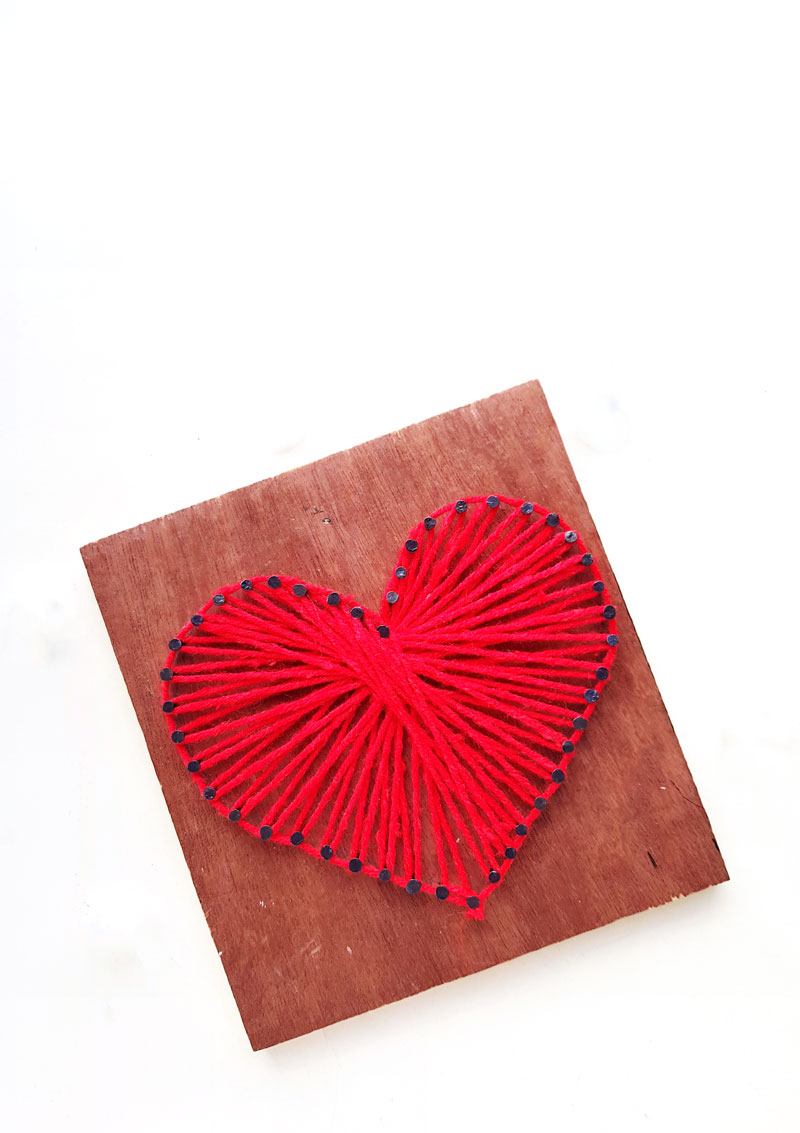
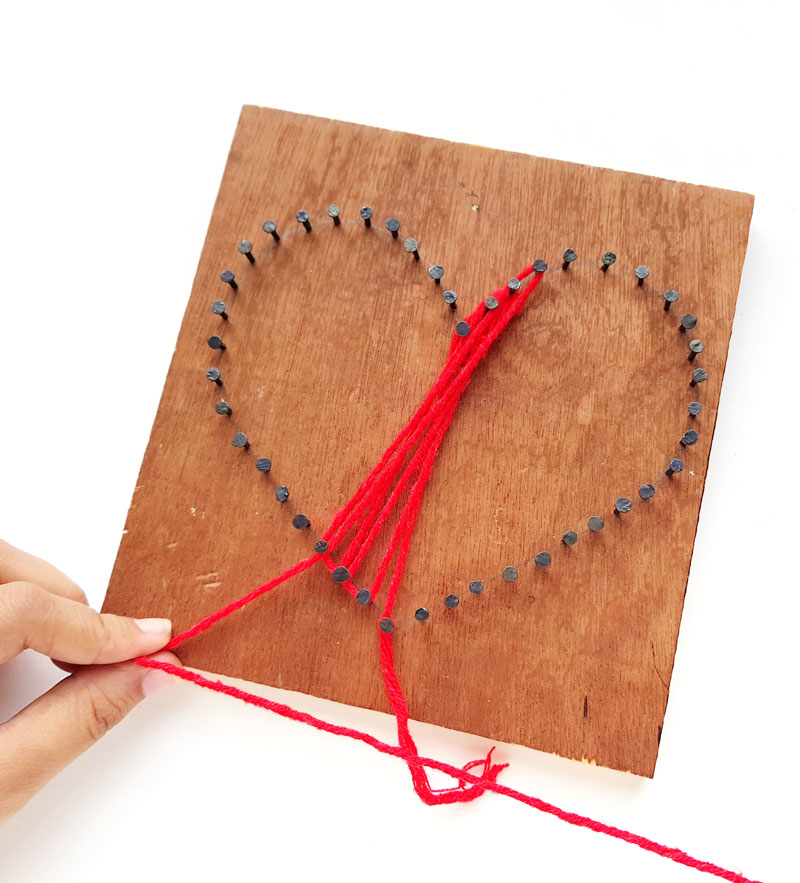
5. Continue this process to create the wheel spoke pattern pictured.
6. If the center overlap drifts upward, as what happened with this piece, gently nudge it downward as you work.
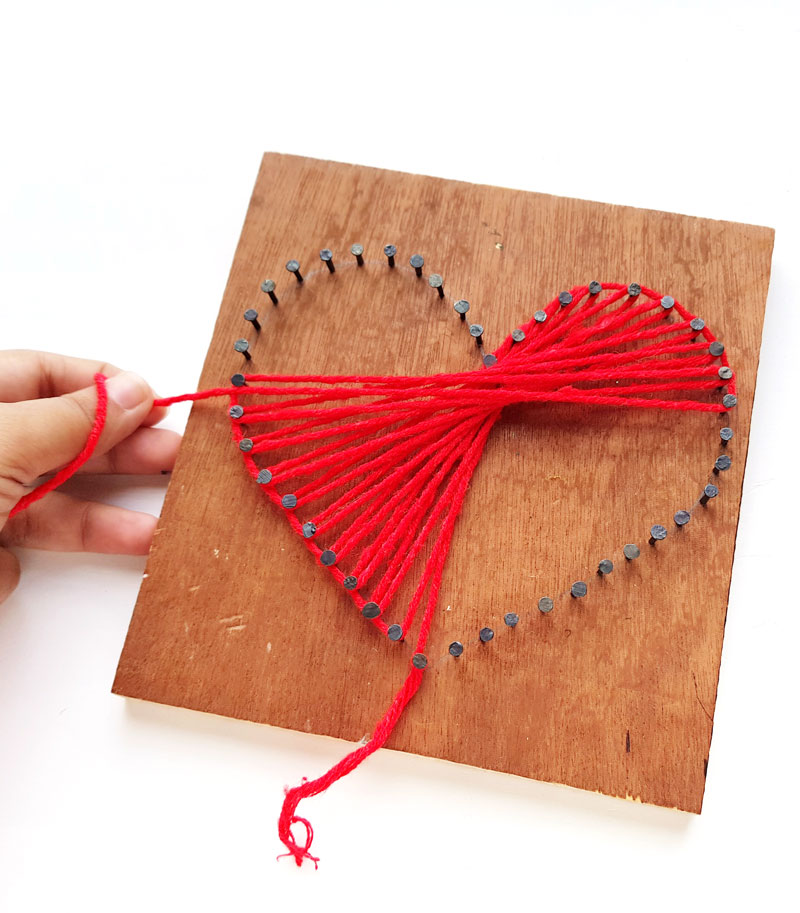
Continue to wrap the yarn until the entire heart pattern is filled.
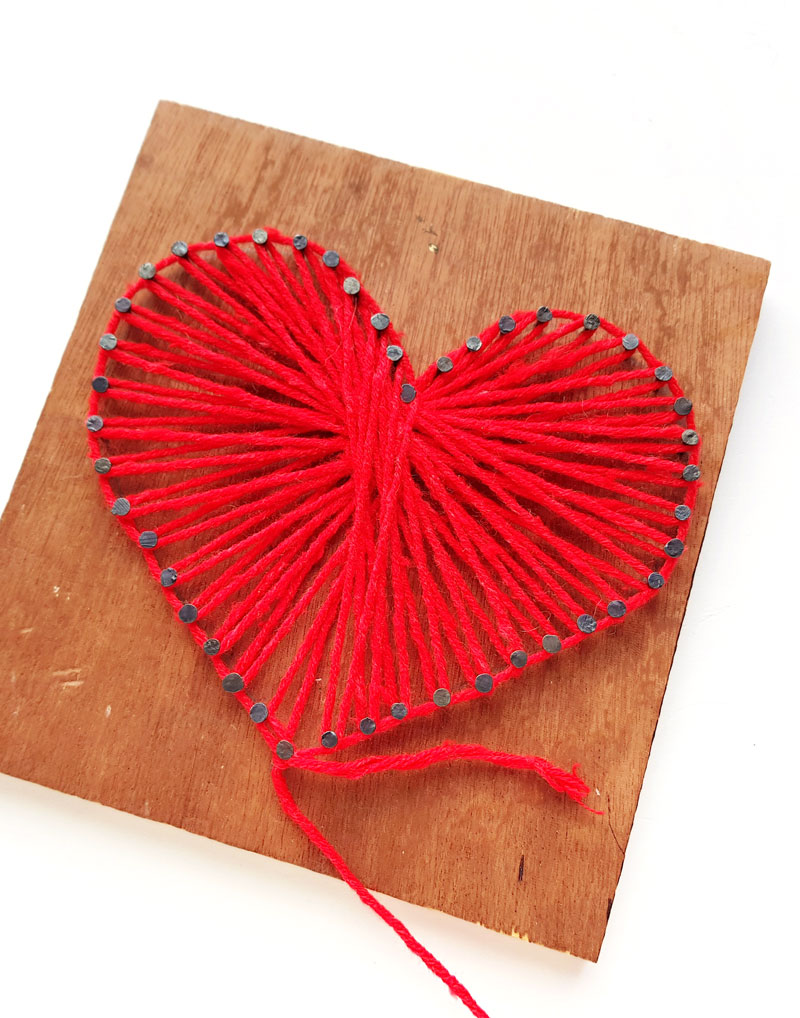
7. When you’ve wrapped all your nails and are happy with it, tie a knot around the first nail and cut off any extra yarn.
Loved trying this heart string art template? Find other simple shapes online and try those next! Or try drawing your own image now!
[ad_2]
Source link