Are you planning to sew your own wedding blouse? Congratulations on taking up this creative and rewarding project! Sewing your own blouse allows you to customize it to your exact preferences and ensure a perfect fit on your special day. In this article, we will provide you with a step-by-step guide on how to sew a wedding blouse, along with some helpful tutorials to assist you throughout the process.
Step 1: Gather Your Materials
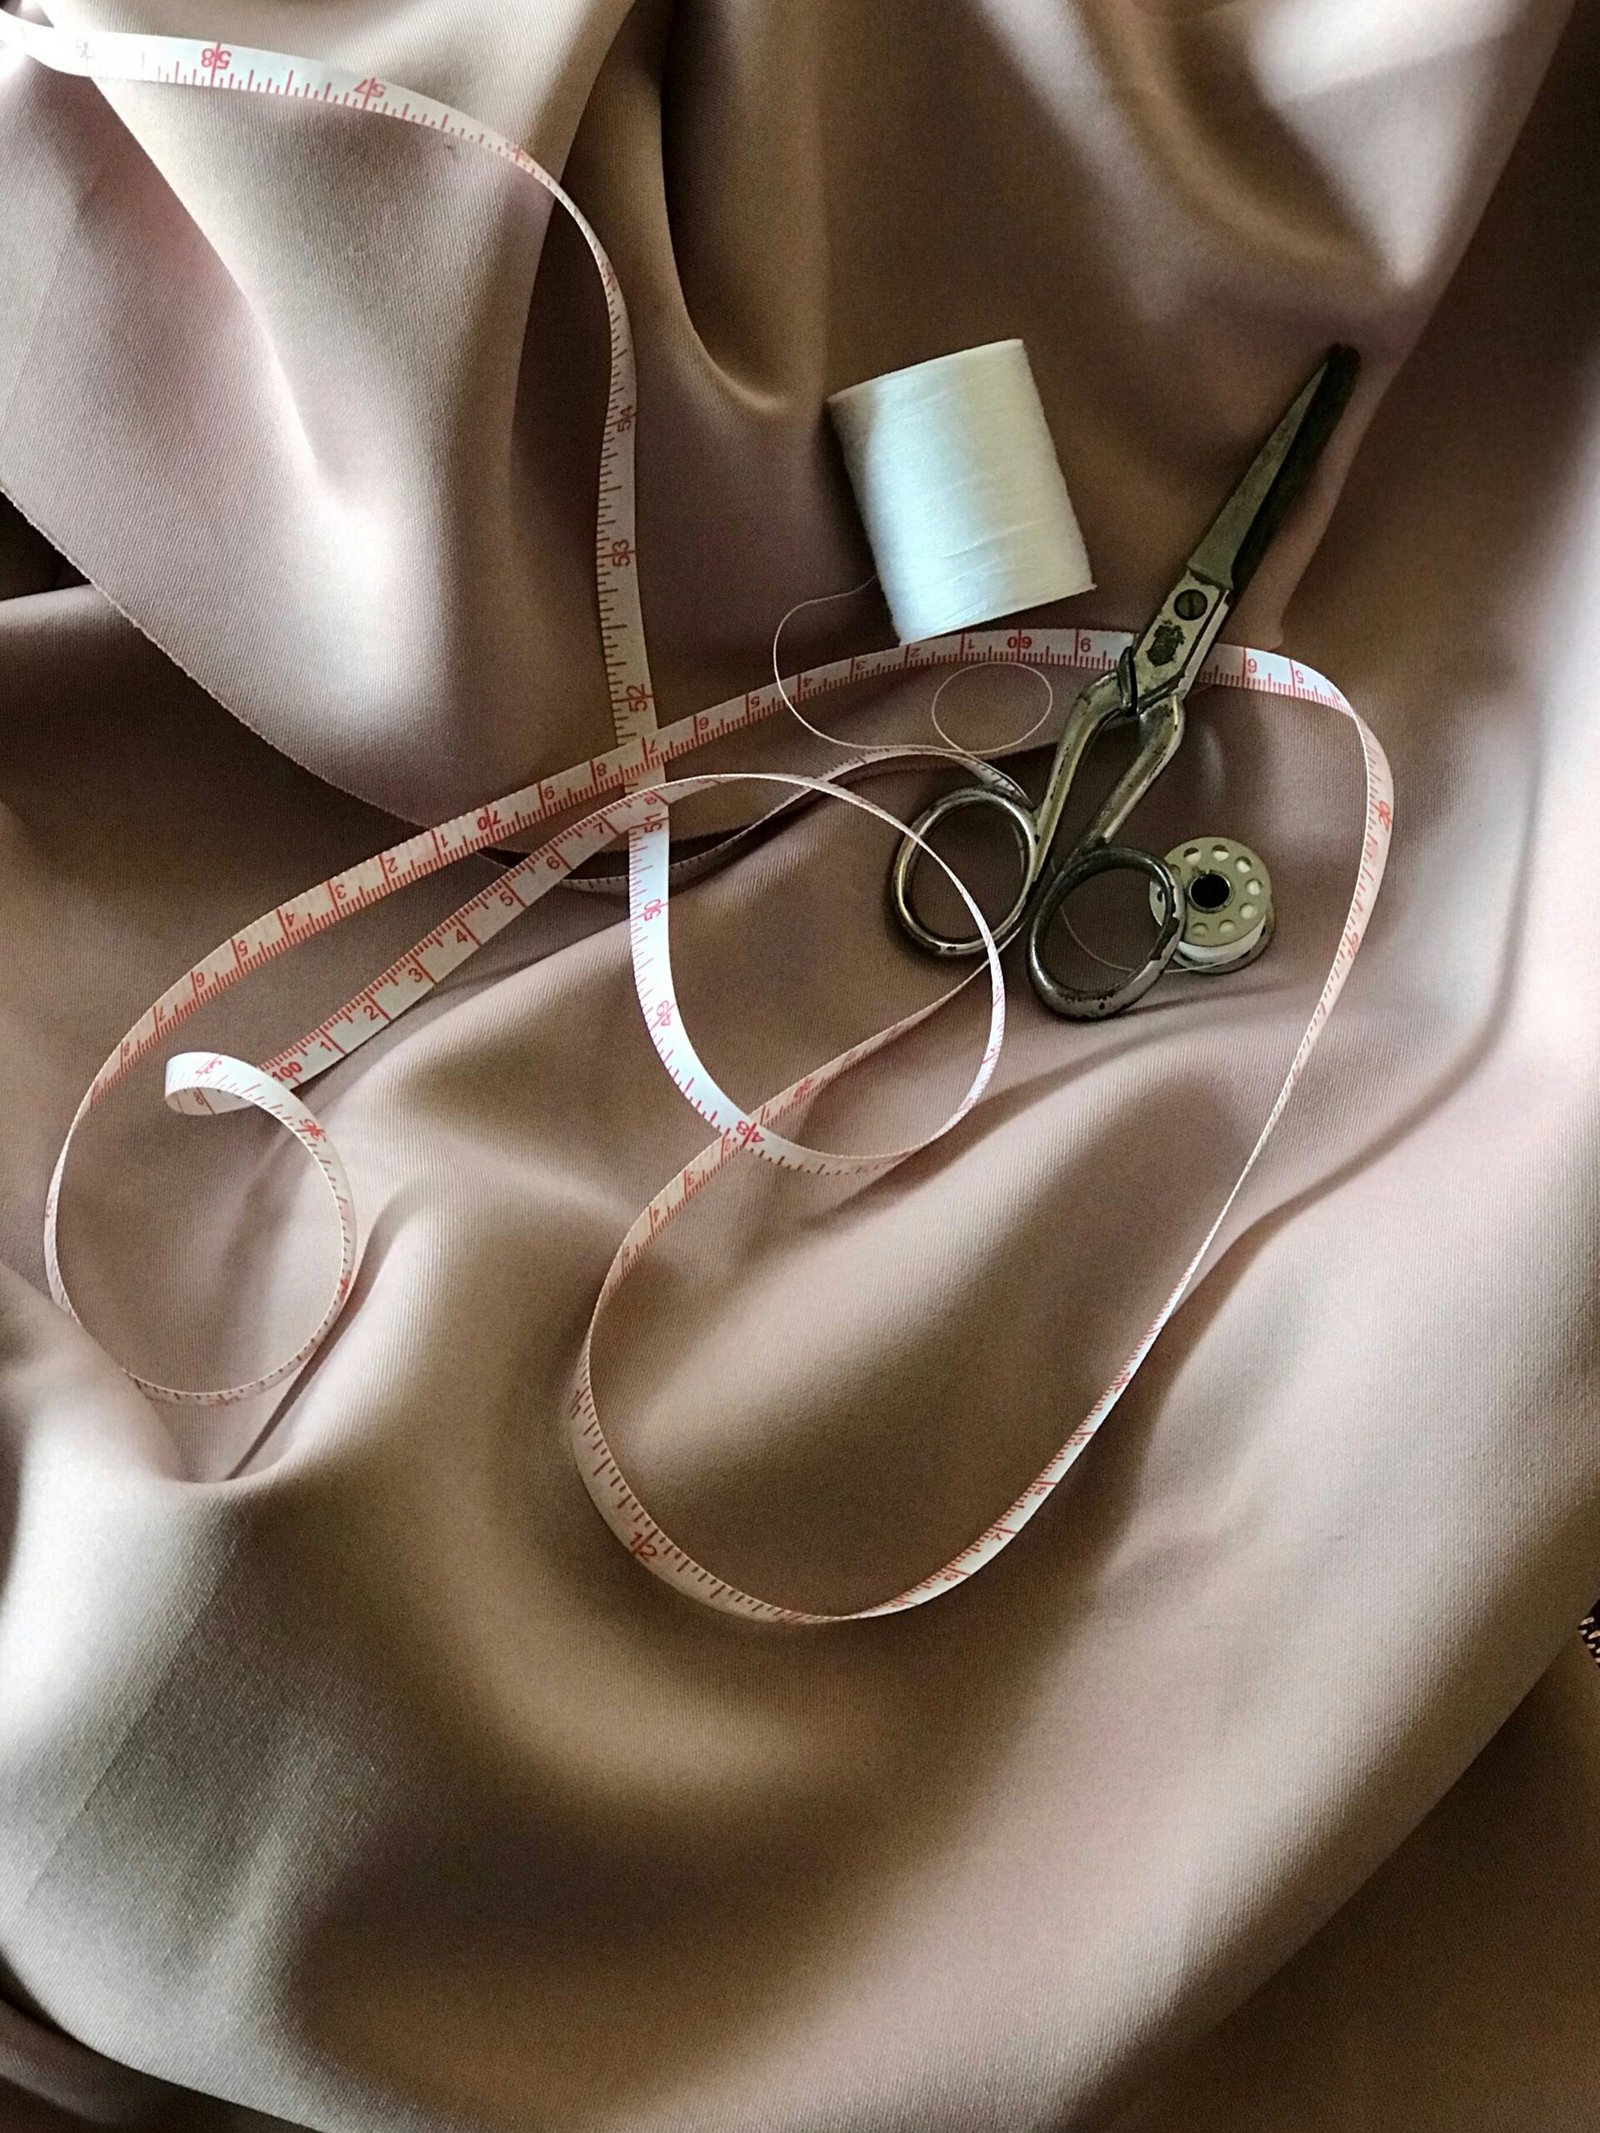
Before you begin sewing, make sure you have all the necessary materials. You will need:
- Fabric of your choice
- Matching thread
- Scissors
- Pins
- Measuring tape
- Needle or sewing machine
- Buttons or hooks for closures
Step 2: Take Accurate Measurements
Measure your bust, waist, and hip circumference to determine the size of your blouse. Use a measuring tape to ensure accurate measurements. You can refer to online tutorials or sewing books for guidance on taking measurements.
Step 3: Create a Pattern
Now that you have your measurements, it’s time to create a pattern for your blouse. You can either draft your own pattern or use a commercial pattern. If you’re new to sewing, it’s recommended to start with a commercial pattern as it provides clear instructions and guidance.
Step 4: Cut and Assemble the Fabric
Once you have your pattern, carefully cut out the fabric pieces according to the instructions. Be sure to follow the grain lines and markings on the pattern. Use pins to hold the fabric pieces together before stitching.
Step 5: Sew the Blouse
Now comes the exciting part – sewing your wedding blouse! Follow the instructions provided with your pattern to sew the blouse pieces together. Use a sewing machine or sew by hand, depending on your skill level and preference. Take your time and sew with precision to ensure a professional finish.
Step 6: Add Details and Embellishments
Once the basic structure of the blouse is complete, you can add any desired details and embellishments. This could include lace trim, embroidery, sequins, or beads. Get creative and make your blouse truly unique and special.
Step 7: Try On and Make Adjustments
After completing the blouse, try it on to check the fit. If any adjustments are needed, make them accordingly. It’s always a good idea to have a friend or family member help you with fitting.
Step 8: Finish the Blouse
Finally, finish the blouse by adding closures such as buttons or hooks. Make sure they are securely attached and functional. Give your blouse a final press with an iron to remove any wrinkles and achieve a polished look.
Tutorials to Assist You
Here are some helpful tutorials that you can refer to throughout your wedding blouse sewing journey:
- Video Tutorial: Sewing a Wedding Blouse for Beginners
- Step-by-Step Guide: Adding Lace Trim to Your Blouse
- Tutorial: Embroidering a Personalized Design on Your Blouse
Remember, sewing your own wedding blouse requires patience and practice. Don’t be discouraged if it doesn’t turn out perfect on the first try. With each project, you will gain valuable skills and experience. Enjoy the process and have fun creating a blouse that reflects your personal style and celebrates your special day!