
[ad_1]
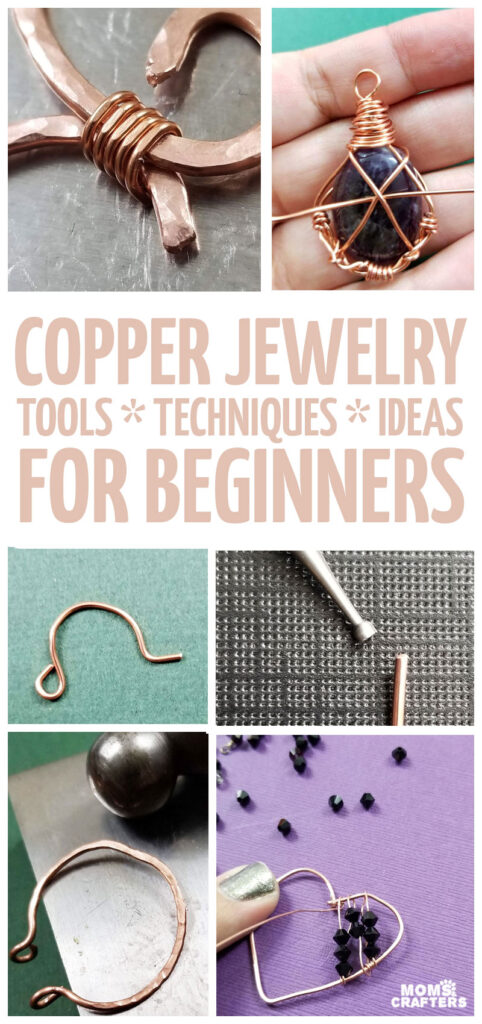
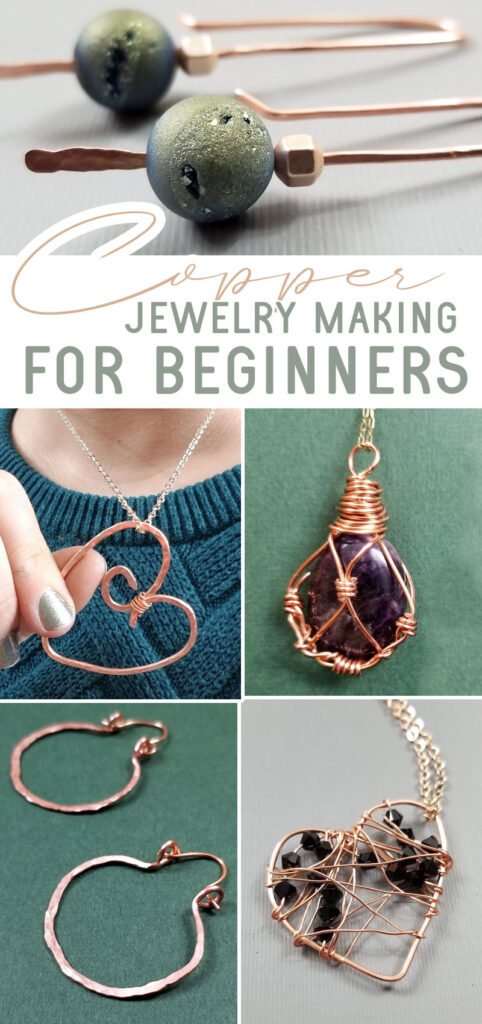
Ready to learn about some copper jewelry making tips and techniques? This post includes all of that – including the tools you need, basics of working with wire, and some ideas to get you started! Check out my full guide to jewelry crafts here. This post contains affiliate links.
Copper is a top choice for beginner metal jewelry artists for the following reasons:
- It’s a “real” metal that won’t flake or peel.
- It’s soft enough – and comes in soft versions – so you can work with it.
- It’s also really affordable.
I also happen to love how copper looks.
Today, I’m thrilled to teach you some copper jewelry making skills for beginners.
This post is geared toward those of you who are truly starting out but I’ll include some recommended reading to take it a step further.
Because it’s for true beginners, I focus on copper wire.
I recommend copper sheets, which require sawing and more advanced techniques, as well as techniques that require joining pieces, for those who are at the level past this one.
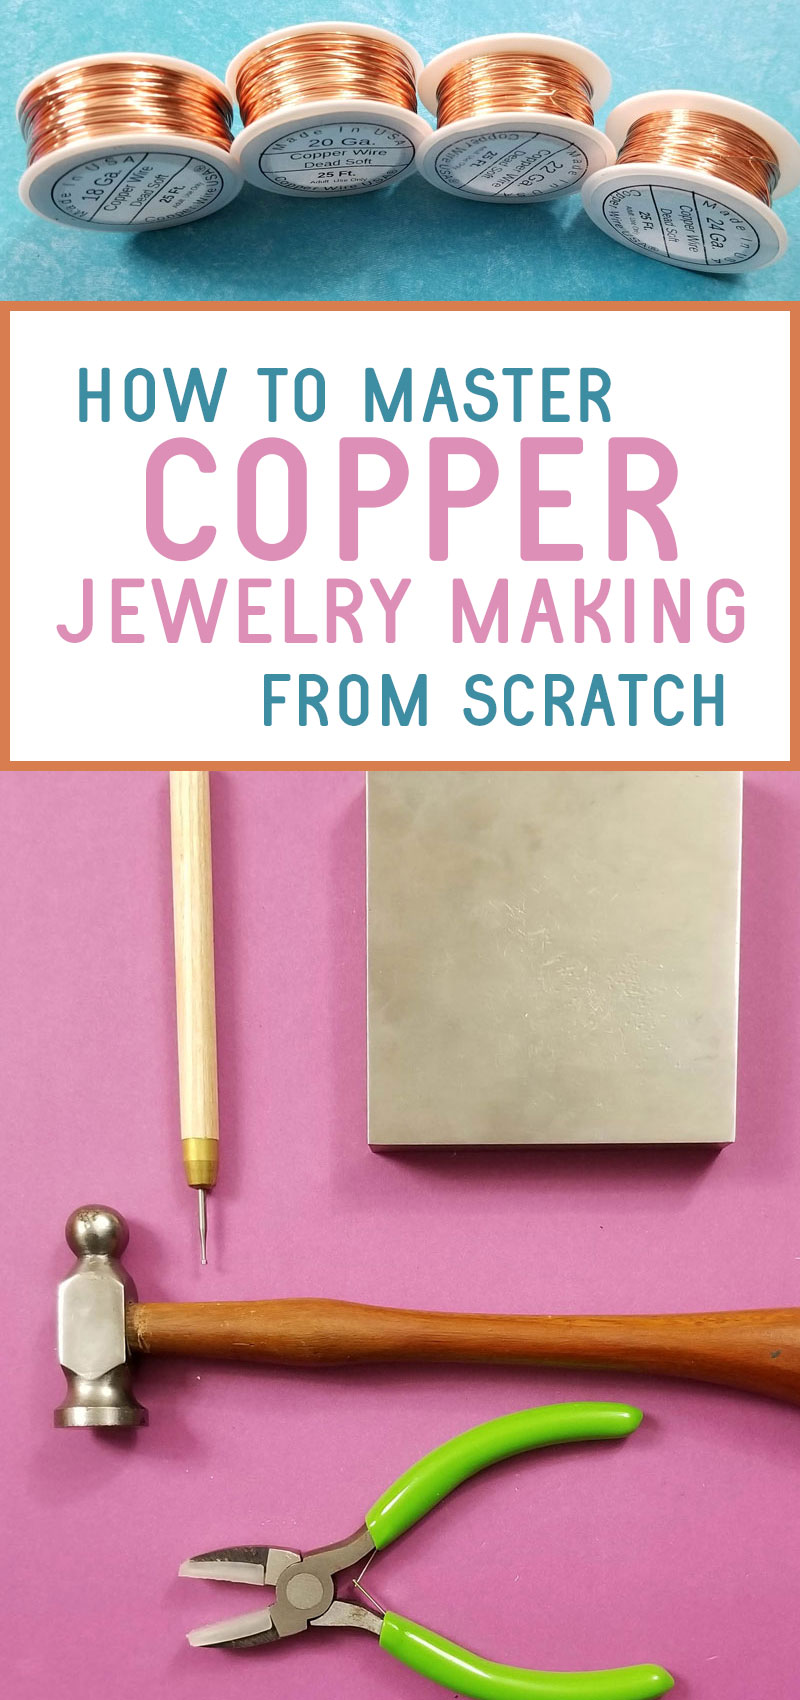
When you go in deep, you’ll worry about soldering tools and such. For now, we’re going into what any jewelry artist or crafter might want to get started with copper jewelry making – in addition to the regular jewelry making tools.
When working with copper – or any precious metal – you want nylon jaw pliers. This is similar to your typical pliers only the jaws are literally covered in nylon. This helps you not nick the soft metal and keep your piece in top notch shape.
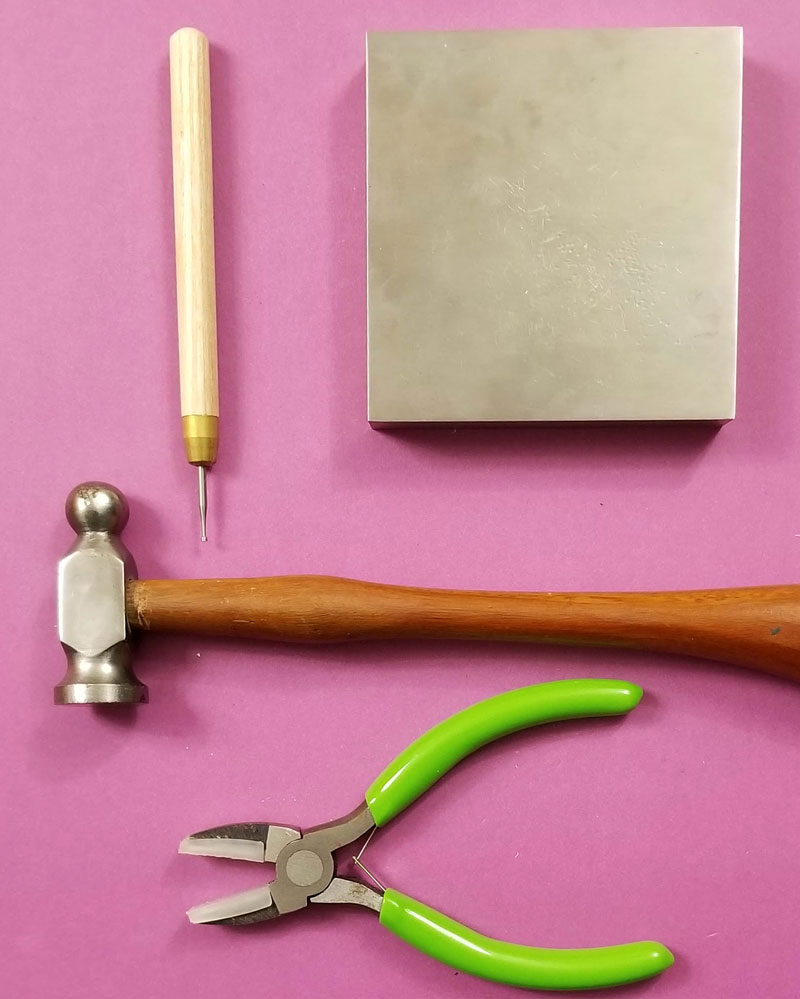
Wire rounder – or file:
A wire end rounder is a file with a little round groove at the end that contains the filing bits inside. You use it to remove burrs at the end of your wire and to round it. You can also use a regular file.
Otherwise known as a Ball Pein Hammer or Chasing Hammer. This special hammer should carry some weight. Use it to hammer your metal.
Hammering metal accomplishes two things which I will get into further down in this post when we discuss techniques.
This is a chunk of steel that you place under your item when you are hammering. You need a solid block that won’t (or will minimally) give in to your hammering so that your metal actually gives.
Place it under your bench block (if you want). Leather makes it slip resistant. It helps damper the blow and the sound of your hammering.
Which wires to use for jewelry making
Before trying copper jewelry making, you’ll want to learn the differences between different wires and the terms:
Shape:
You’ll mostly want round wire. This basically means that the wire itself is round in shape and it’s the most versatile of all wires. I sometimes use square wire to form the base of something that’s sturdier and more elegant. Another common shape is half round. For the purposes of these copper jewelry making ideas, you’ll want round wire.
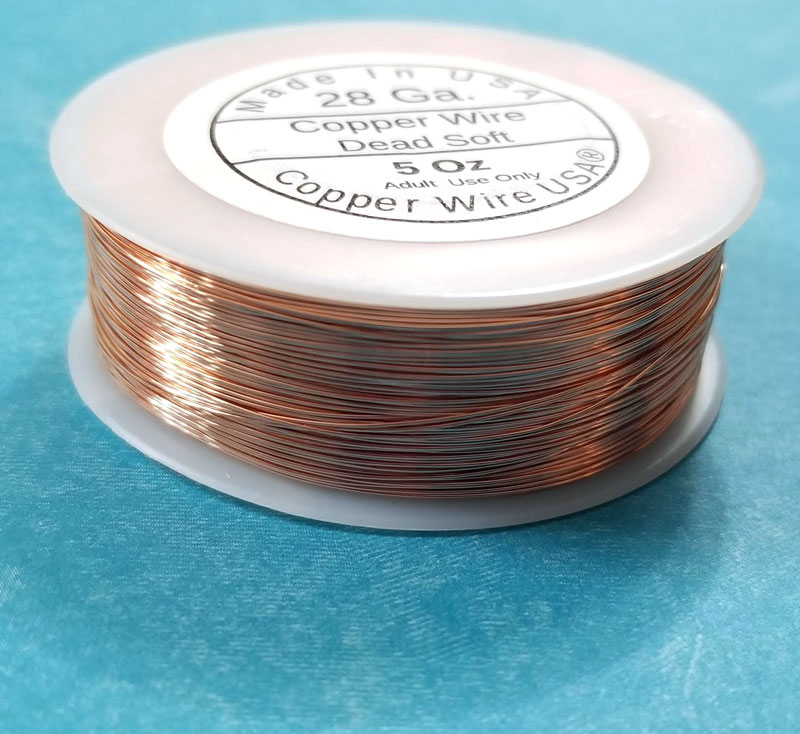
Hardness:
Copper wire comes in dead soft, half hard, and hard. For many projects you’ll want dead soft, simply because it’s the easiest to work with and comforms the most. For things like earwires that require the most stability and might not be hammered (more on that to come…) you’ll want something a little harder.
Gauge:
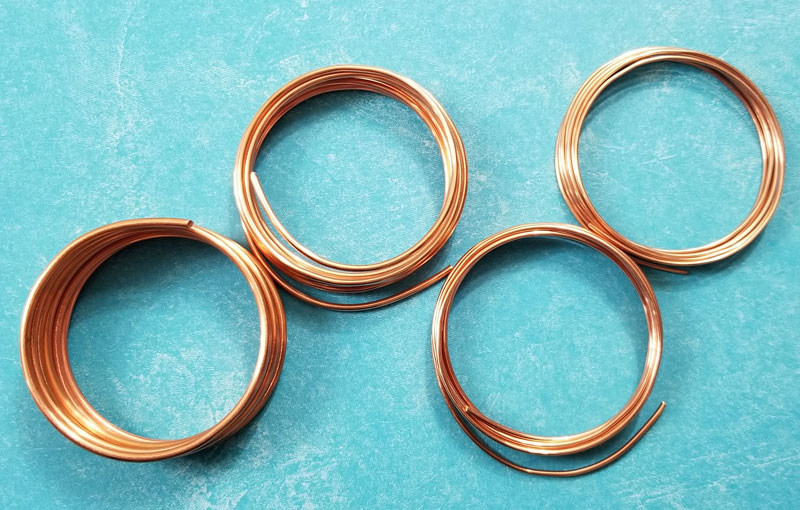
Gauge refers to the thickness of your wire. The higher the gauge, the thinner the wire. 14-16 gauge is a nice, thick base. 20-22 gauge is thinner but still holds, and is great for findings. 24-28 is really thin and best for wrapping. I got this pack of thinner wires….

….and this one of thicker wires – they are great stash builders. I did add other wires (a 28 gauge spool and a 16 gauge square coil) when I needed them.
Copper Jewelry Making Techniques
Now we’re moving on to how you actually go about copper jewelry making. Of course, these are just very basic copper jewelry making techniques, but they are the building blocks you’ll need. And once you know these, you’ll be able to make a lot as you can see with the projects below:
Hammering copper jewelry
Hammering provides two benefits: it hardens your wire and it adds texture. Hammer when you’re happy with the shape (more or less) as it really does solidify it to some degree. Trying to reshape a wire that’s been hammered often causes it to break.
To hammer: place your metal on your bench block (which can be sitting on a leather sandbag if you want). To flatten, hammer with the flat side. To add texture, hammer with the ball side.
Keep in mind: as you’re hammering, your metal responds accordingly. You’ll see it bend and curl. Make sure you’re readjusting and guiding your metal as you go along to move in the direction you want it to. Flip over your piece when the wire curls upward. If it’s moving away from you and you want it to move toward you, rotate your piece.
Wire Wrapping with Copper
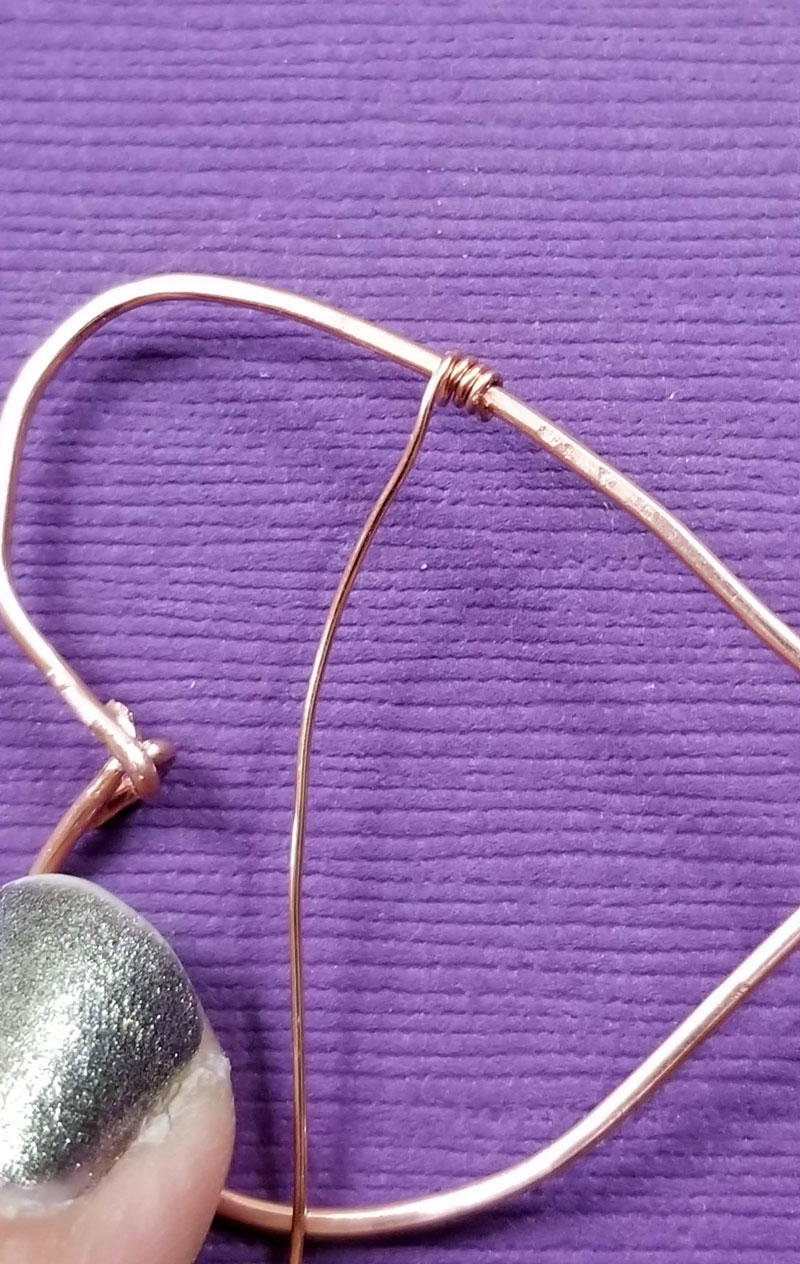
Wrapping is a whole skill of its own, and it can be super simple or elaborate. Guess which of those two I love?
If you guessed simple, you got it right. You can do so much with a bit of freeform wrapping without the pressure of crazy designs.
Wrapping is really about making the wire do what you want it to, and is quite a fun beginner skill. I have a couple of projects below to start you off with.
Generally, when wrapping, makes sure your beginning coils are flush against your main wire that you’re wrapping it around. Do this by pressing it tight with a flat nose pliers.
Rounding Wire Ends
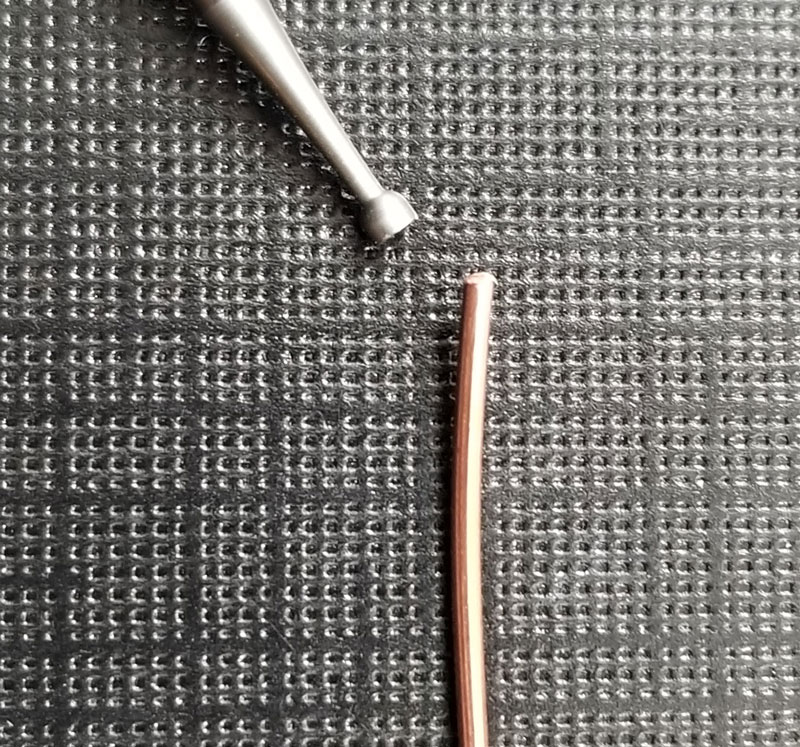
An important stage of finishing off a wire piece when copper jewelry making is rounding your ends. This is especially important with loose ends – those that aren’t flush against another wire.
Rounding it basically means filing off the burrs that are left when you cut a piece of wire. Do this by using a file or end rounder, and gently removing those bits.
Copper Jewelry Making Projects for Beginners
Make each of these to get started with the different techniques you’re ready to learn! As I add more projects to the blog, I’ll add them here, but meanwhile, feel free to subscribe for updates so that you don’t miss any…
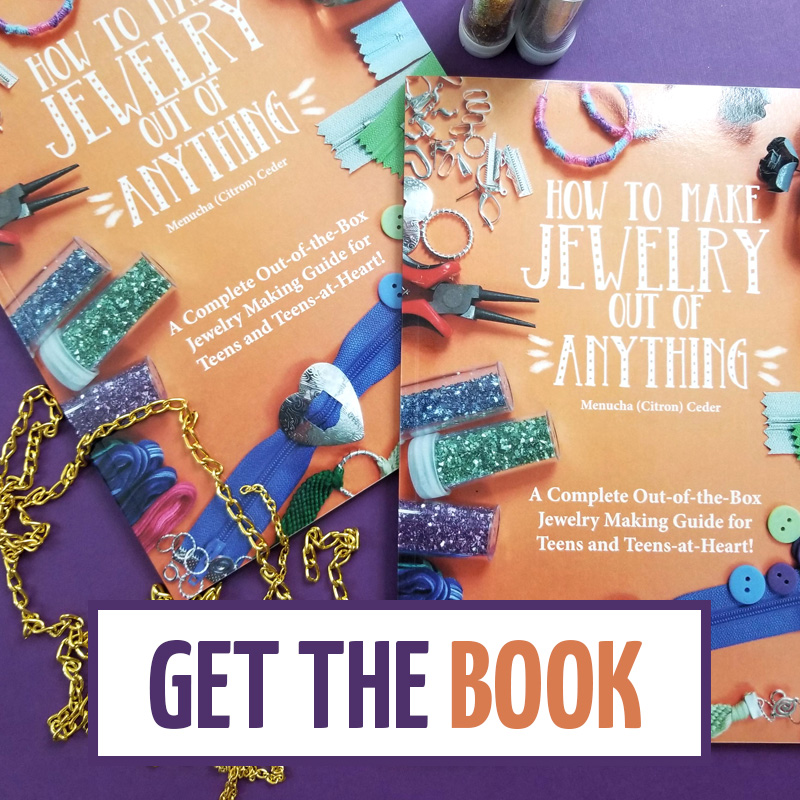
Wire Hoops
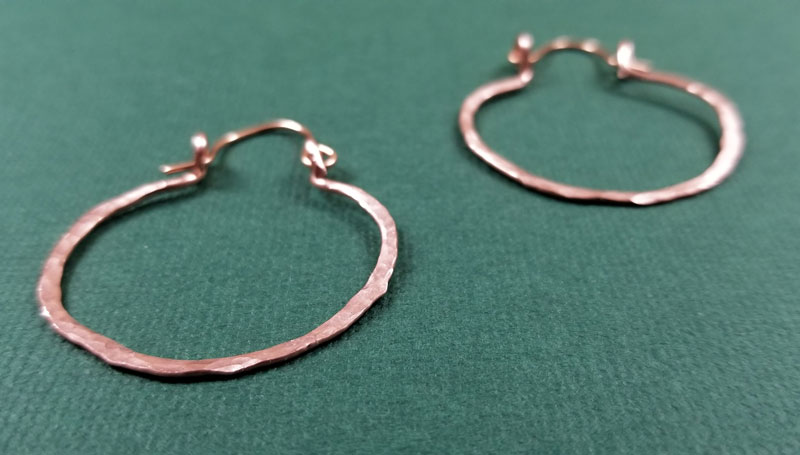
A classic, these wire hoop earrings are a lyre harp inspired shape. The two-piece design shows you how different wire sizes provide different benefits, with a thinner earwire and a thicker hoop. It also gives it a bit of dangle. You’ll learn how to make earwires that are good for any project too . This tutorial also teaches you the basics of hammering and rounding.
Stick Earrings
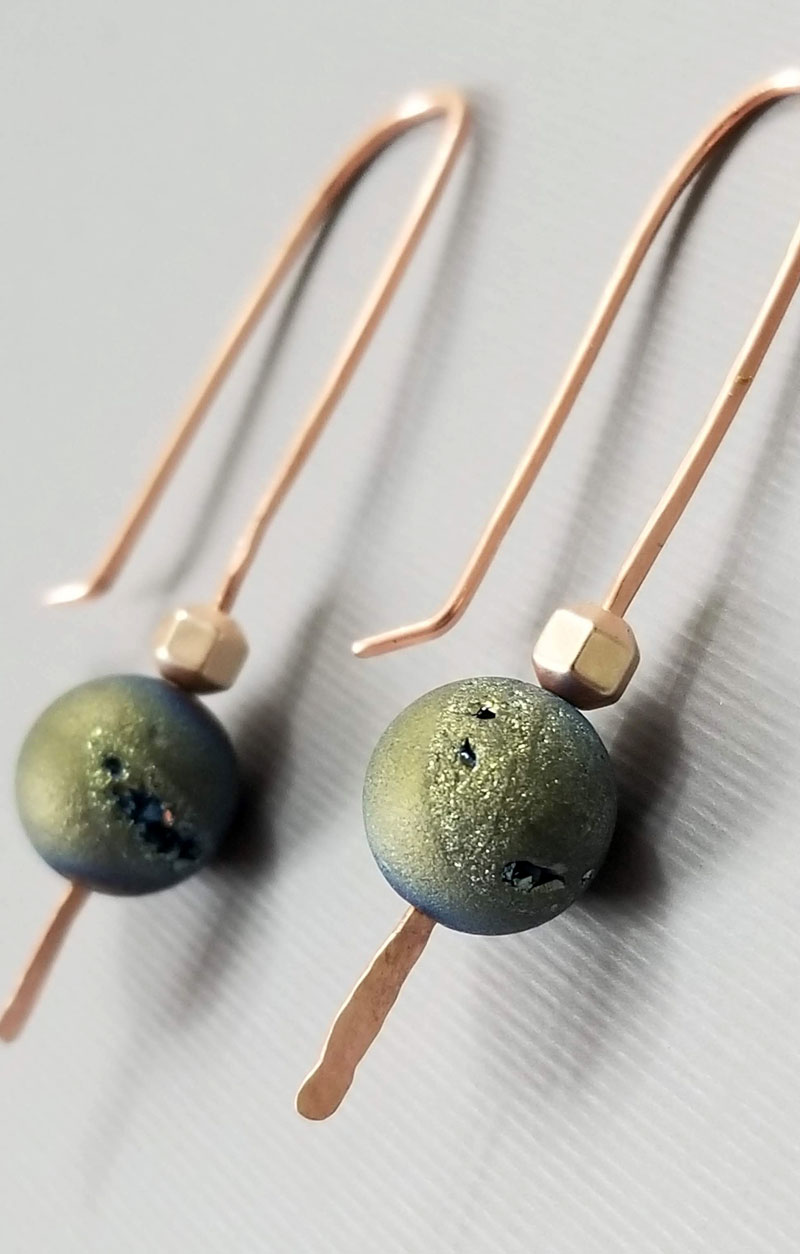
Mix your designs with beads in these DIY metal earrings! A good, rounded end means a beautiful hammered end. This tutorial demonstrates how versatile your skills can be even before you can solder. It’s made of a few inches of copper wire combined with a stunning Druzy bead – that’s it!
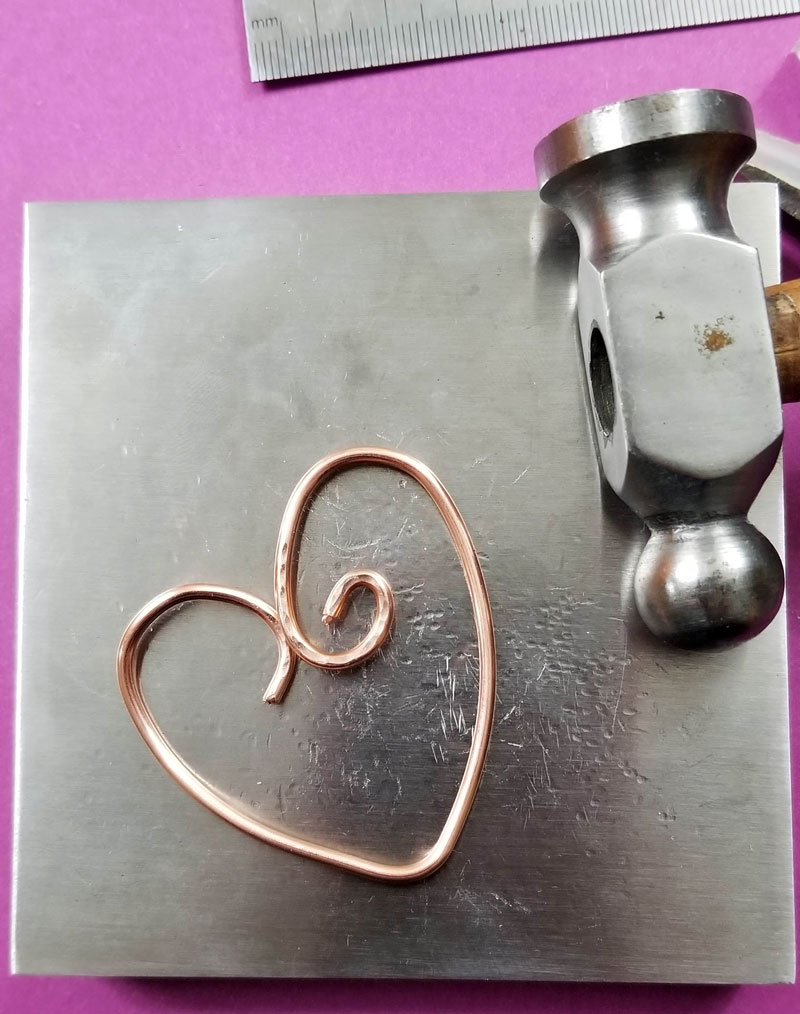
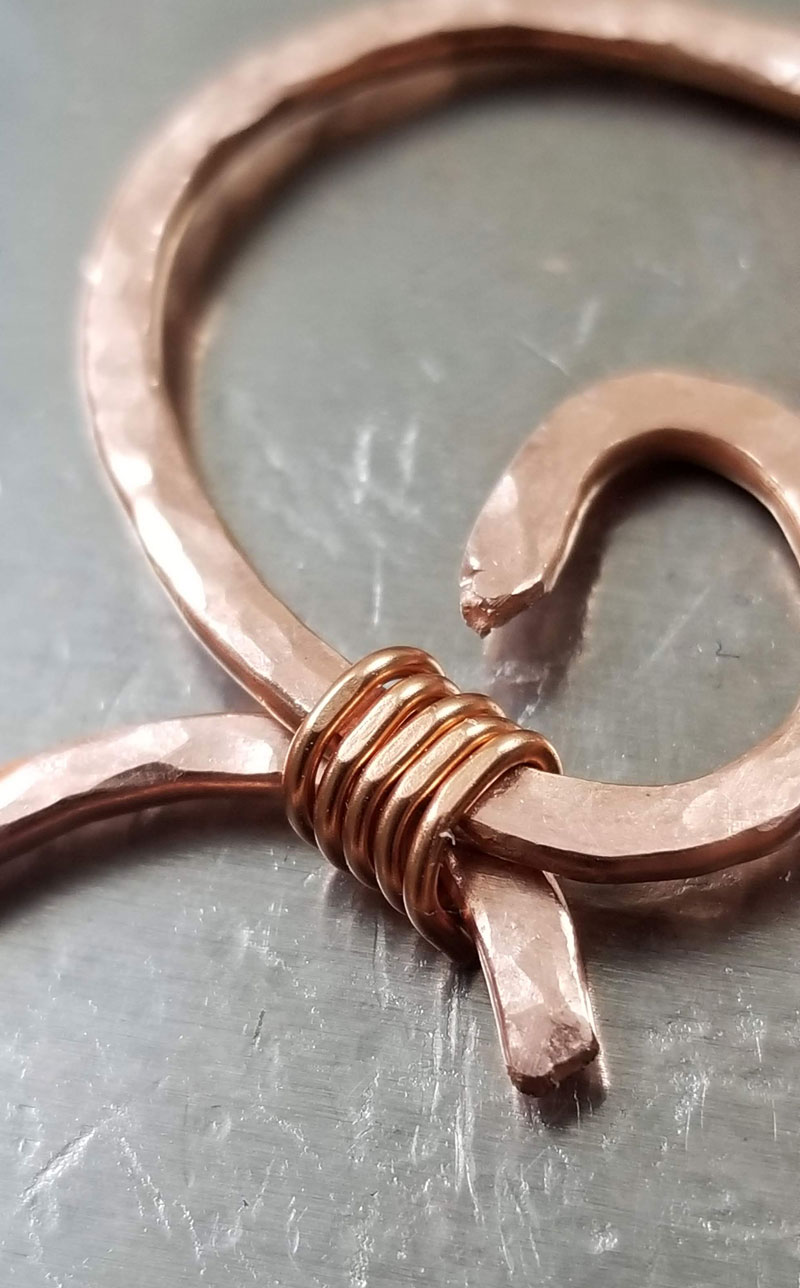
Hammered Hearts
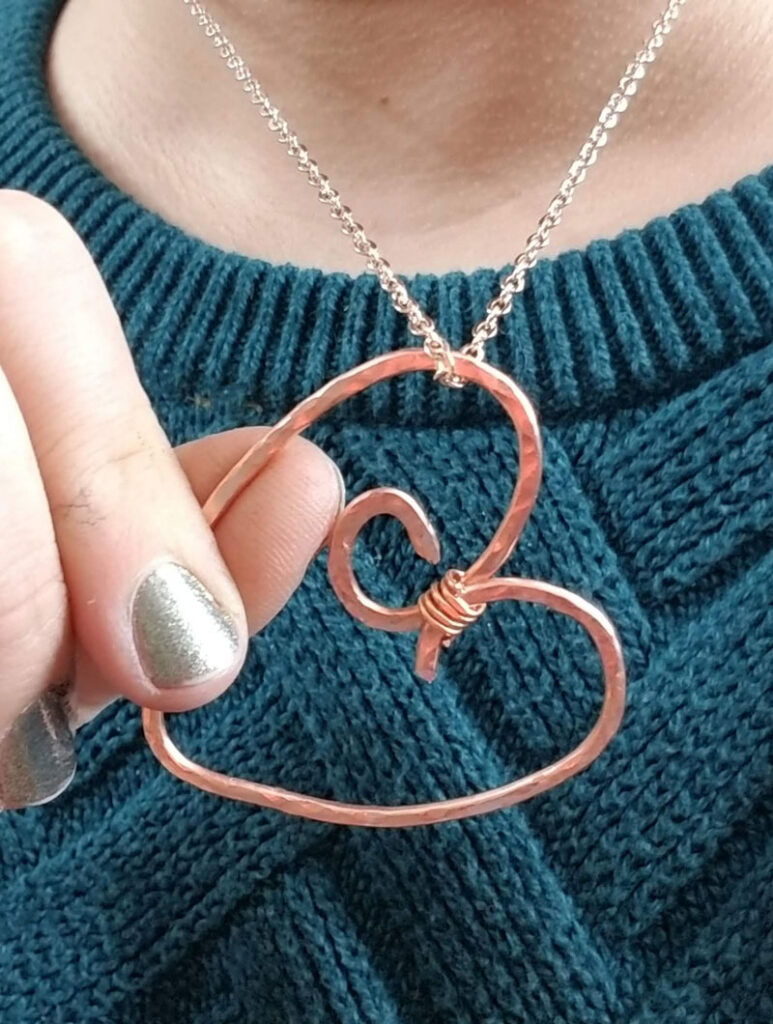
Make these hammered wire heart pendants for a loved one – or turn them into keychains. The focus here is obviously on hammering, but you can see that beautifully wrapped coil in the center that’ll help you sharpen your manipulation skills. It also shows you the powerful effect you can get with a nice, thick wire.
Wire Wrapped Hearts
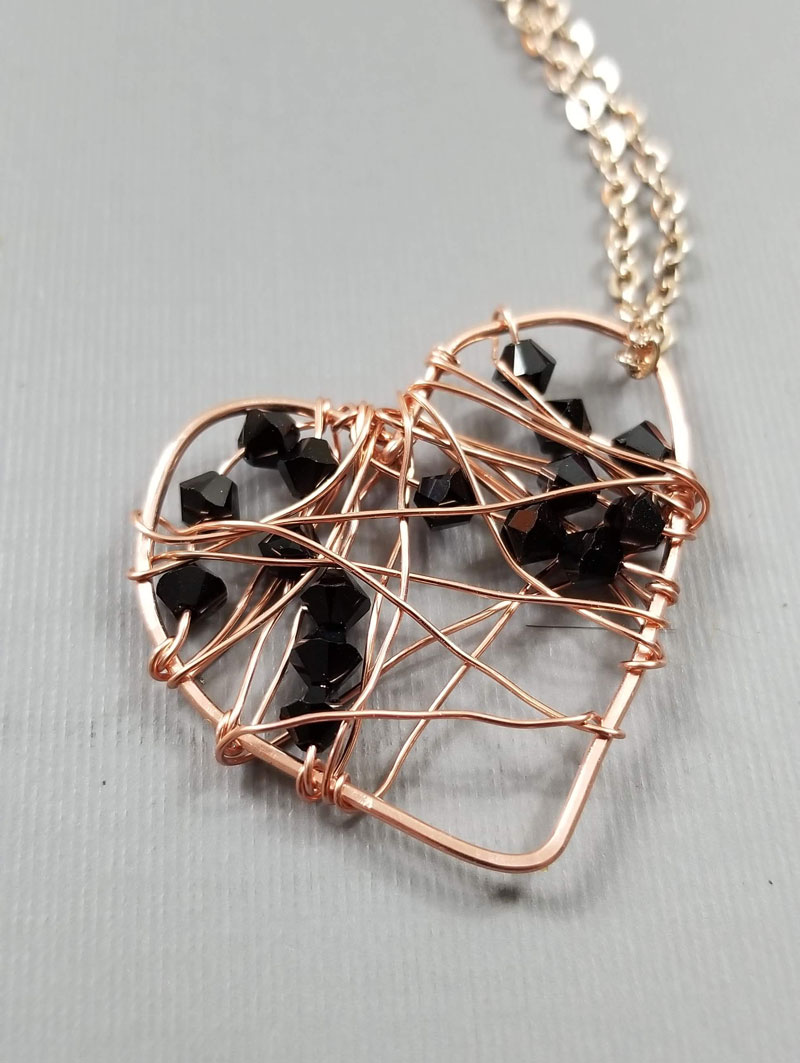
Get started wrapping! Wire wrapped hearts have a gorgeous, almost lacy look with a hint of color. Again, the focus is showing you how different gauges of wire play out differently – but whatever you do with it, it’s just gorgeous.
Wire wrapped cabochons
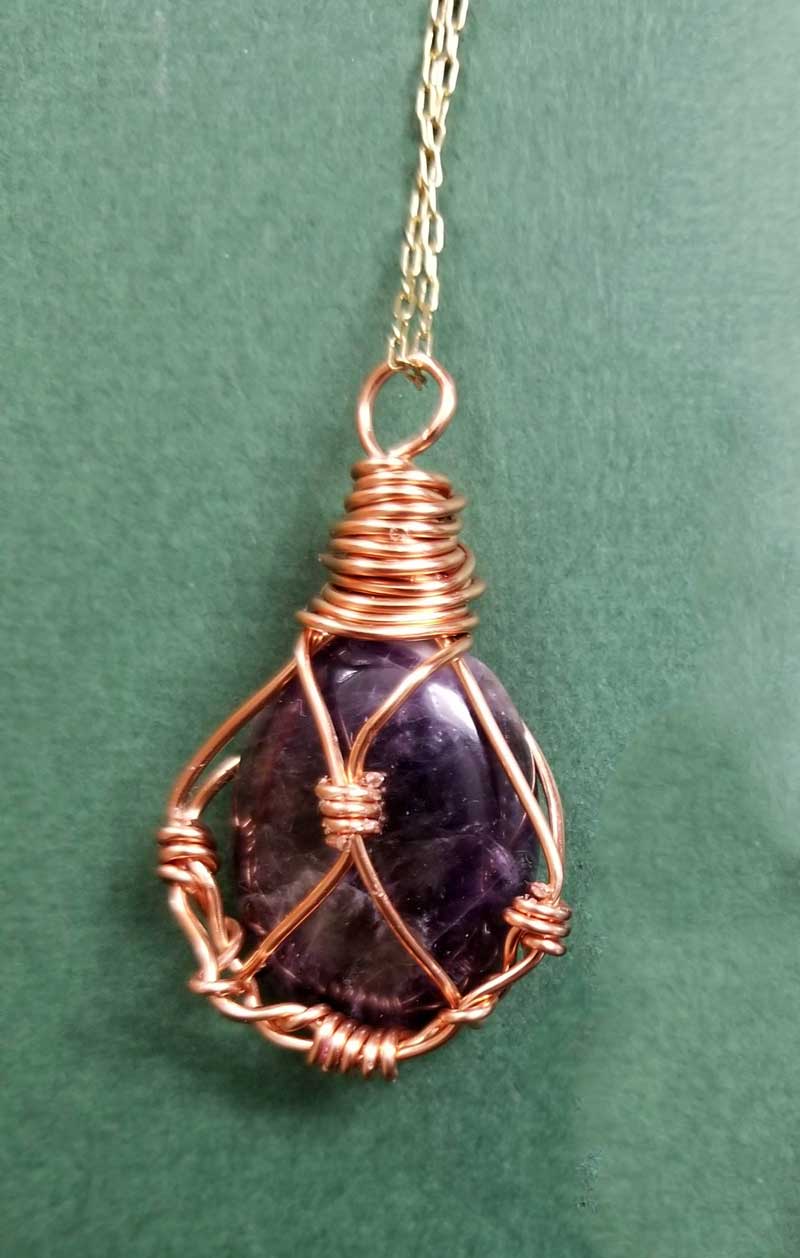
Learn How to Wire Wrap Stones Without Holes with this basic copper jewelry making tutorial. This one is less freeform but you can get the drift and go with the flow on the next one. I just LOVE how the copper tones look on deep amethyst.
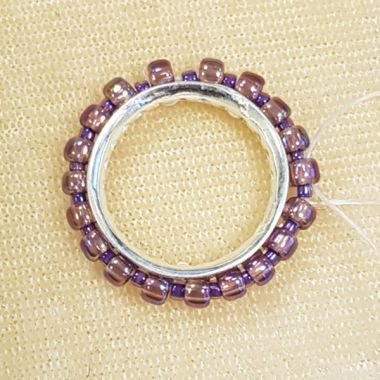
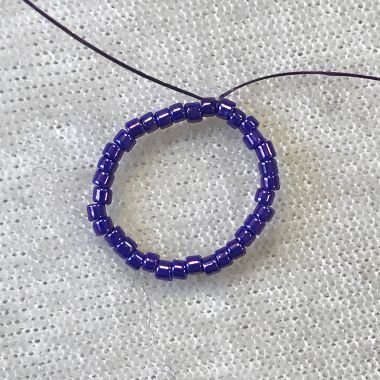
Beaded frame earrings
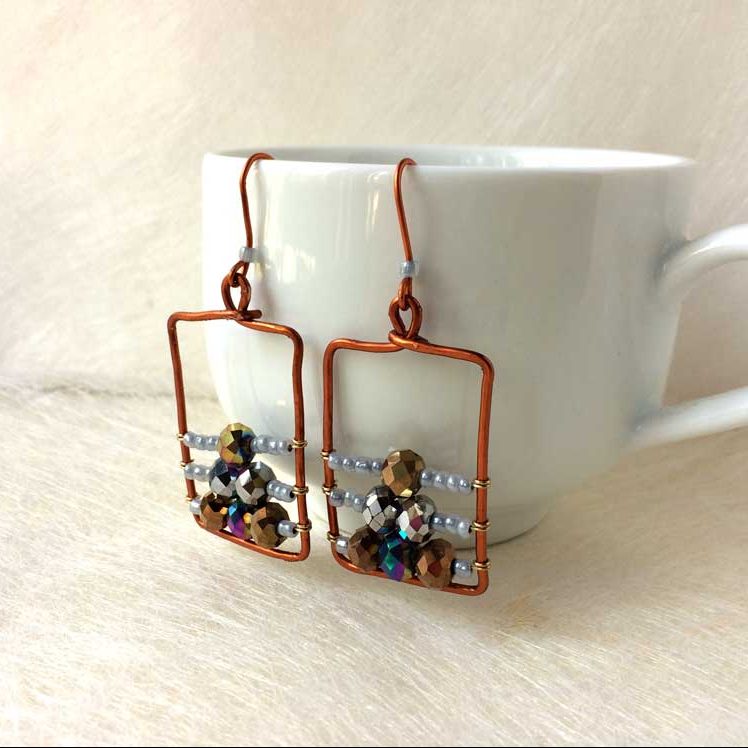
A fun twist on wire wrapping, these copper earrings are colorful and unique. Play around with different shapes and bead combos.
Tassel earrings
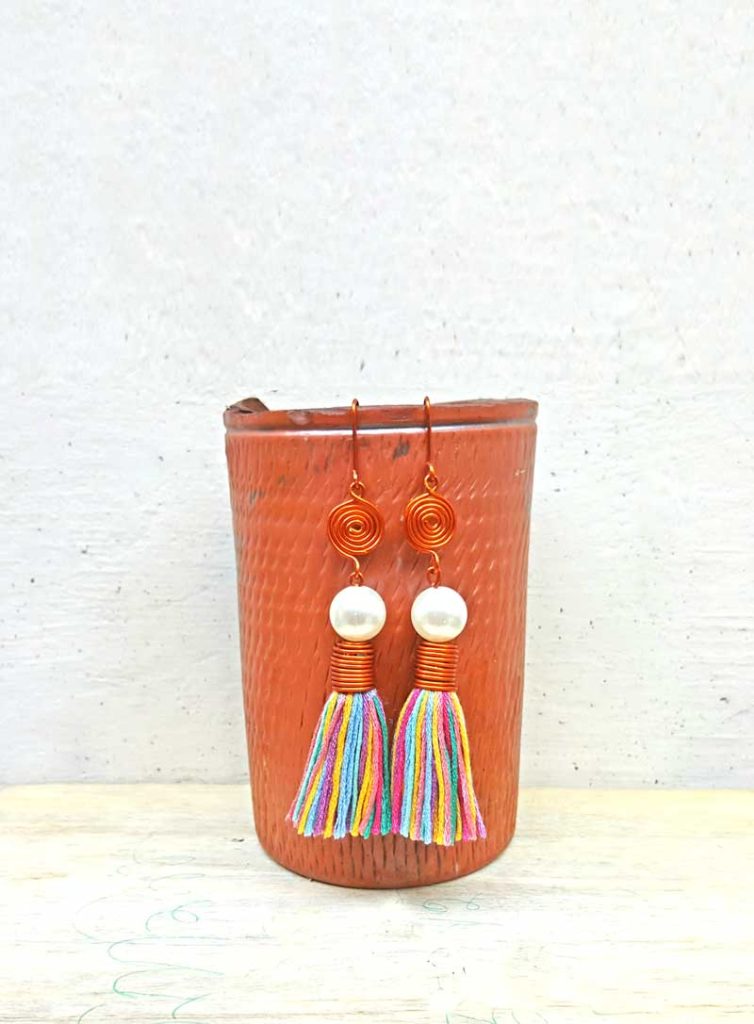
While these tassel earrings are more multi-textured and dimensional, you’ll love seeing how wire can play out in filling in for other jewelry making crafts – as well as beautiful wrapped links.
Copper Jewelry Making Books
Ready to take your copper jewelry making skills to the next level? These books are fantastic ‘further reading’ for copper jewelry making – both for basic skills and next-level techniques:
[ad_2]
Source link