
[ad_1]
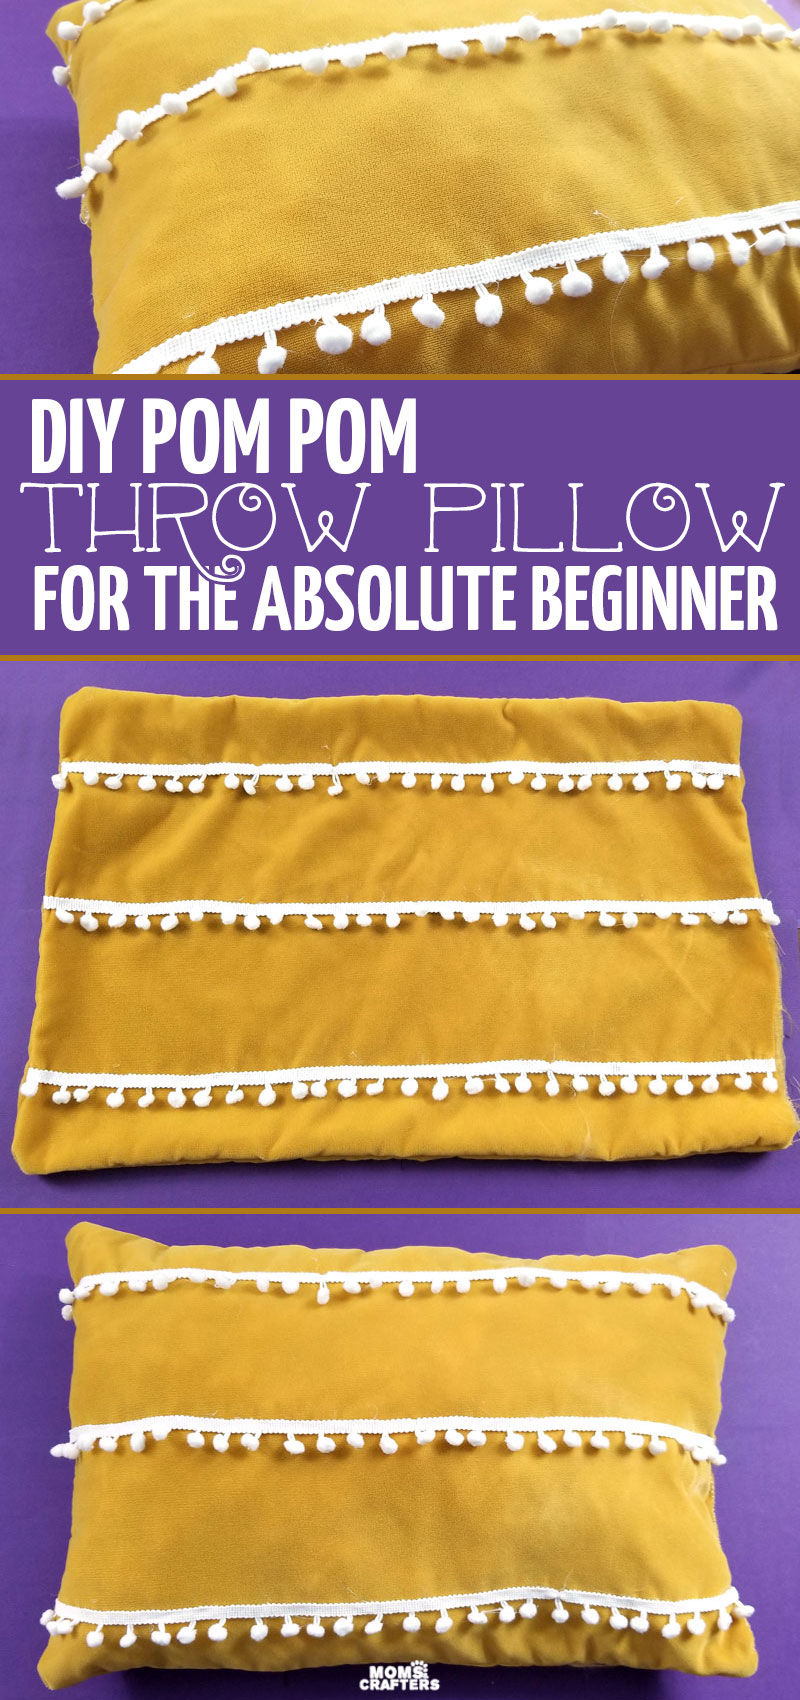
Learn how to make a beginner-friendly DIY Pom Pom Pillow with simple, step-by-step instructions. Want another cozy pillow to craft? Check out my cozy crochet throw pillow that I made last year – with a hand muff! This post contains affiliate links.
I have a hobby.
It’s called “shopping for craft supplies”.
So unique is it in its nature, that I am willing to drive out quite far to discover new craft stores.
Case in point: our closest Joann store is about a 45-50 minute drive away. And yet, on one glorious day off, I drove all the way out there to see which treasures I might discover.
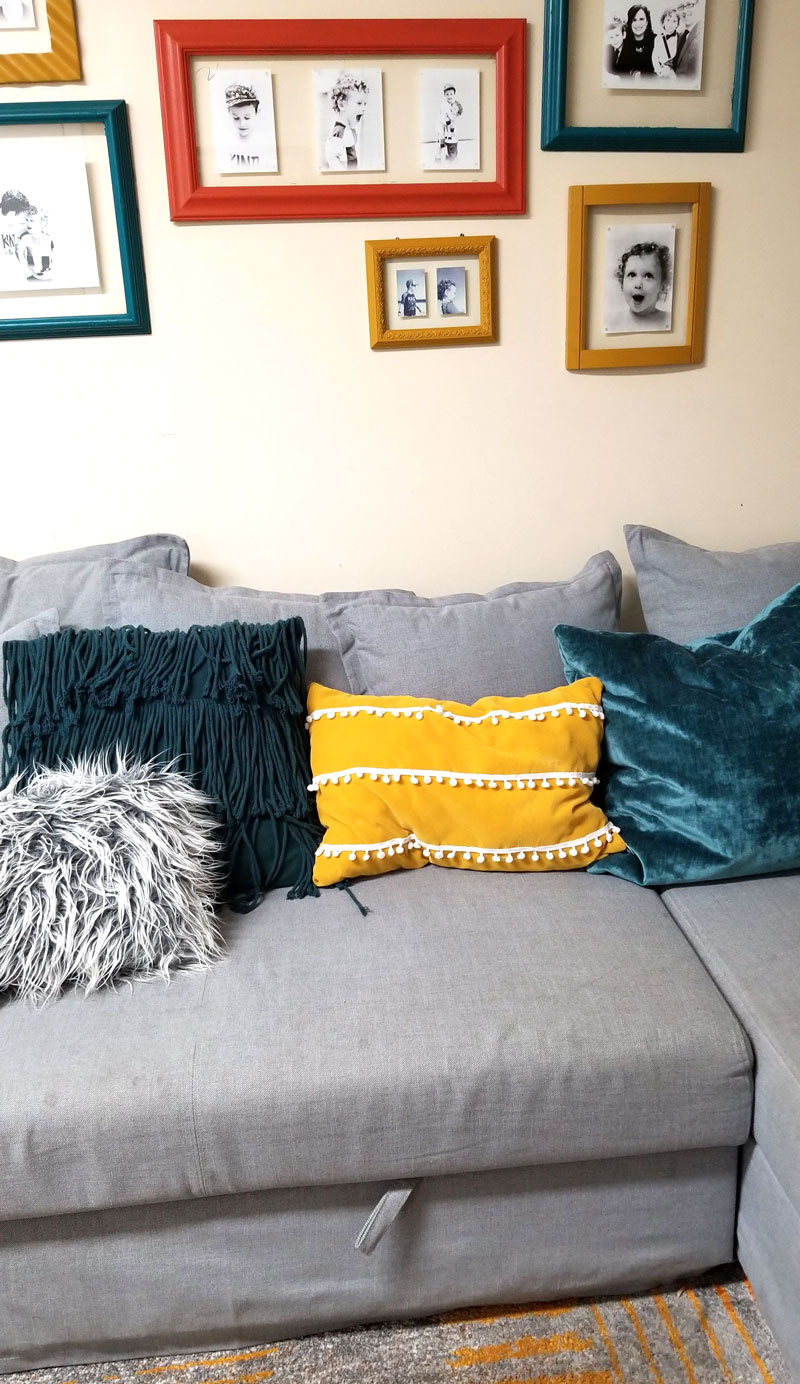
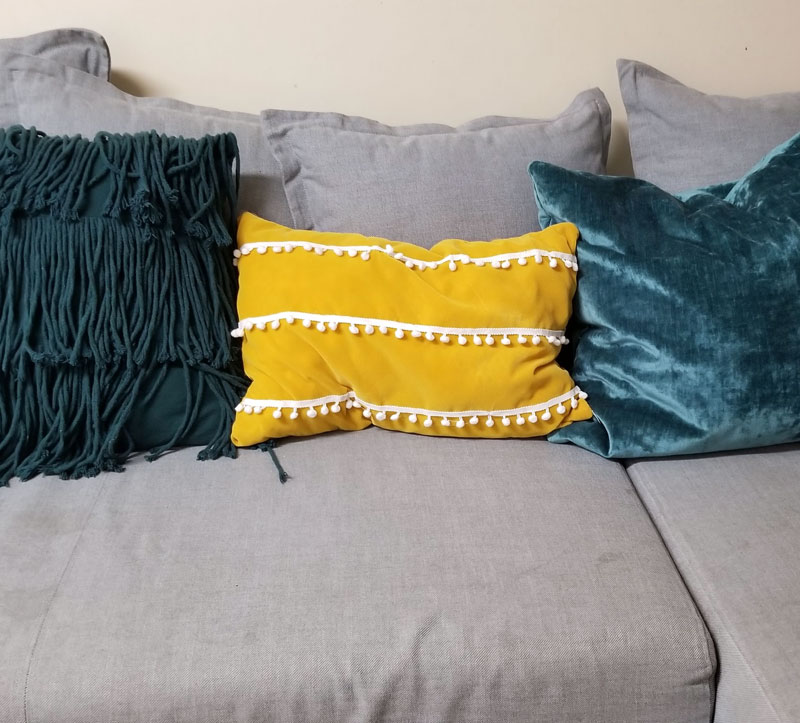
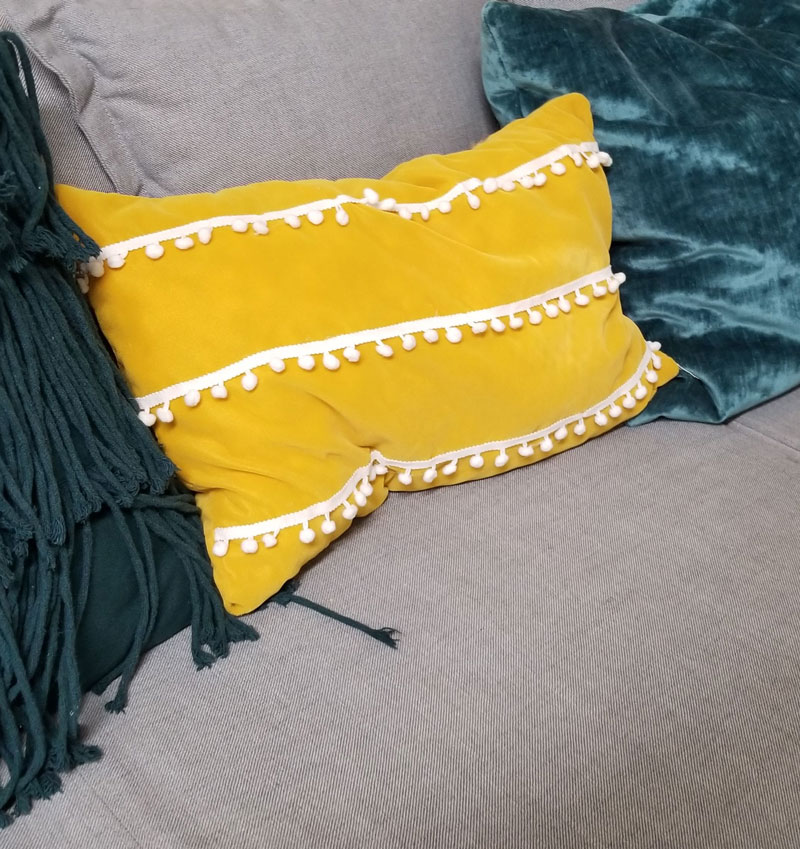
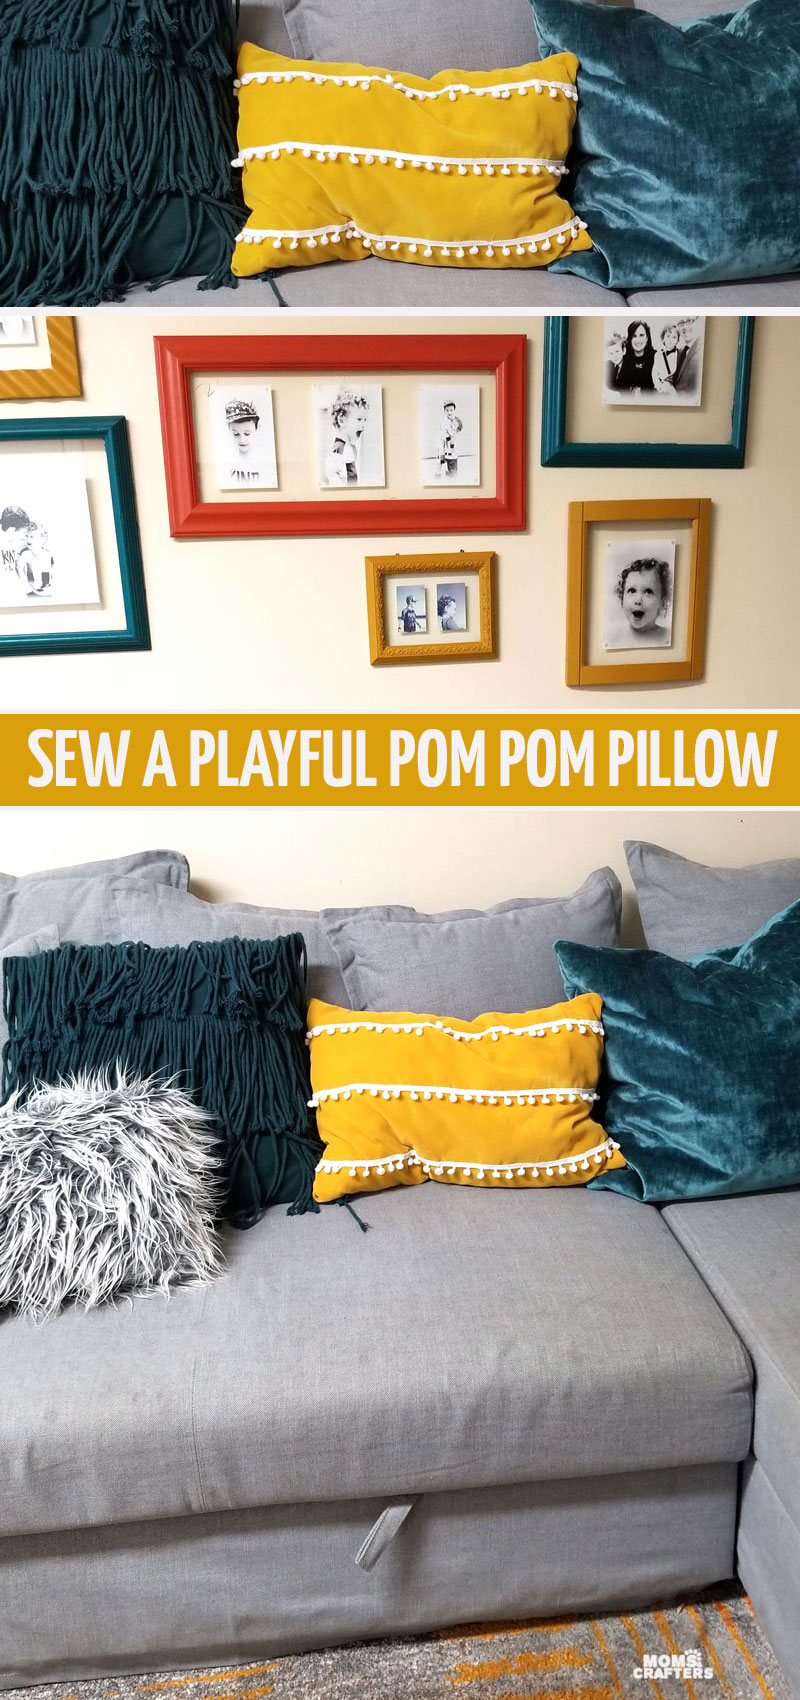
One such treasure was a remnant of this mustard velvet fabric (they call it gold!) that my 15 year old self would be horrified at. Also, it completely matched my living room.
So I picked it up to make a DIY pom pom pillow for my couch.
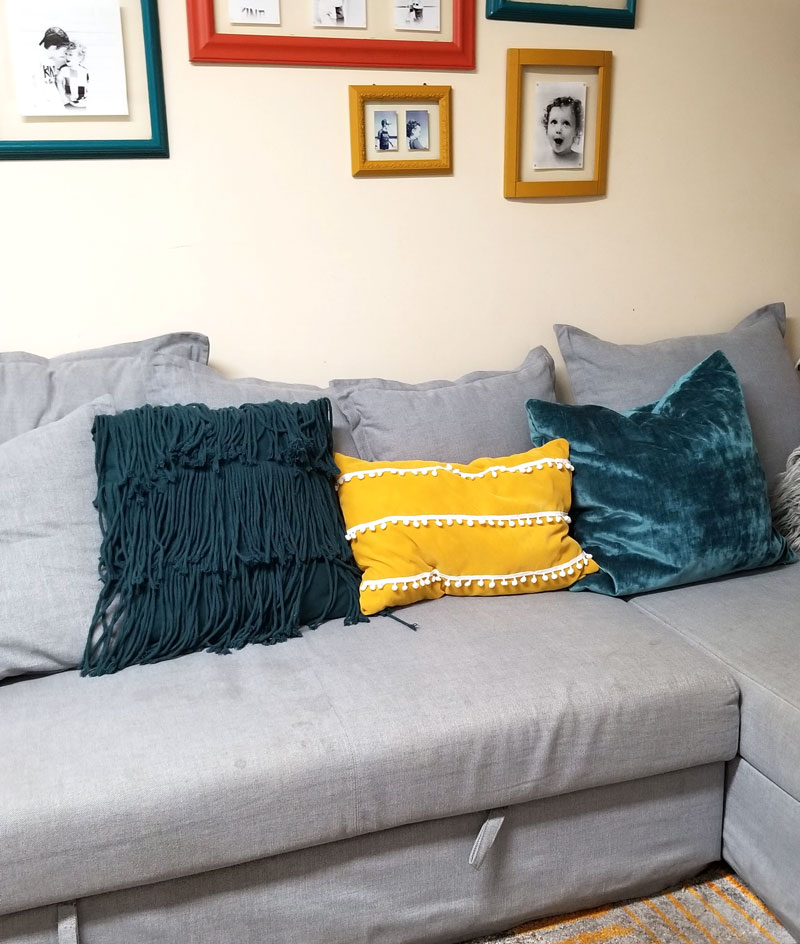
My couch, by the way, is an IKEA couch that I got more for practicality than aesthetic, but it’s also piled with throw pillows and begging for more. It’s gray, making it a blank slate.
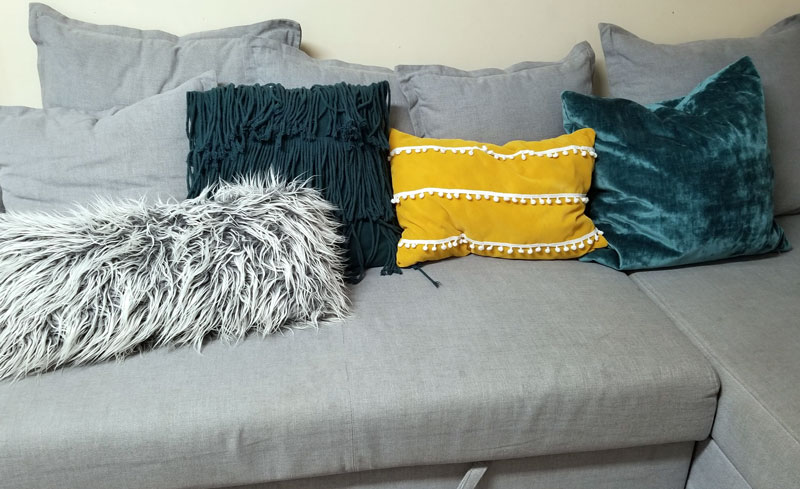
Now let me tell you a little something about me: while I do sew, I don’t have serious equipment, and I am seriously lacking in patience.
So I tend to do things strategically, rather than professionally – especially since I’m crafting for myself and not to sell.
So here I am, with mustard yellow velvet, and pom pom trim and I’m dreading carefully laying it out so it sits nice ‘n straight, even when I sew. And then I discover that my equipment will not be happy with sewing so many thick layers.
So I do what every good crafter does.
I pull out that glue gun.
And I run with it.
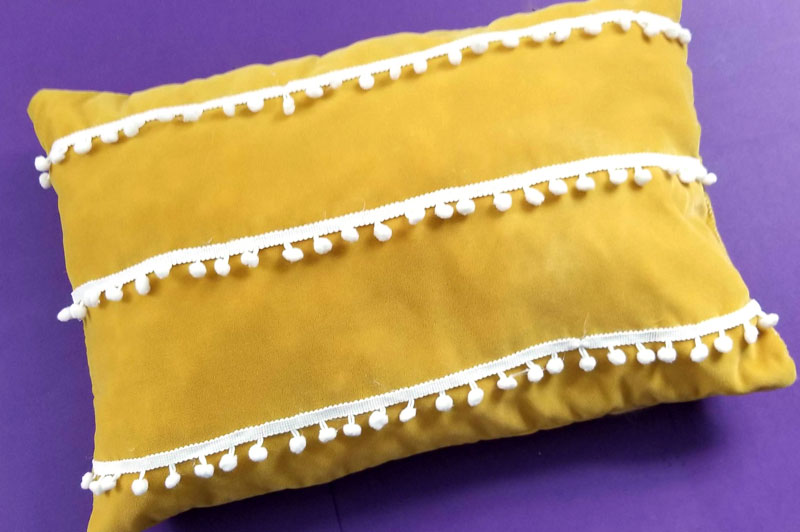
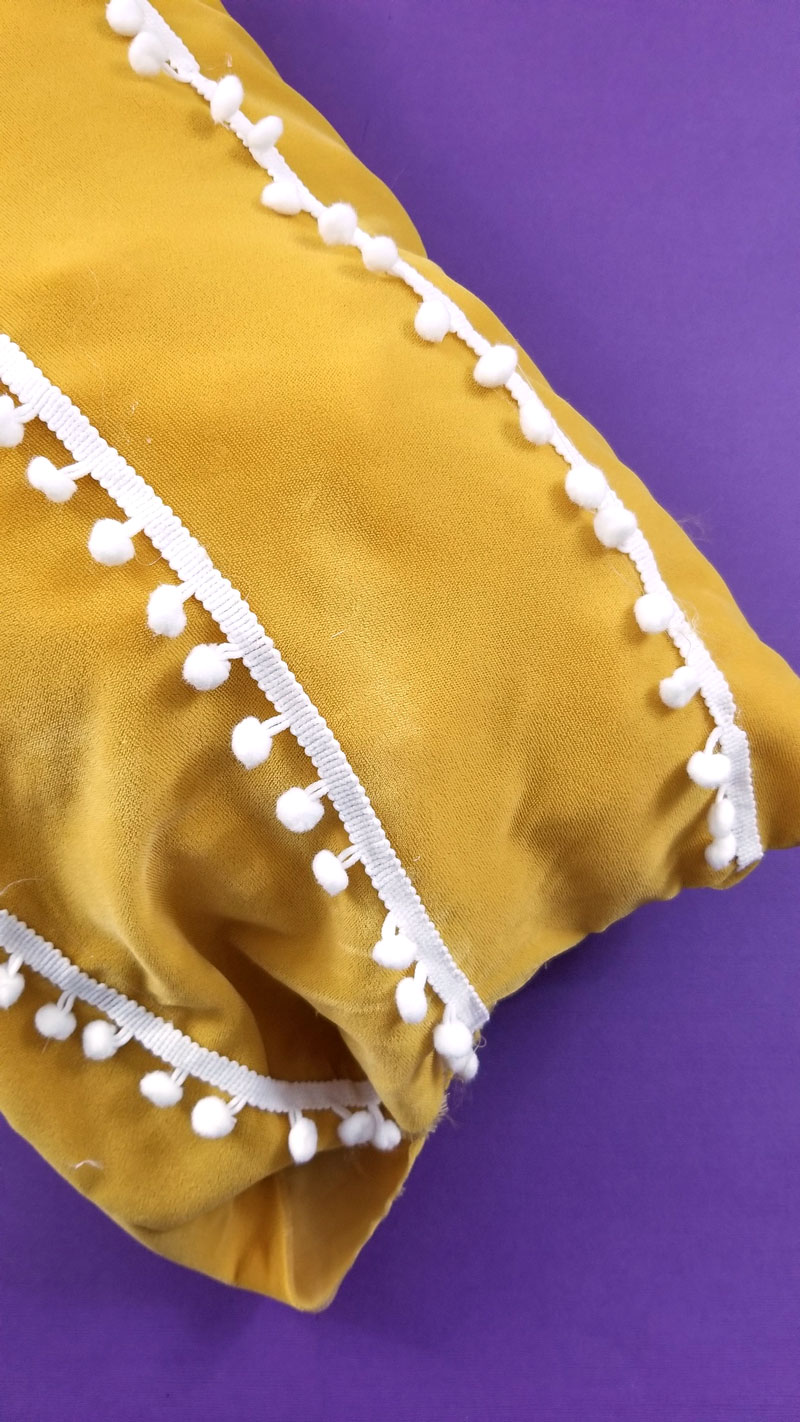
I decided to go with horizontal stripes of pom pom trim instead of working it around the edge (because it’s easier – and hey, it looks good too!)
So the trim is glued, the pillow is sewed. The parts that my machine complained about (where the trim enters the seam) I sewed by hand, and not very neatly.
And no, there is no pattern involved with this DIY pom pom pillow. Why would you need one? You simply cut two squares or rectangles that are a little bigger (1/2 inch taller, 1/2 inch wider) than you want your final pillow to be.
I made this as a complete pillow (and not a cover) because I did not have a spare insert. I upcycled an old throw pillow that was stuffed directly in the fabric (does that make sense?) I pulled out the stuffing and used it for this one.
With that, here’s your how-to…
What you need to make a DIY pom pom pillow:
How to make pom pom pillows:
1. Cut two identical squares or rectangles with 1/4 inch seam allowance in each direction.
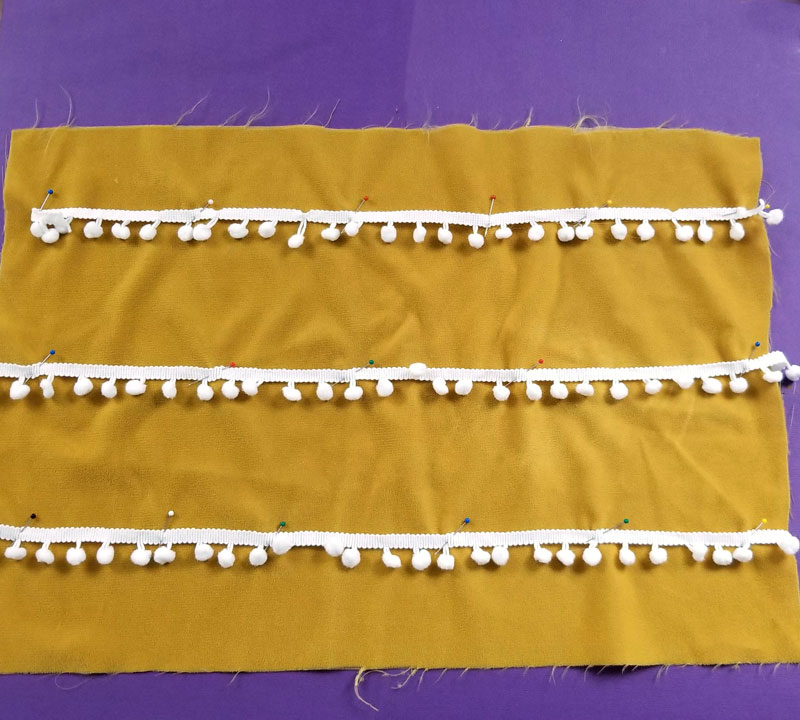
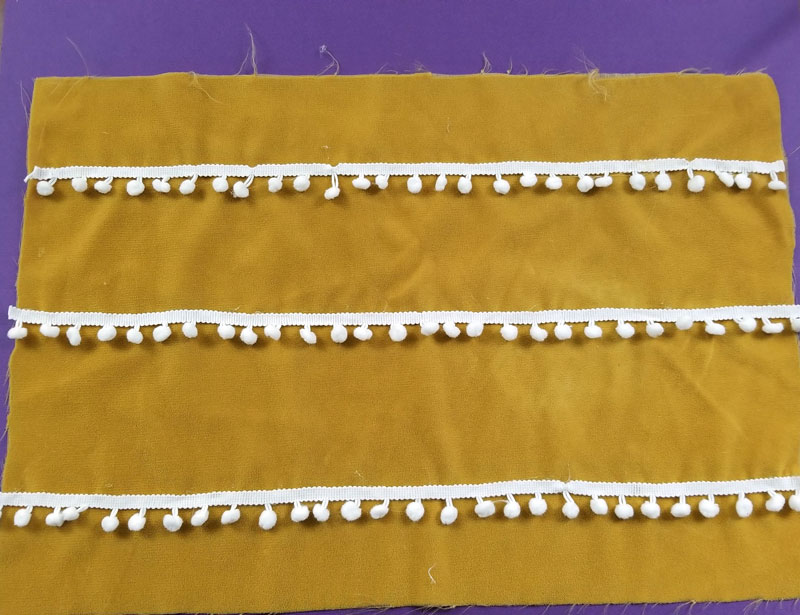
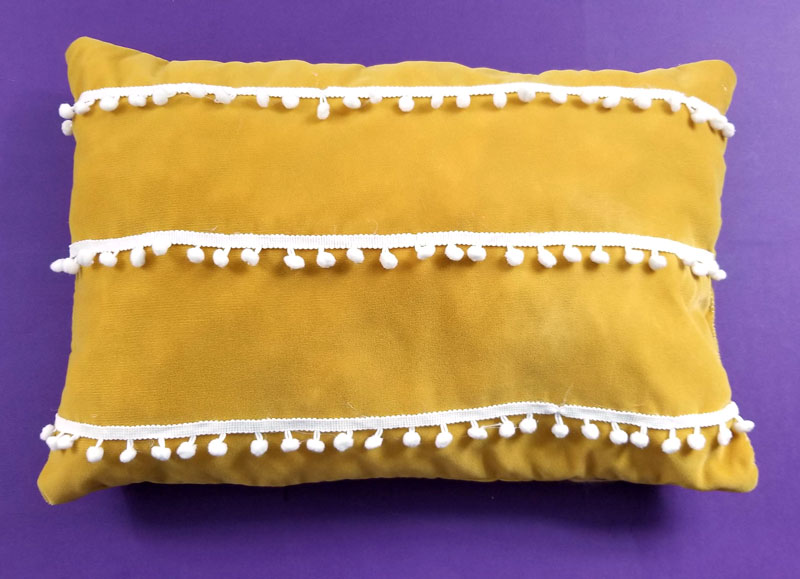
Lay out your pom pom trim on the good side of one of your halves. If you want you can pin it in place. I placed 3 rows about four inches apart.
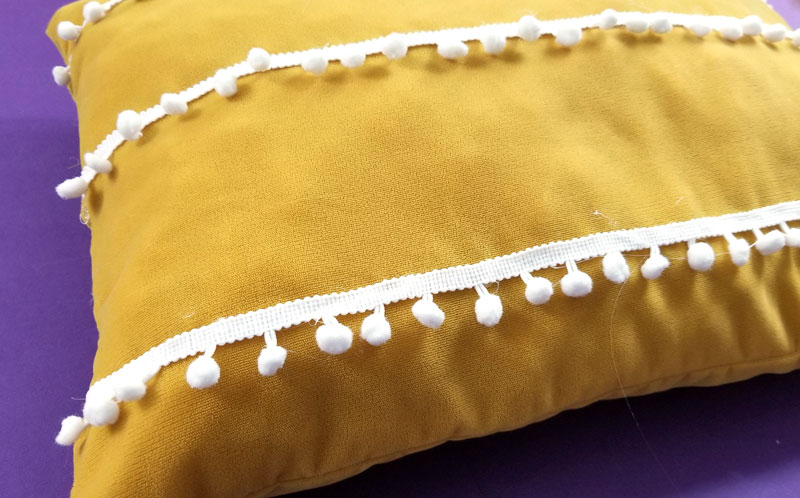
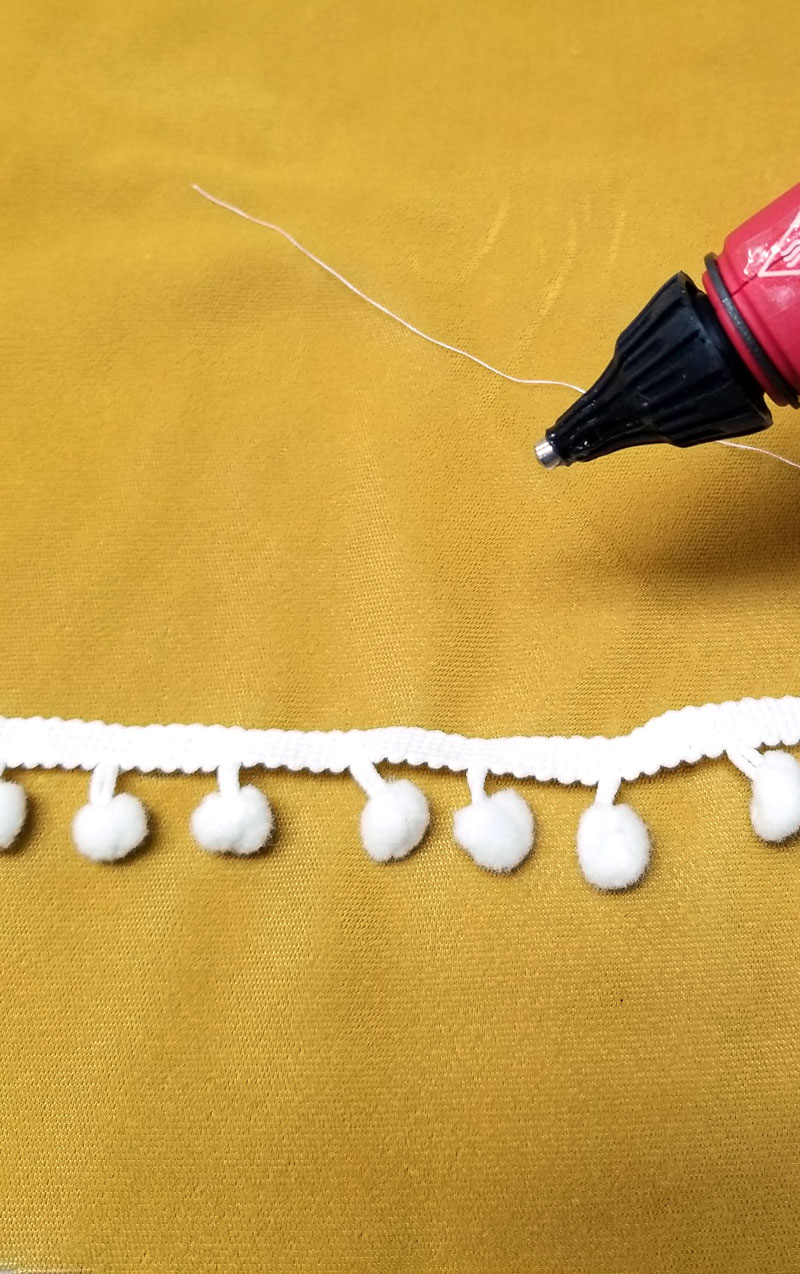
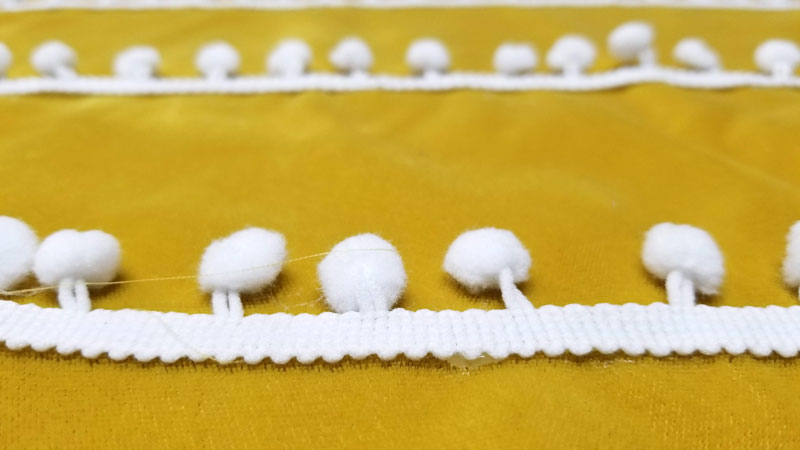
2. If you want you can sew your pom pom trim in place, but I did glue mine. I first glued then ends in place, then worked my way through the line of trim. Keep your glue gun set to dispense a thin flow of glue.
3. Keep the pom pom trim side face up, and place the second half of your pillow face down over it. Pin in place.
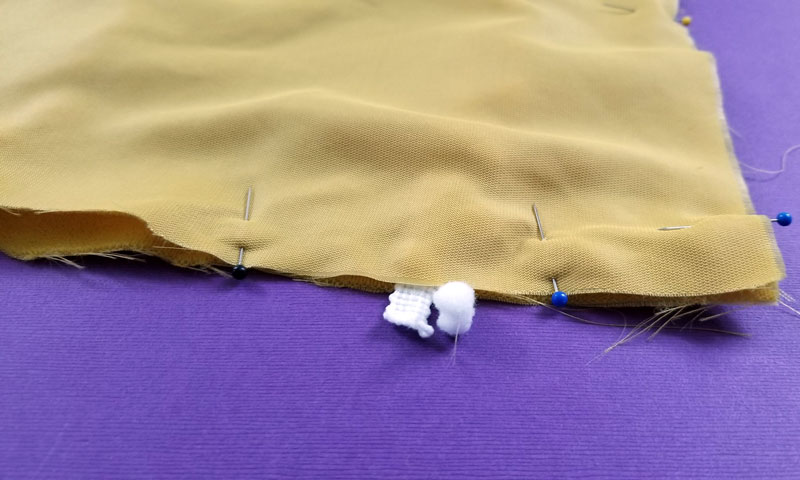
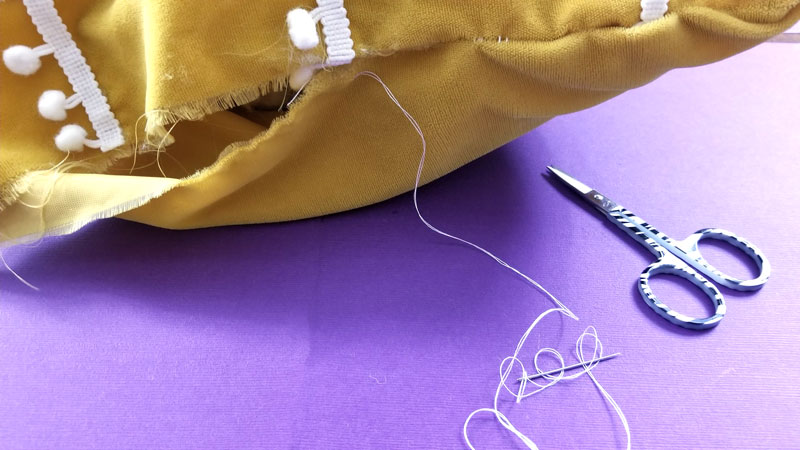
4. Sew around the edges, leaving an opening big enough to pull the design through and reverse it, as well as to fill you pillow.

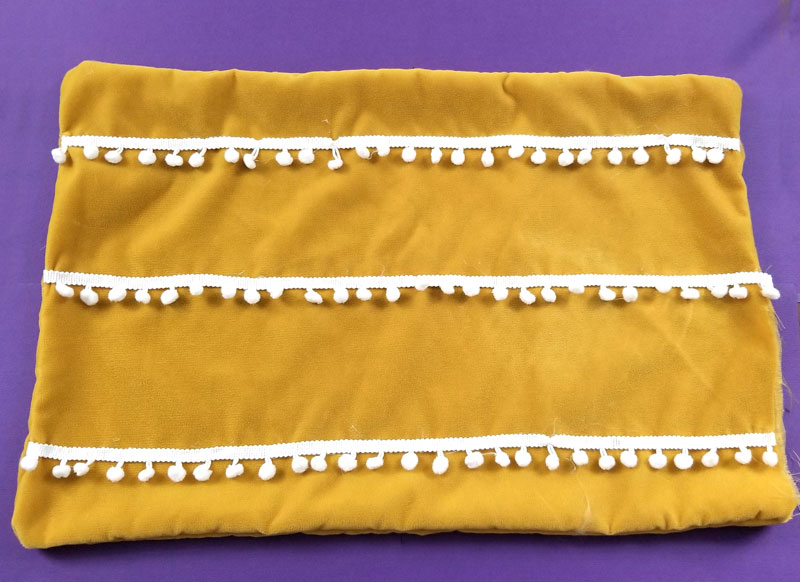
5. Turn your pillow right-side-out, poking out corners as much as you’d like to.
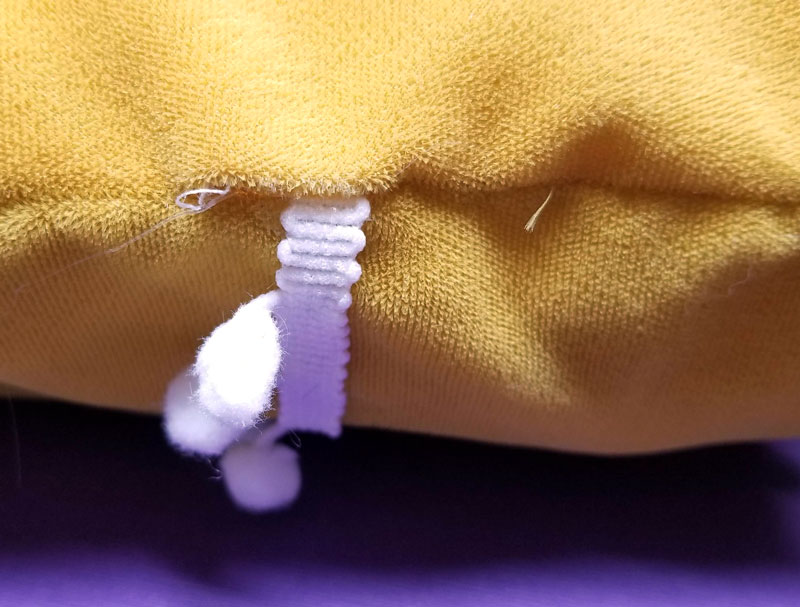
6. If you had trouble sewing over your trim, just stitch it by hand.
7. Stuff your pillow but don’t over-stuff it. Test it by holding the opening closed and distributing the filling.
8. When you’re done, hand-sew it closed.
9. Your DIY pom pom pillow is complete!
Will you be gluing or sewing on your trim? Which room do you plan to make a DIY pom pom pillow for? Comment below!
[ad_2]
Source link