
[ad_1]
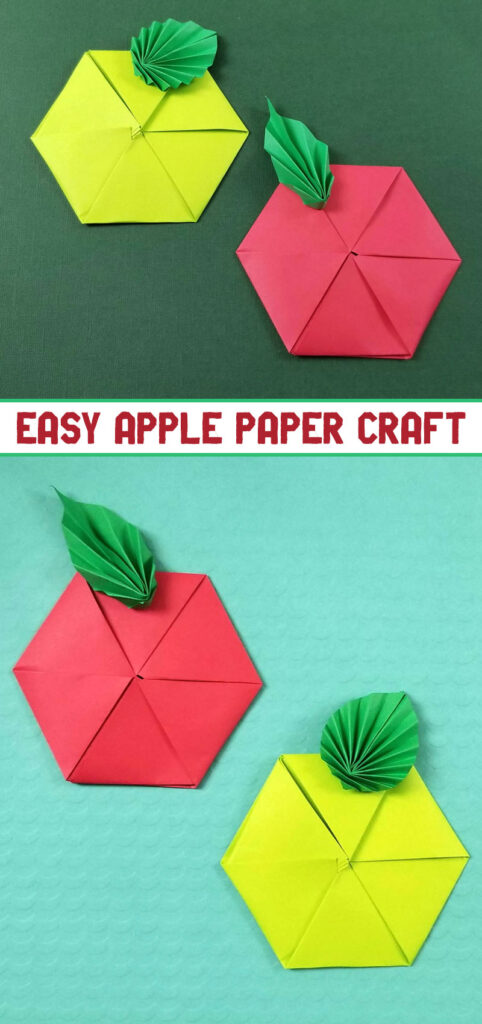
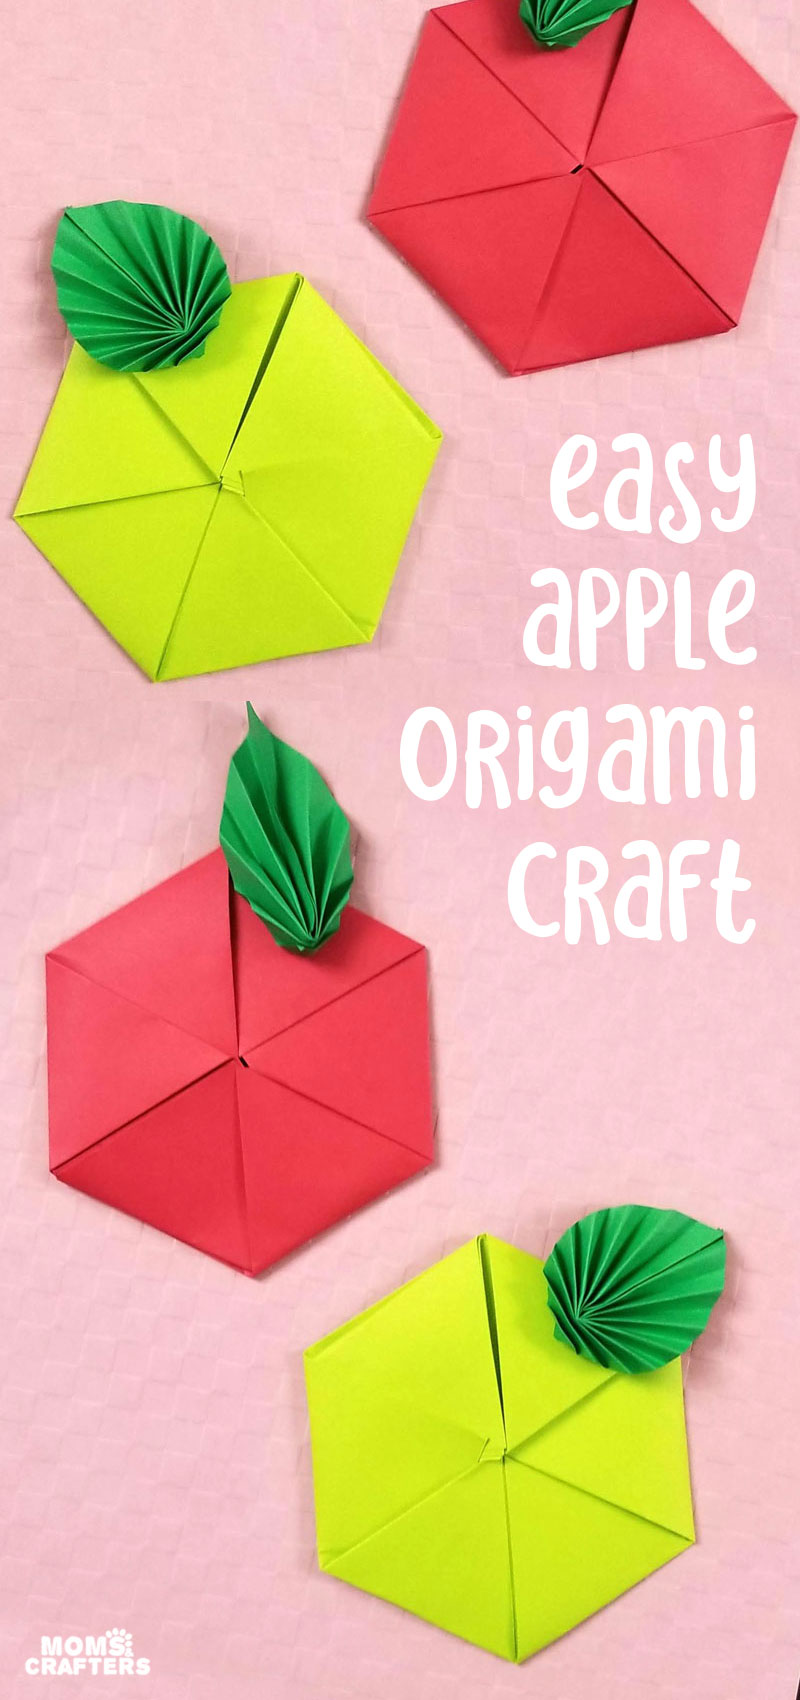
Make a simple origami apple craft using two simple shapes combined – the perfect Origami for beginners! If you want more back to school paper crafts, check out this origami school bus. This post contains affiliate links.
I originally created this origami apple as a fun craft for Rosh Hashanah, the Jewish New Year, or the start of the High Holidays.
But I decided that it makes a fantastic back to school paper craft too!

This project is different from most origami apple tutorials in that it combines two basic techniques to form a graphic apple, rather than a more complex single-piece origami. The pretty accordion folded craft adds a fantastic touch and is much simple to create than a flat origami leaf..
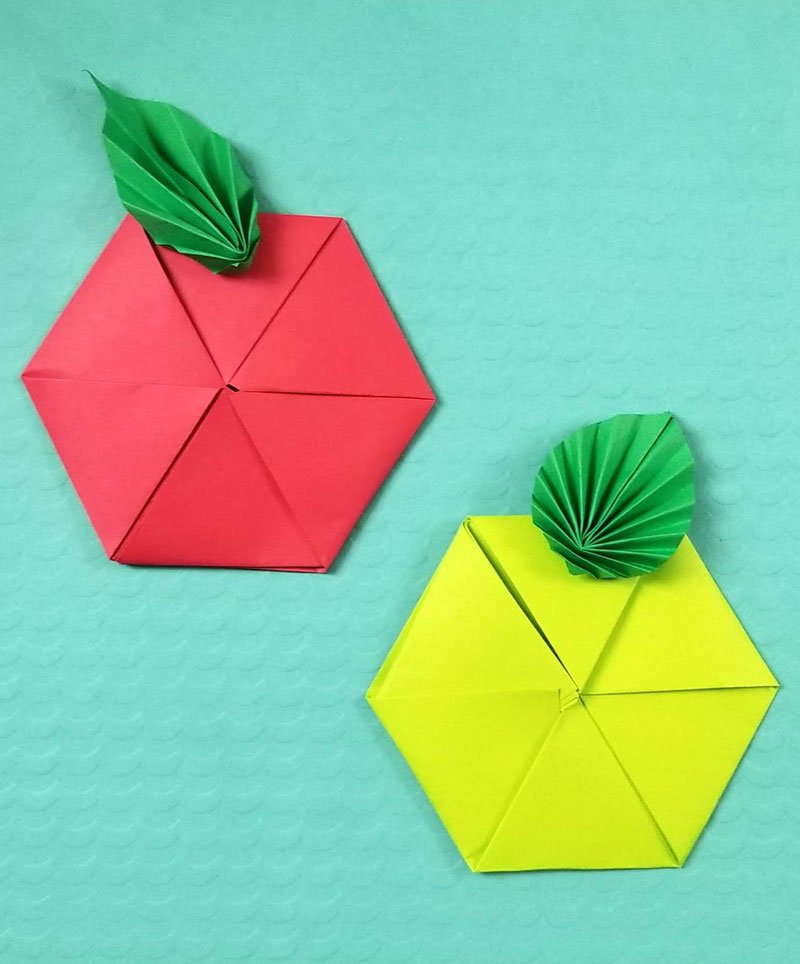
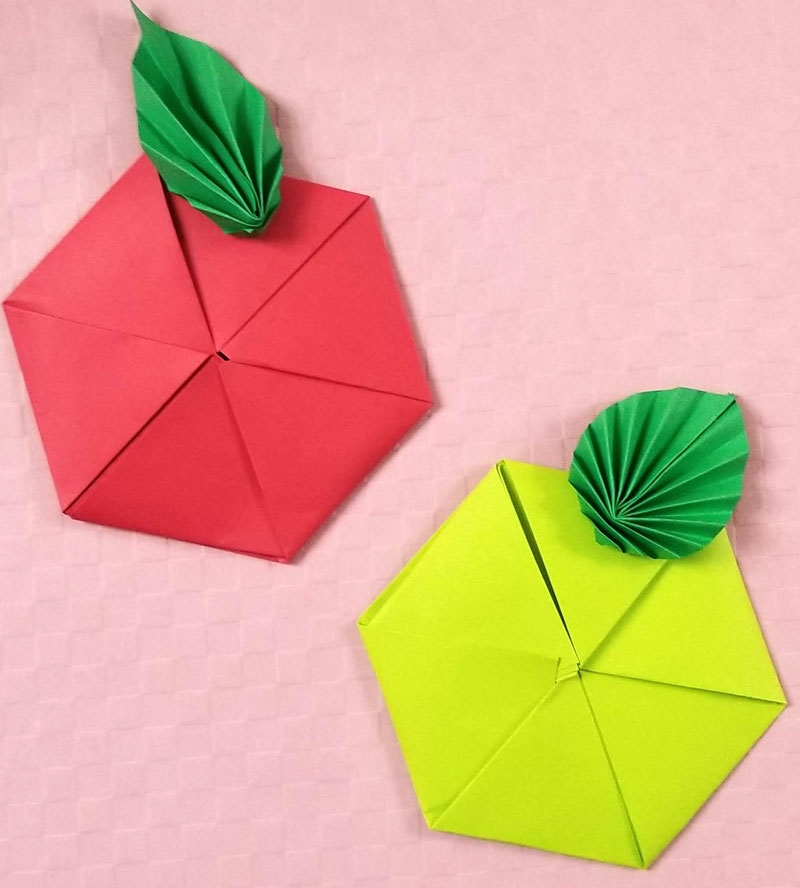
To make an origami apple, I first made a hexagon.
Then I made an accordion leaf and attached it to the top.
You can use this easy paper craft as part of a back to school banner, a card or gift tag for a teacher, a name label for a desk… the possibilities are endless and the apples look fantastic!
Once you get the hang of the origami hexagon and leaves, it’ll take you minutes to whip out dozens of these.

What you need to make an origami apple
How to make an origami apple
This origami apple tutorial comes in three steps since it puts together basic shapes. The leaf is the easiest, but the Octagon is pretty straightforward too once you practice a couple of times.
Watch the video below or school down for images. The video shows the full assembly of apples, pomegranates, and the final garland I made. You can do it this way, or stick to apples.
Make an origami octagon
1. Place your paper vertically on your work surface. Fold it the long way, crease, and unfold to mark the center.
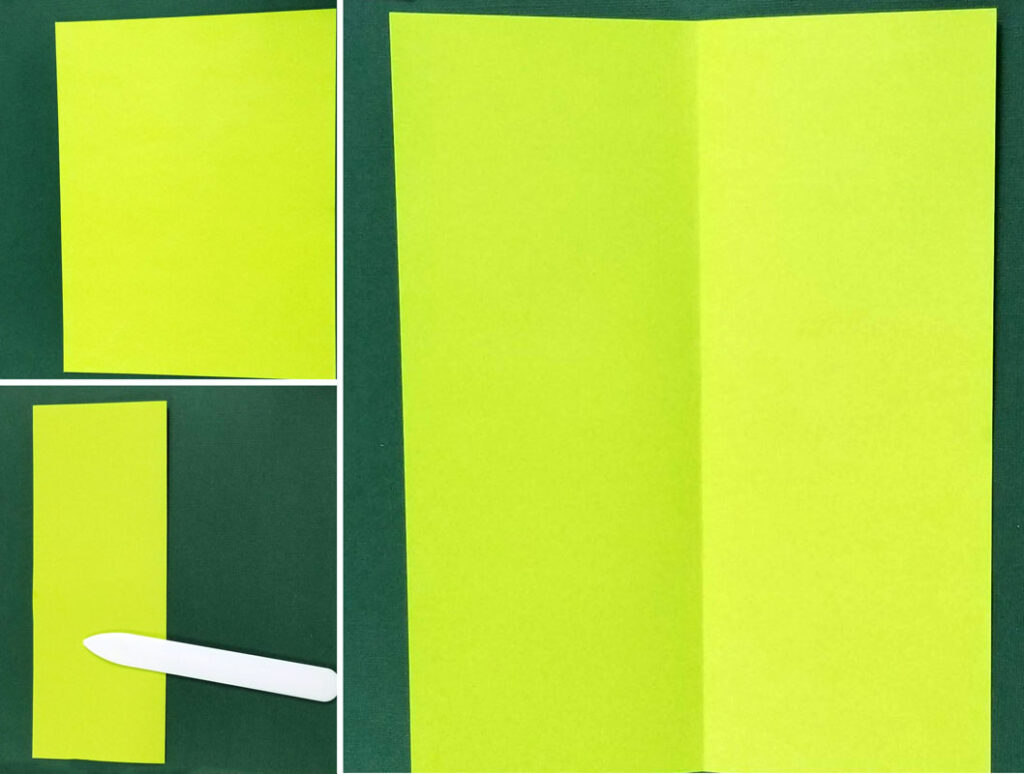
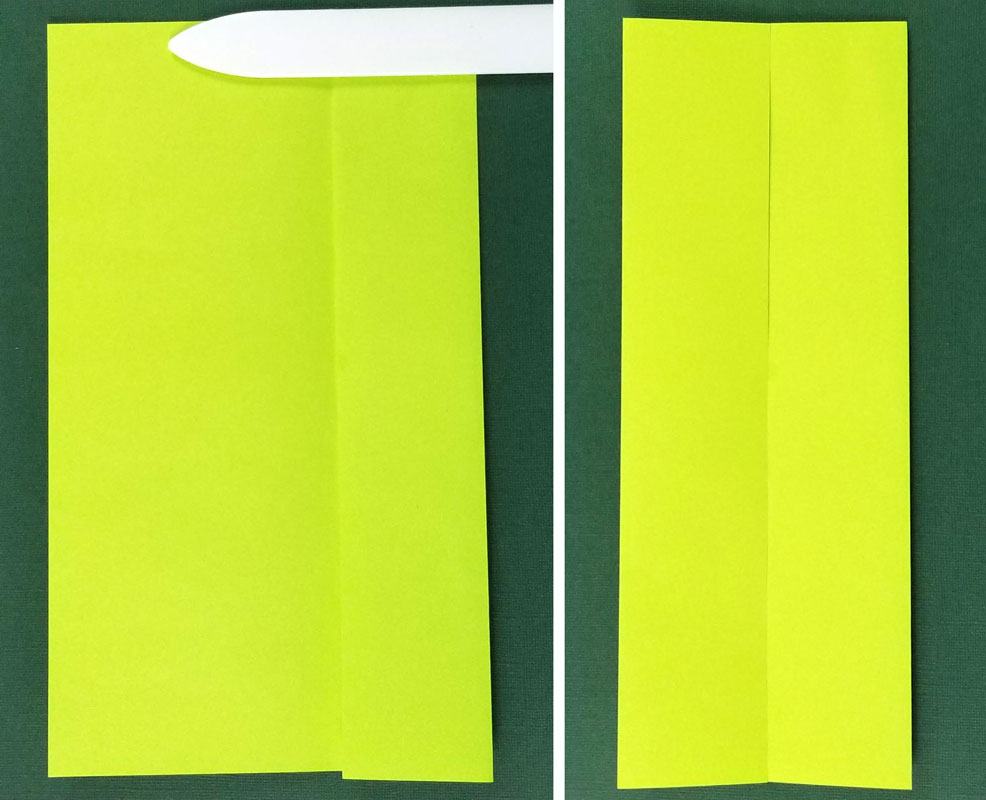
2. Fold from right and left to your center mark and crease.
3. Fold your bottom left corner to the center and then open the right flap.
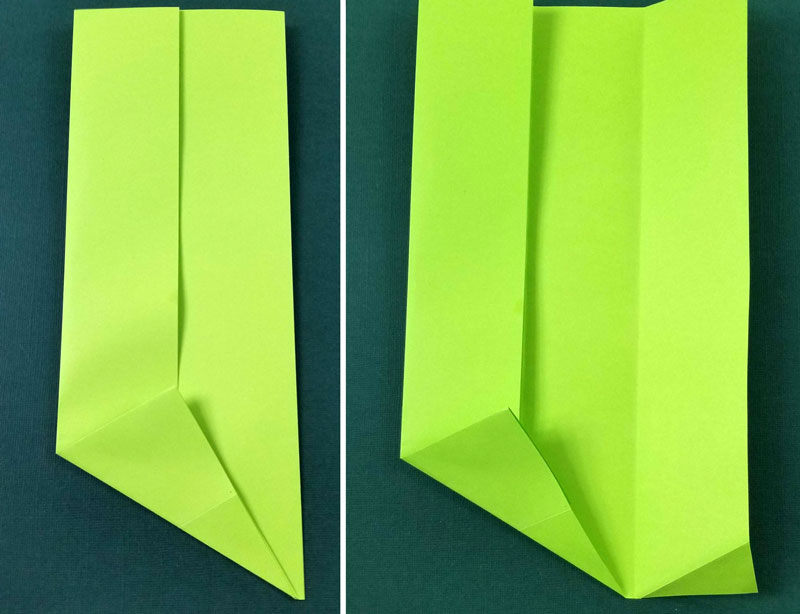
4. Fold up the bottom right corner, so that it meets the center, using your previous folds as your guides. Refold the right flap.
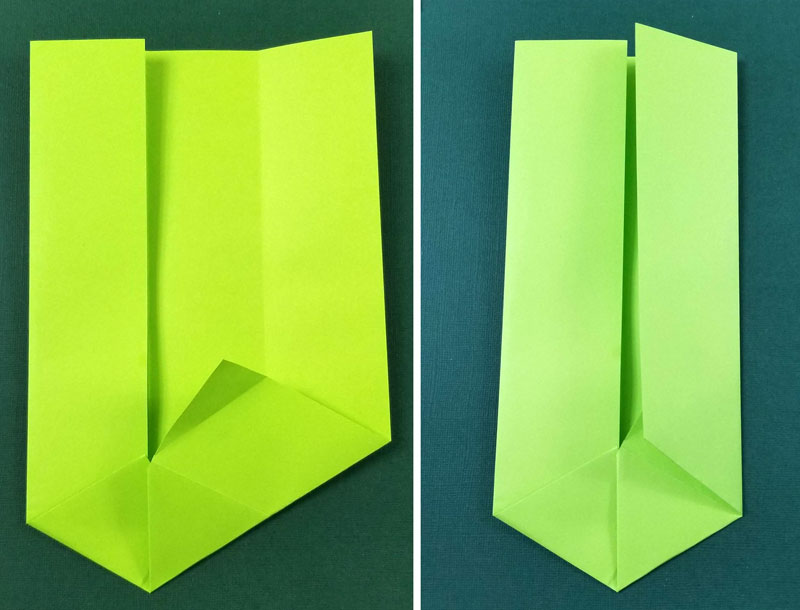
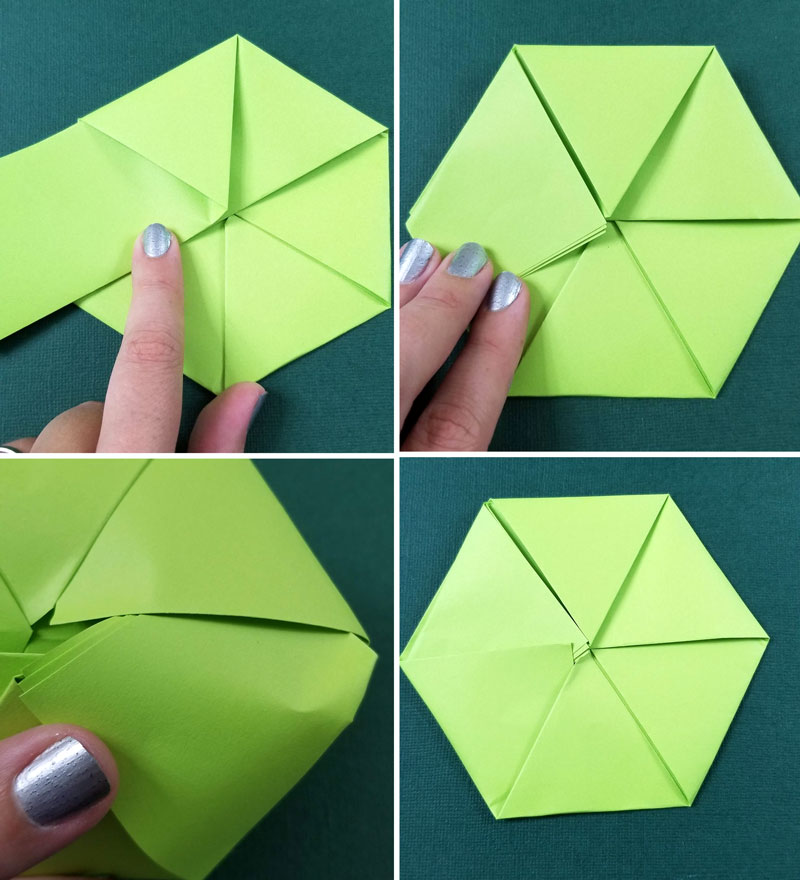
5. Fold up the bottom right so that your bottom left side meets the left side and the bottom right corner meets the center. Unfold. Use this fold as a guide to fold the top of your paper down, angling towards the left.
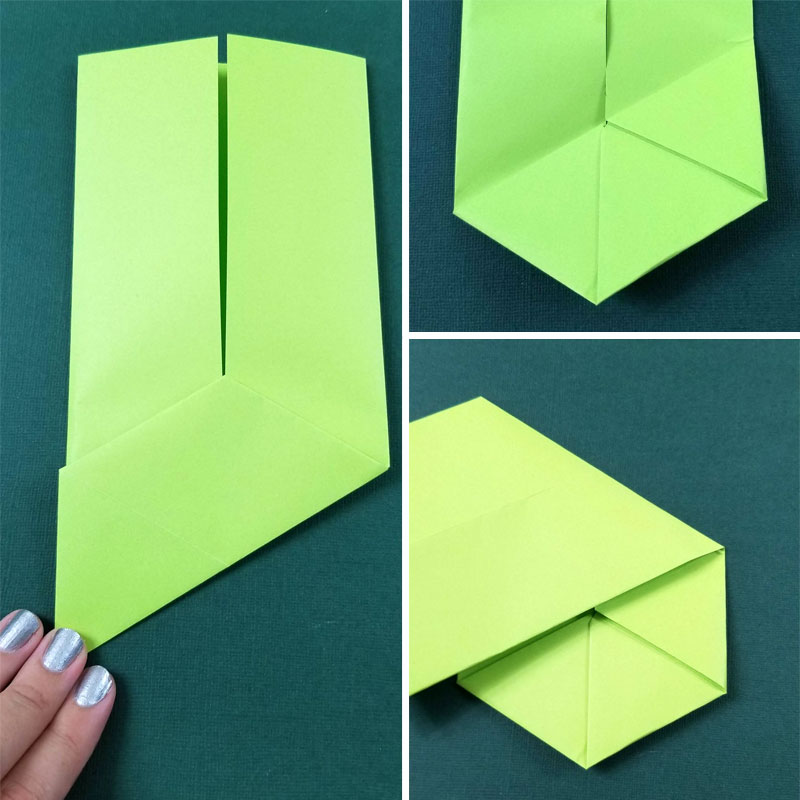
6. Fold the top left down along the fold mark that’s already there. Fold that left bit inward to the center. Tuck that little bit of overlap into the pocket that was formed by previous folds. Your origami hexagon is complete!
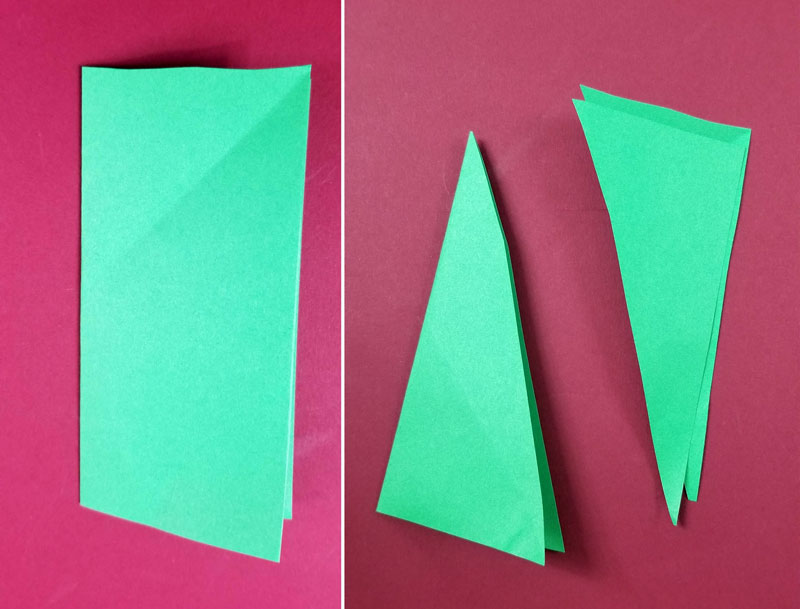
Make an origami leaf
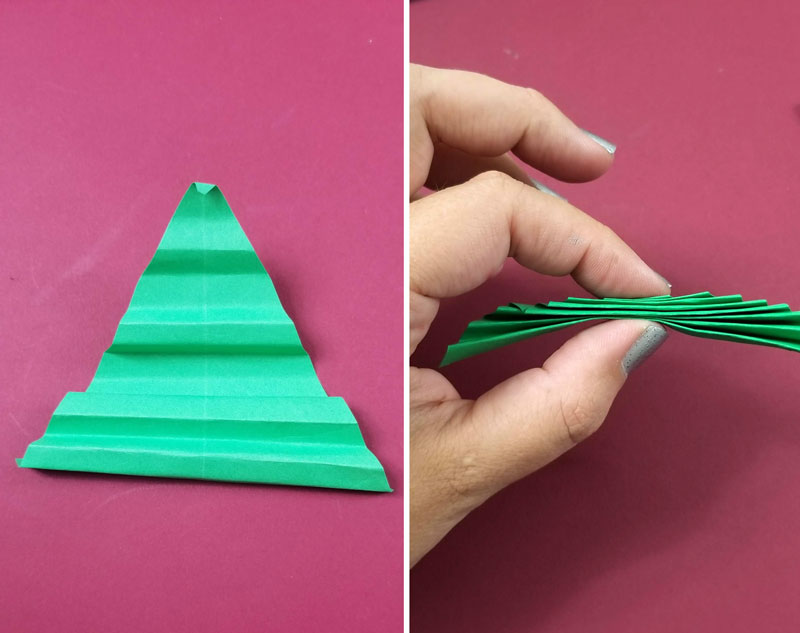
1. Fold your 4×4 paper in half vertically. Slice it on the diagonal, Keep the part that was on the fold and discard the two isolated pieces.
2. Open your folded triangle and mark the spots for an even accordion fold: fold the bottom up to the tip, fold the bottom to the top again, and repeat a third time. Do it a fourth time if you want (it’ll be harder to work with but prettier).
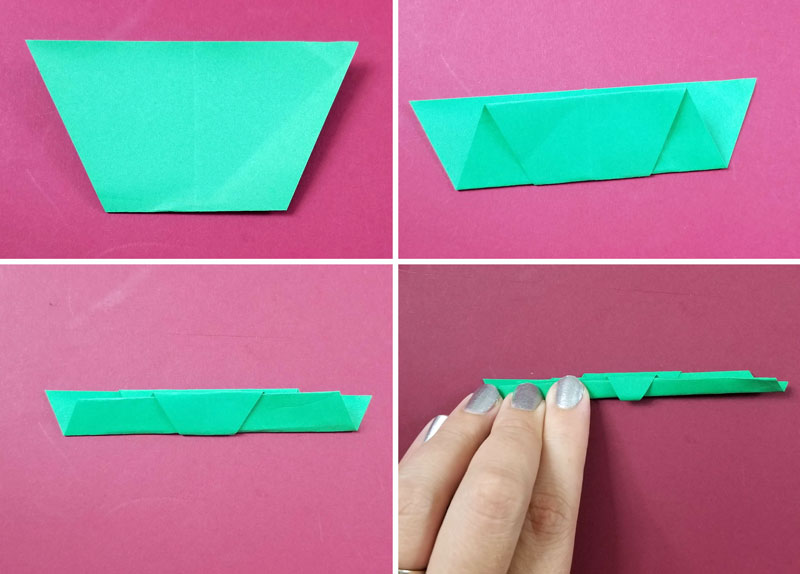
3. Open up your folded leaf and then refold as an accordion.
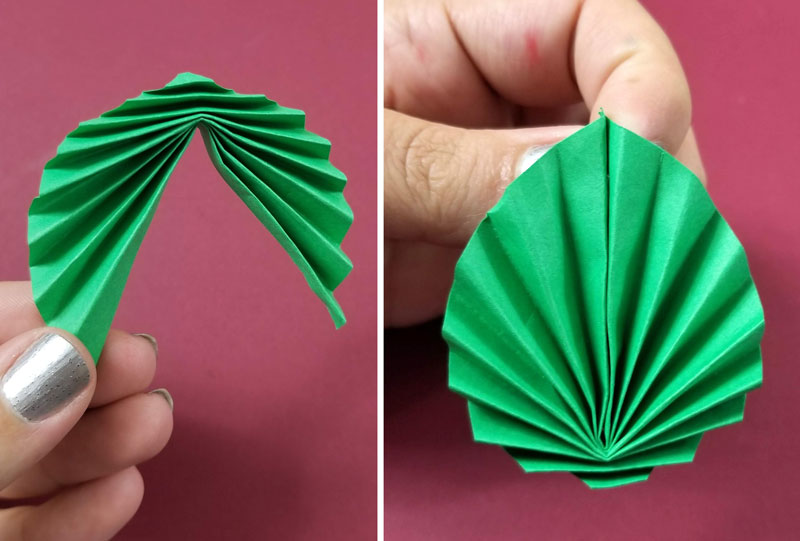
4. Fold your accordion in half and then secure the two end bits to complete your origami leaf.
Put it together
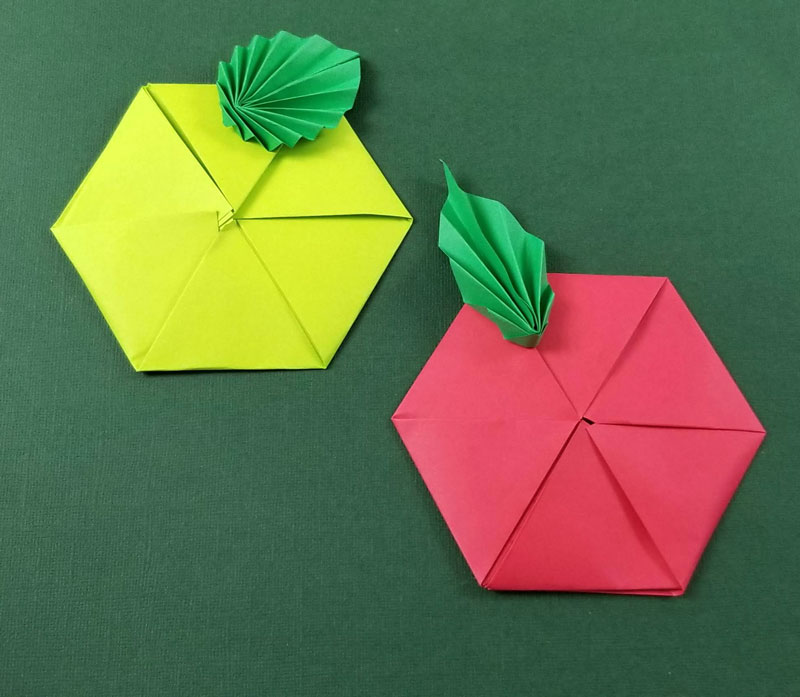
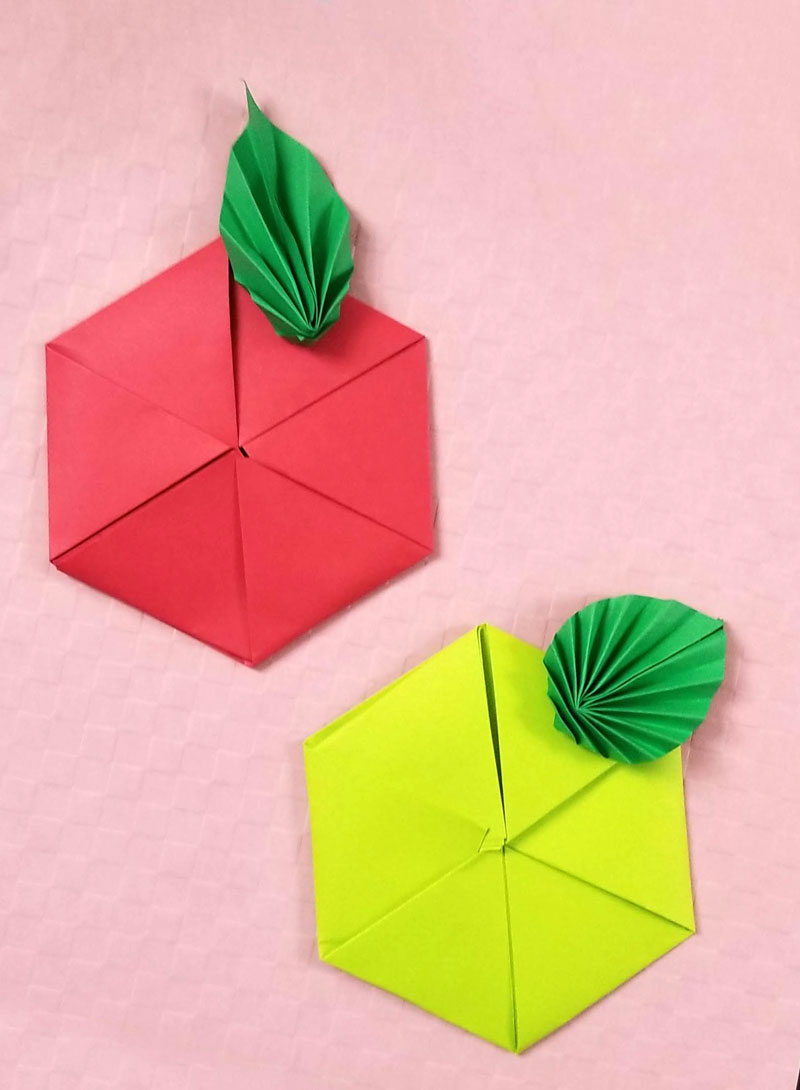
To finalize your origami apple, simply attach the leaf to the hexagon! You can use the front – where all the folds show- or the smoother back. I like the way the texture of the front plays off the leaf but if you’re still practicing and it’s not so neat, you may prefer to use the back.
What will you be doing with your origami apple? Comment below!
Loved making this origami apple? Check out these cool paper crafts
[ad_2]
Source link


