[ad_1]
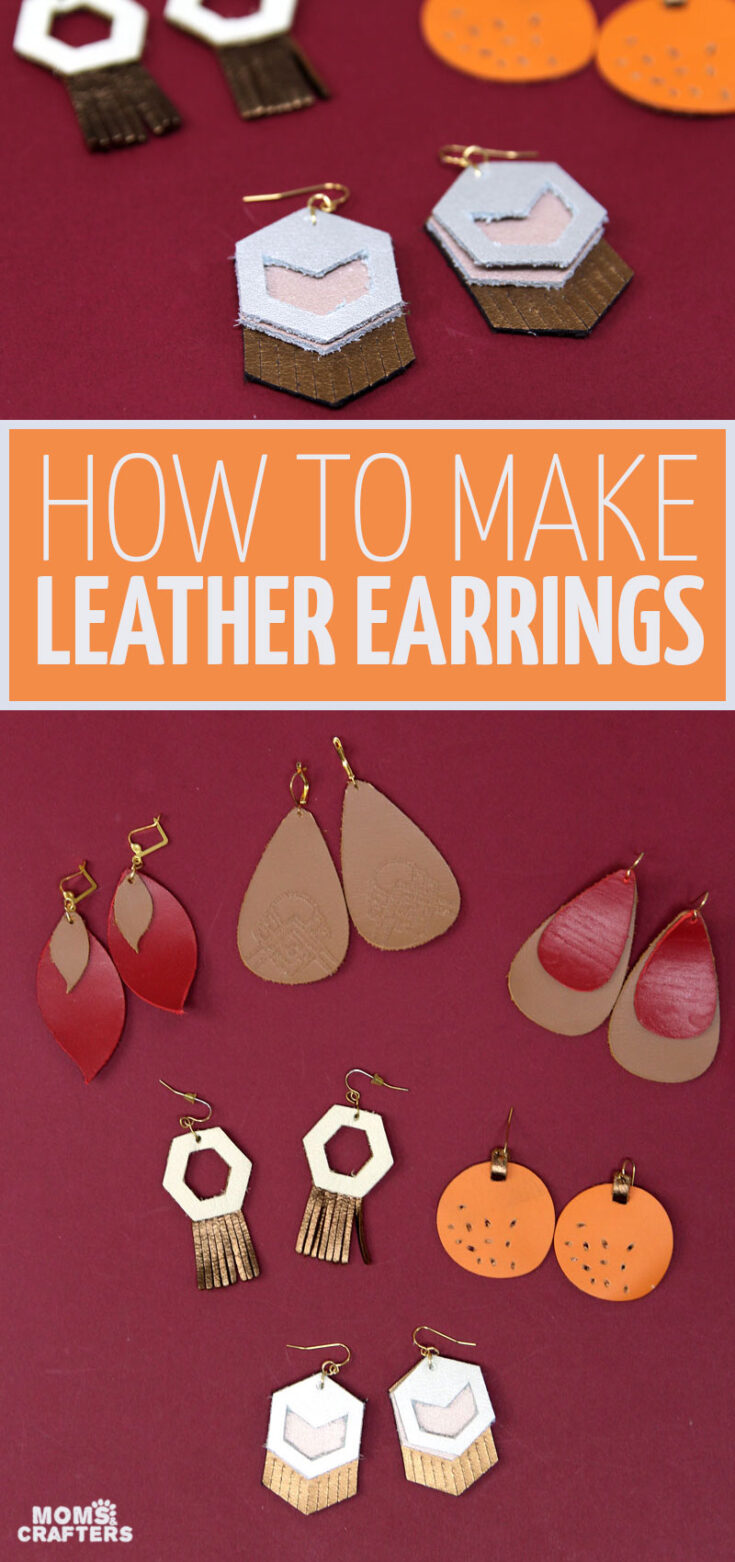
Ready to learn how to make DIY leather earrings – in whichever style you fancy? Read my epic list of all different types of easy DIY earrings or scroll down if you’re all about that leather! This post contains affiliate links. Some materials were provided by Cricut free of charge to help me get this tutorial to you.
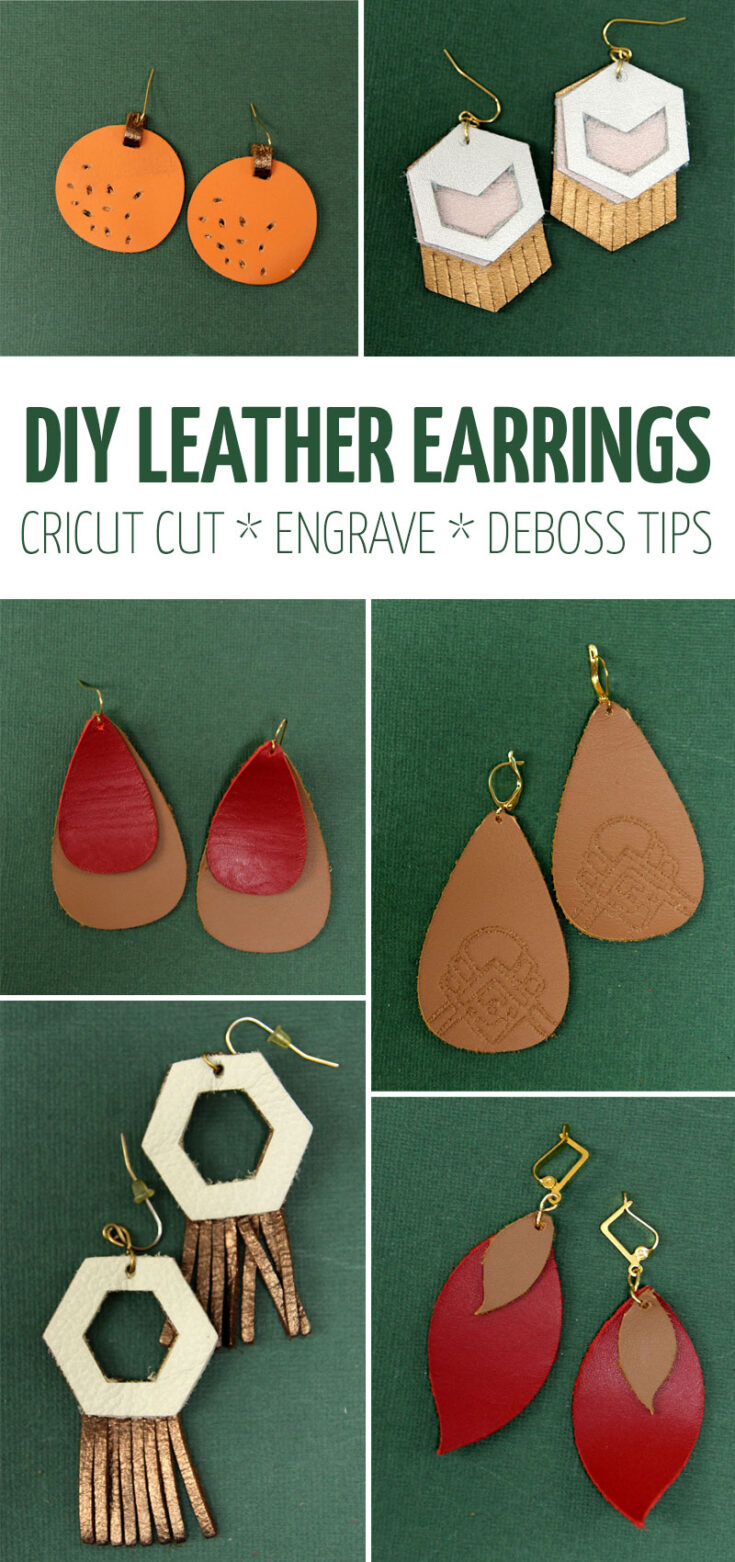
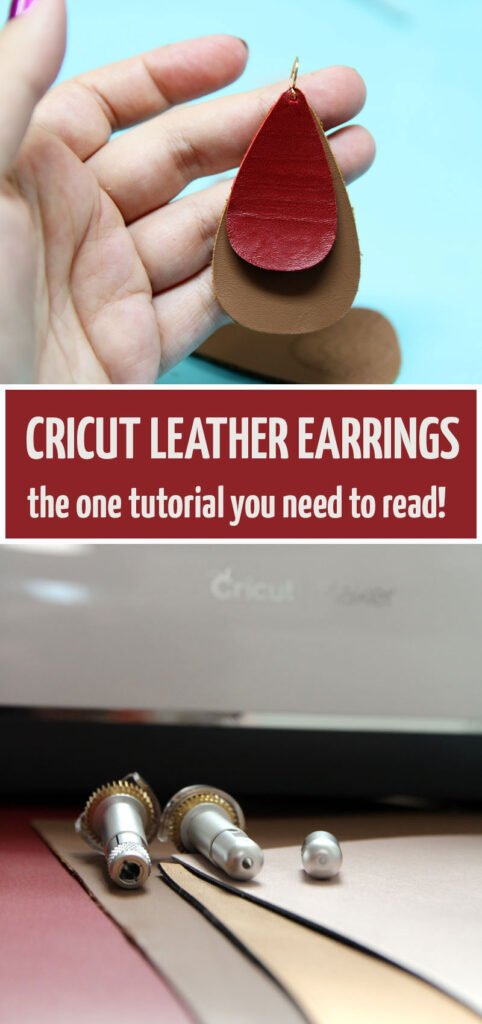
While making jewelry is a longtime passion, DIY leather earrings is a more recent hobby, starting with Joanna Gaines’s famous leather teardrops.
But you can take those iconic earrings to the next level in so many different ways, which I share with you in this post.
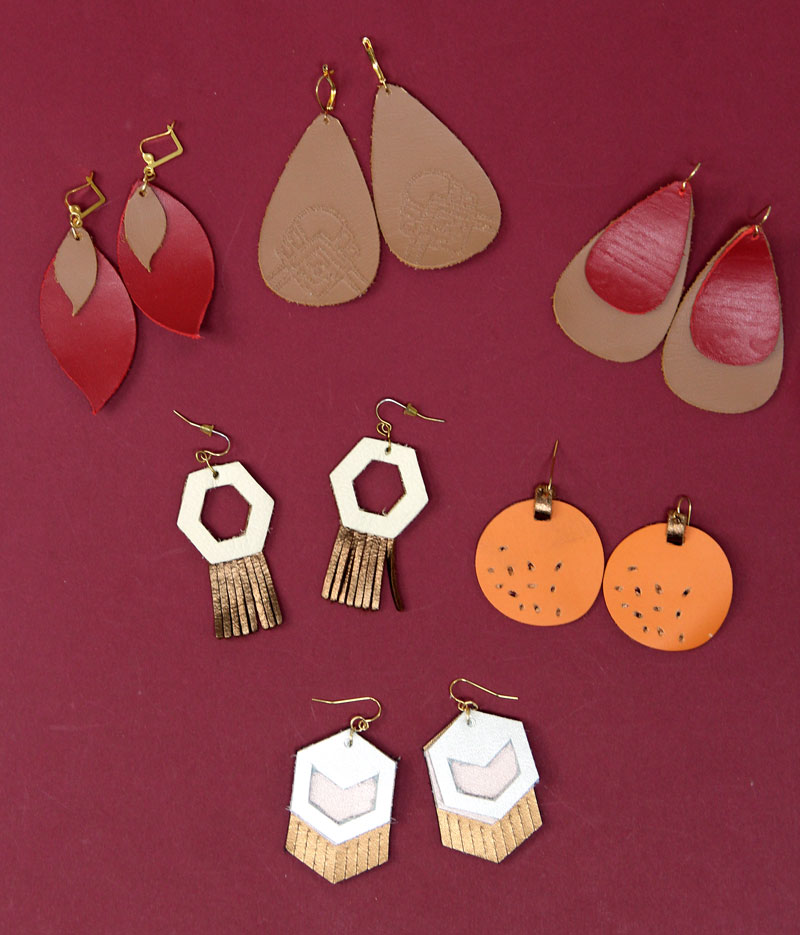
In this tutorial, you’ll see a few different styles of DIY leather earrings that cover the following topics:
- Hand-cutting vs. Machine cutting (specifically with the Cricut Maker but I do share with you my experience cutting leather with the Cricut Explore Air 2 as well).
- Where to find designs, which designs I used, how I set it up in Design Space
- Adding details by engraving and debossing leather.
- Single, double, and triple layer earrings – with tips for making them more wearable.
- Punching holes: Cricut vs. a leather punch vs. the Crop a Dial Power Punch.
- Finishing it off ( a few different ways).
I also compare the different leather types I used.
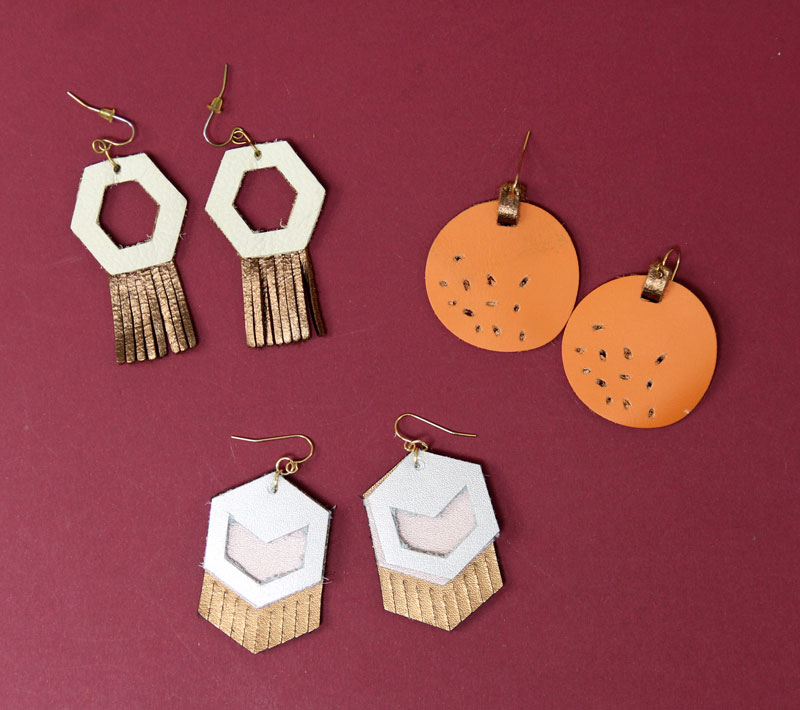
There is absolutely no freaking way I can cover everything about making DIY leather earrings in one post. No way.
But I’m doing what I can, packing in as much information as possible, hopefully without overwhelming you.
To make it easier for you to navigate this ginormous post, you can click on the table of contents to get to a specific part faster if you came here with a specific question.
Making DIY leather earrings without a Cricut – vs. with one
Yes, you can cut your DIY leather earrings by hand.
The main advantage of using a cutting machine, such as the Cricut Maker that I used here is to get that clean, consistent cut.
I don’t necessarily find it quicker and easier unless you’re batch producing – just more professional.
You can definitely cut by hand, it’s just not as nice. Keep in mind, that even if you use a template to cut it, it’ll be hard to be consistent with your shape.
You’ll also find hand-cutting leather earrings really limits your possibilities beyond teardrops, as more complicated shapes get truly challenging.
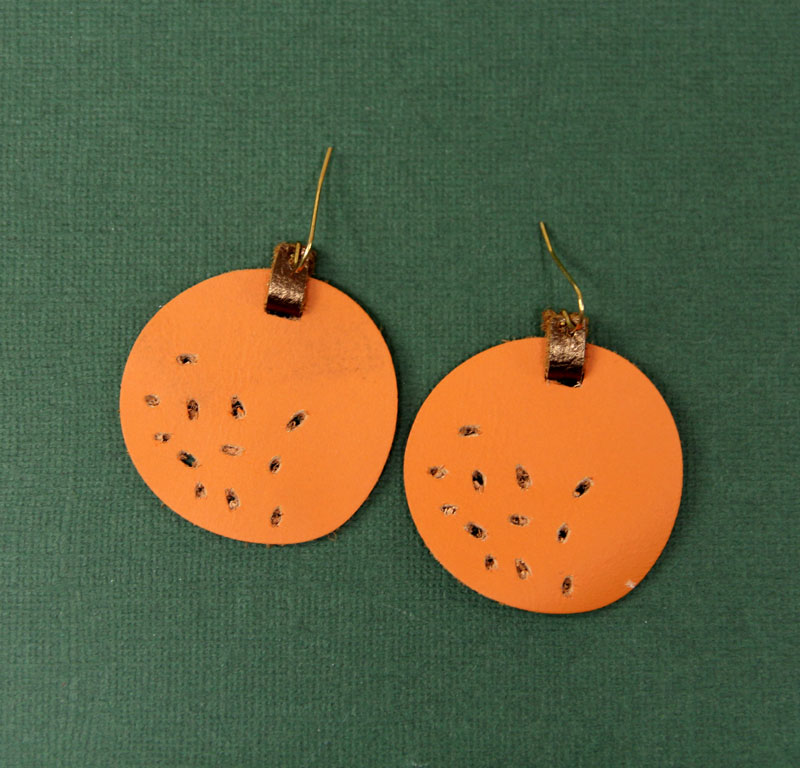
So can you hand-cut your DIY leather earrings? Yes. Get a really good knife.
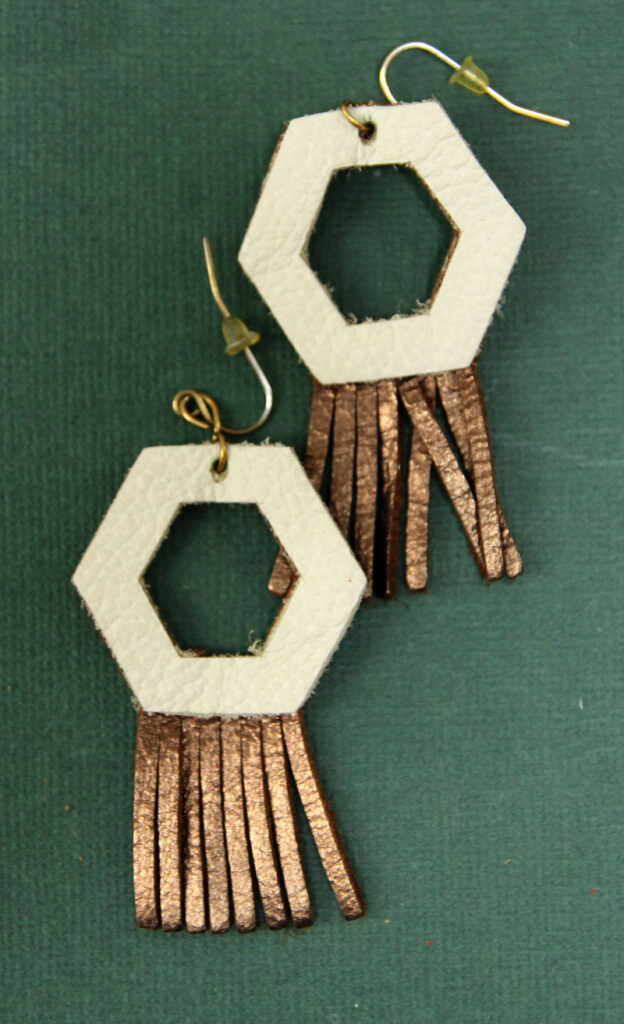
You can see this pair of leather hoop earrings I made cutting by hand:
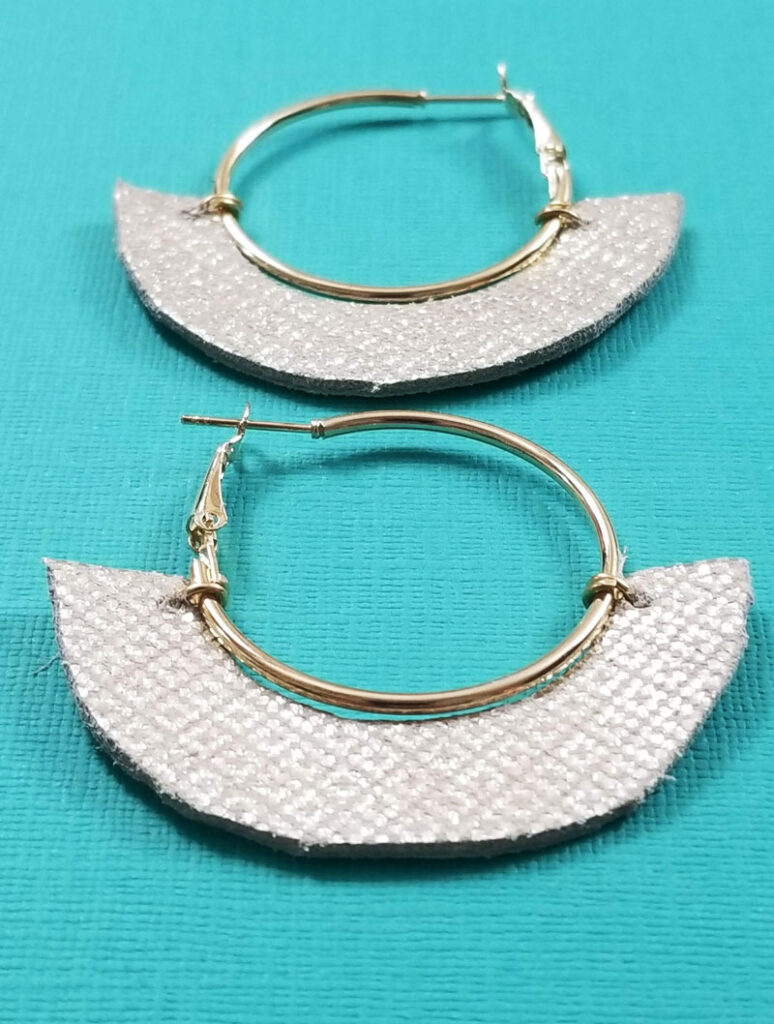
Is it worth using your Cricut to do so?
Absolutely – and if you make them regularly, to sell, or if you like to make slightly more complex designs, definitely invest in a Maker and knife blade.
Cutting your leather earrings with the Cricut Maker
The Maker has 3 huge perks when it comes to cutting leather in general – and specifically for DIY leather earrings.
In this woven leather bracelet tutorial, I shared a general Maker vs. Explore Air 2 comparison for cutting leather.
The gist of it: the knife blade for the Maker gets you a much cleaner cut – but you CAN also use the deep point blade on either machine.
Perks of making DIY leather earrings with the Maker:
- The knife blade!
- You can engrave your leather
- I found it easier to move the star wheels on my Maker than on my Explore (to avoid marking your leather)
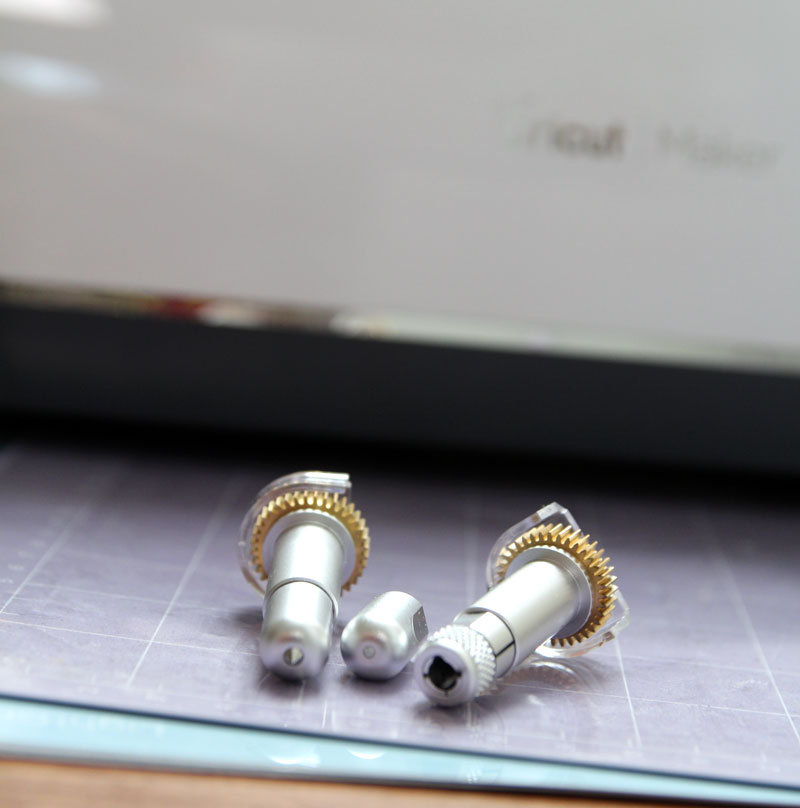
To cut your leather with the Maker:
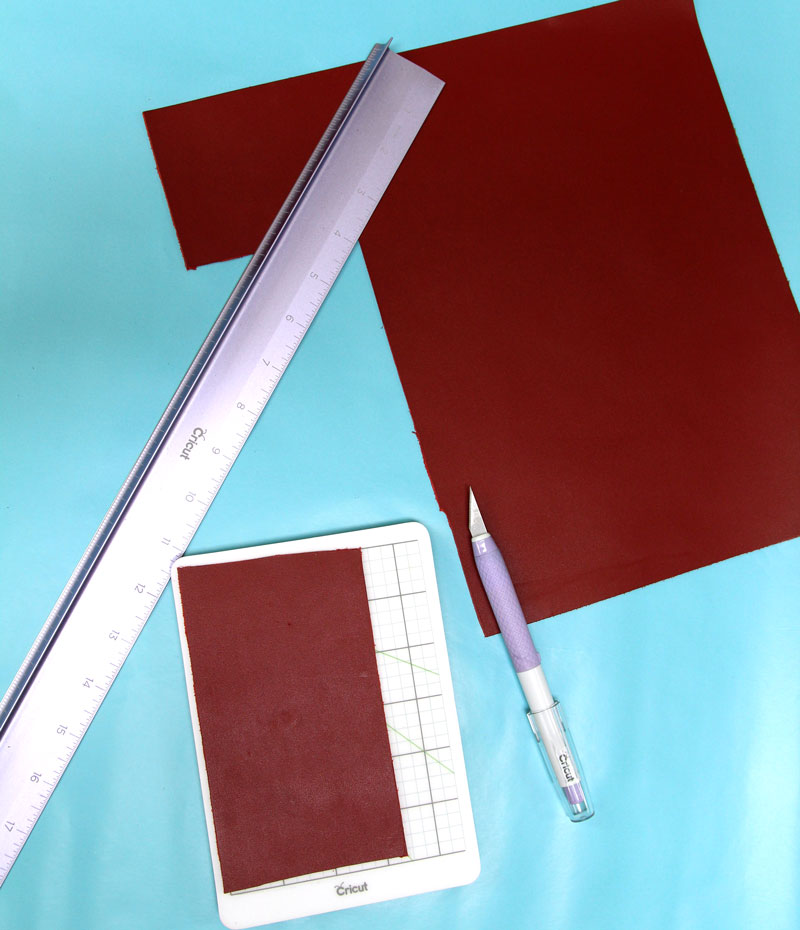
1. Cut your leather to size. I like using Cricut’s True Control knife and Cutting ruler – I recommend getting their self-healing mat as well.
2. Prepare your leather by backing it with Strong Grip transfer tape.
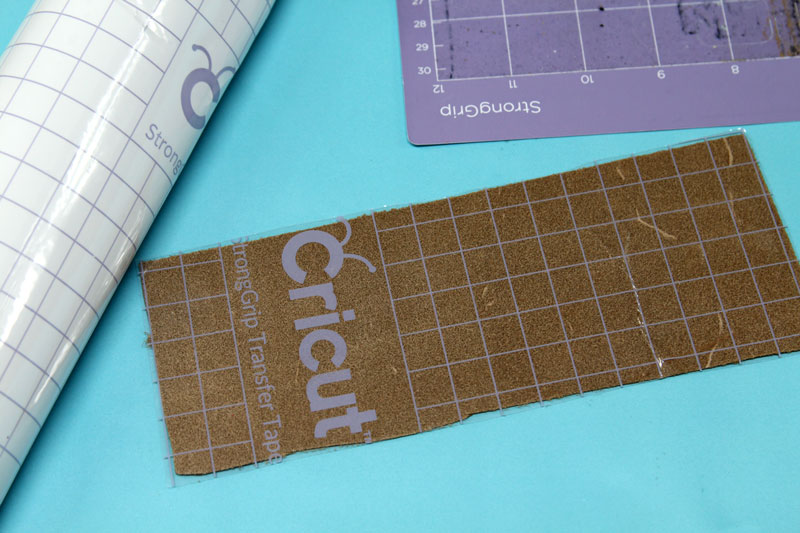
This helps preserve your mat and it helps avoid movement in the leather as you cut.
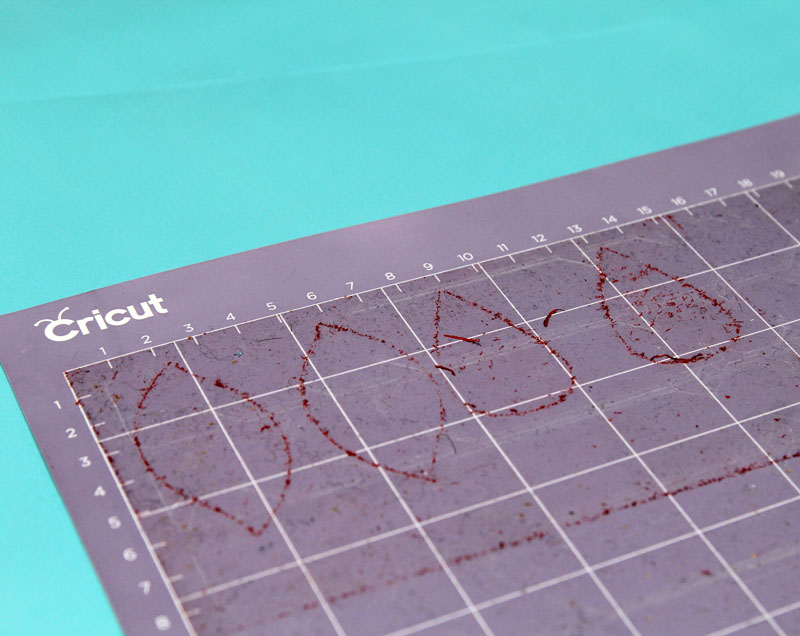
3. Use the brayer to adhere your leather well to your Strong Grip (purple) mat in the top left corner (it doesn’t matter if you use the top or bottom as long as when it’s loaded it’s in the top left corner.)
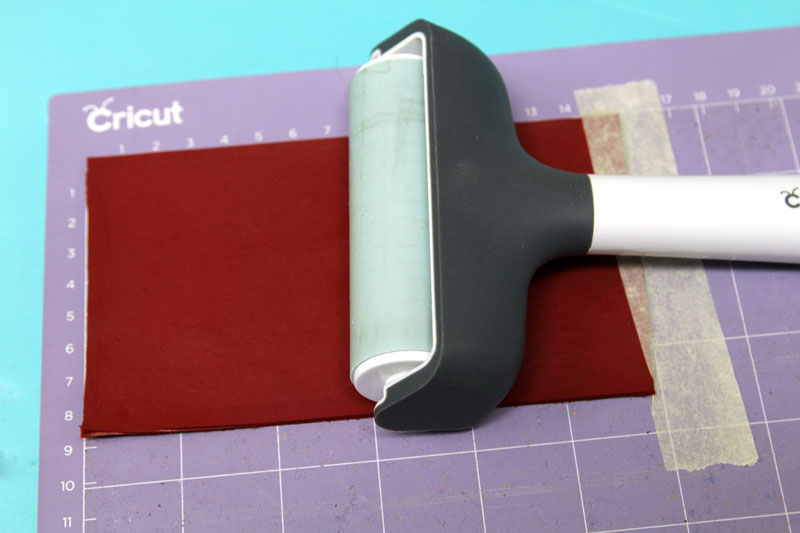
4. Tape it down on all four sides using masking tape.
5. Move the star wheels (the white wheels on the metal bar that feed your material) all the way to the right.
6. Follow Design space prompts to continue.
Cutting your leather earrings with the Cricut Explore Air 2
Yes, you can cut with your Cricut Explore Air 2 and I did compare the two.
The main difference is that you will be using a deep point (black) blade instead of the knife blade.
In a nutshell:
- Use the purple (Strong Grip) mat.
- Make sure you use a brayer to adhere your leather well to the mat – this makes a HUGE difference. Ask me how I know…
- Back your material with Strong Grip transfer tape.
- Use the deep point blade to cut.
Where to find designs for your DIY leather earrings:
Another question I confront a lot with making leather earrings on the Cricut is where to find designs.
The designs I used to make these are all on Design Space and I think getting the Access subscription is essential if you plan to make Cricut projects regularly – not just earrings! They have so many designs and an insane assortment of just leather earrings and jewelry!
And they’re constantly adding new stuff!
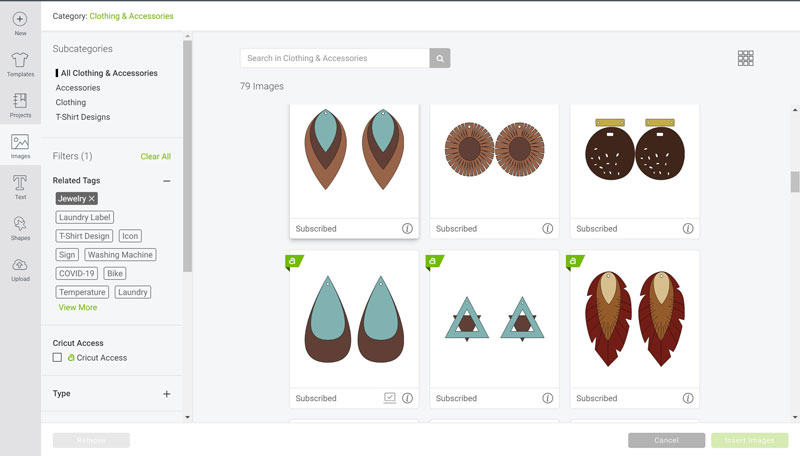
Here are a few sources for finding great leather earring designs – and my feedback on each one.
Cricut Access leather earrings
Access is my favorite resource for any SVG design for a few reasons:
- I don’t need to store anything locally, to download and organize. I can just work on a project-by-project basis.
- Even though I’m a designer and often make my own designs, part of the convenience of Cricut is being able to just make that thing. I browse Access projects like I do Pinterest – only I can simply hit “make it” on the access projects and it makes it so much easier.
- There is so, so much and it’s all Cricut stuff – no nonsense to sift through.
If you can swing it, I highly recommend Access. It’s my personal top source for Cricut craft ideas and graphics.
Etsy, DesignBundles and other stock resources
Many stock websites, as well as Etsy, include loads of SVG files and that incldes DIY leather earrings.
A few words of caution:
- Make sure you’re reading licensing carefully and that you’re allowed to resell if you plan to.
- Don’t worry about resale or licensing if you’re using these for personal use!
- While it’s only a few bucks here and there, it can really add up. Set a budget for yourself or you’ll find yourself spending more than you planned (again, ask me how I know.)
Stock websites are a great way to get designs – and a great way to support smaller businesses.
Pinterest or Google
Let’s set something straight here: you’re not getting a design from Pinterest or Google. You’re getting it from a blogger – like me – who took the time to create it.
On that note, make sure that you’re downloading from a legal source, and that you know the licensing fits with your intended use.
Another word of caution: while you can find many great images using Google Images, always click through and find out the licensing/source of that image especially if you plan to sell!
You don’t want to inadvertently steal a struggling artist’s intellectual property.
All that being said, Pinterest is a great source, with many bloggers offering great, free designs, so go hit it up!
When making DIY leather earrings, the materials you choose ARE important.
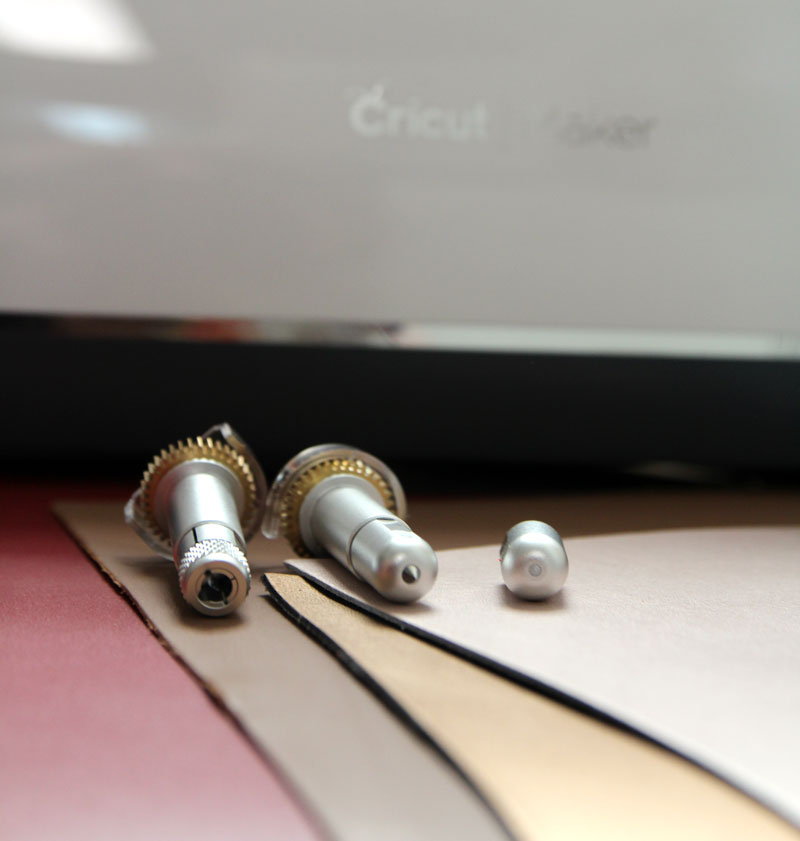
Most of the earrings shown in this post use Cricut genuine leather or metallic leather.
The metallic leather is much thicker than the genuine leather but both are quite stiff. This can be an advantage for most styles.
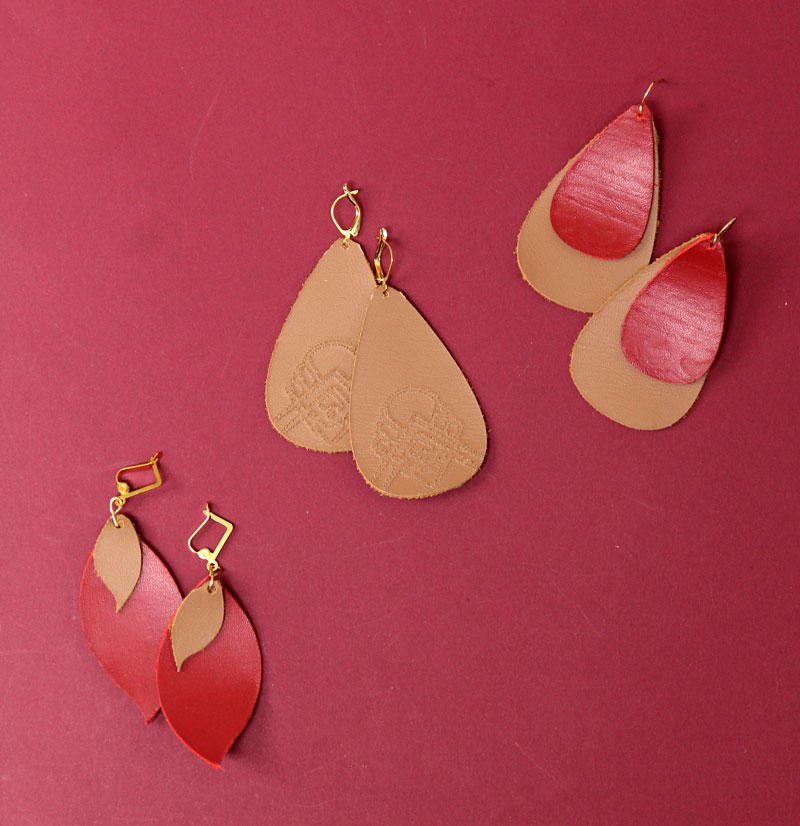
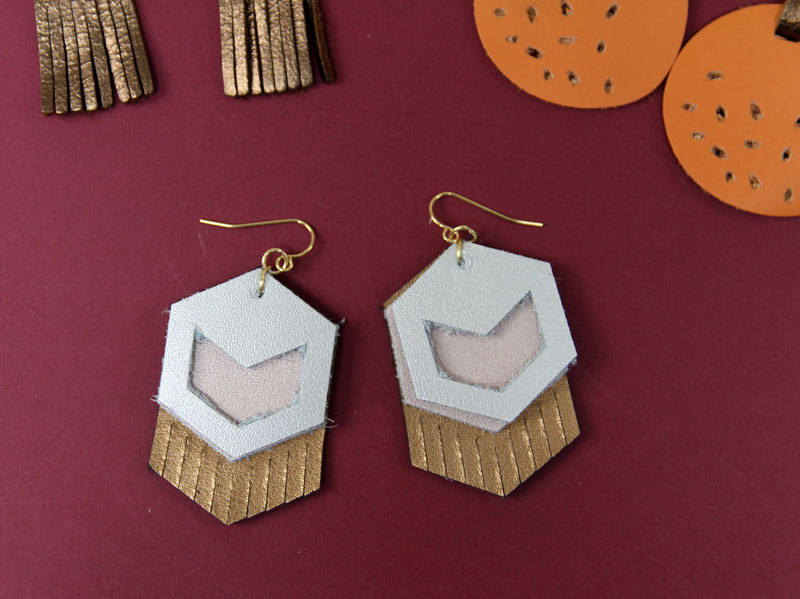
When you’re making fringed designs you may prefer a softer leather so that it moves more freely.
Some people like to back their leather with iron-on or something similar, but I like them as-is. Using stiffer leather for simpler shapes helps.
For some earrings, I used bits and pieces from leather remnants assortments. I don’t necessarily recommend getting these for heavy-duty earring making as many pieces will be too small to really set up and cut on your Cricut.
If you’re hand cutting, you can work around the scraps more easily.
It’s also great if you’re not really making a lot of earrings but do lots of hobby crafting that can occasionally use leather.
If your agenda is more dedicated to DIY leather earrings, definitely stock up on sheets of Cricut leather!
Engraving and Debossing Leather Earrings with the Cricut Maker
And here’s one of my favorite parts of using a Cricut Maker – the extra tools that open up endless possiblilites…
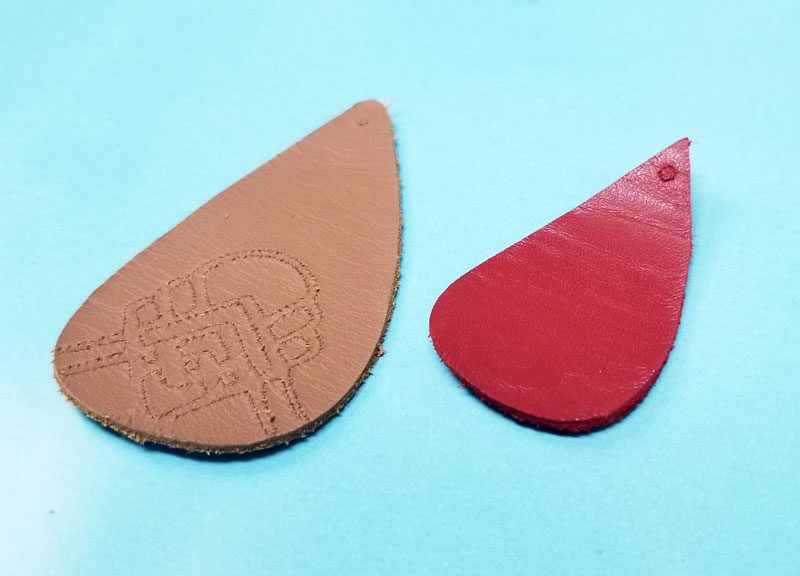
Debossing leather with the Cricut Maker
I don’t know if I just still have a lot to learn about debossing, but I’m still not quite getting the results I want. I love my debossing tip for cardstock (I’m still playing but will hopefully share a craft on that another time!).
With leather, you do need to wet it to deboss. I may need to play with which type of leather I use, but so far, it just added a little texture (which is nice too, but not quite where I want it).
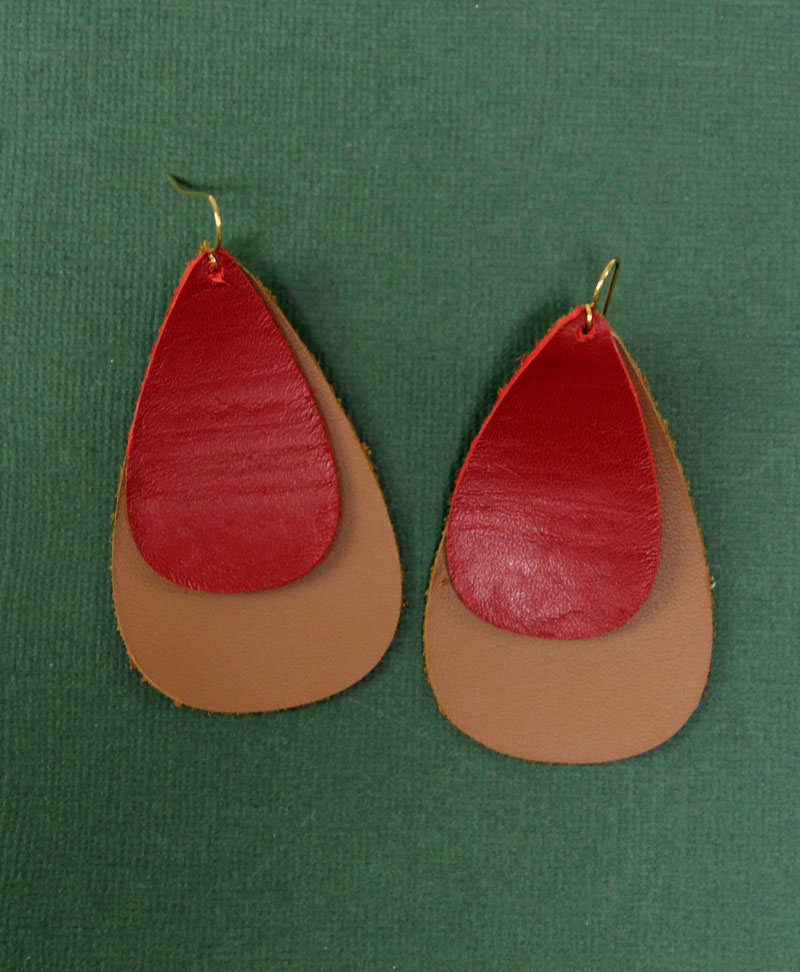
Which is why I was SO excited to try the engraving tip…
Engraving leather with the Cricut Maker
Cricut’s engraving tip is amazing!
Yes, you can engrave virtually anything into your leather. But my best part is: it’s easy! You don’t need to wet the leather – it’s literally just another tool to use.
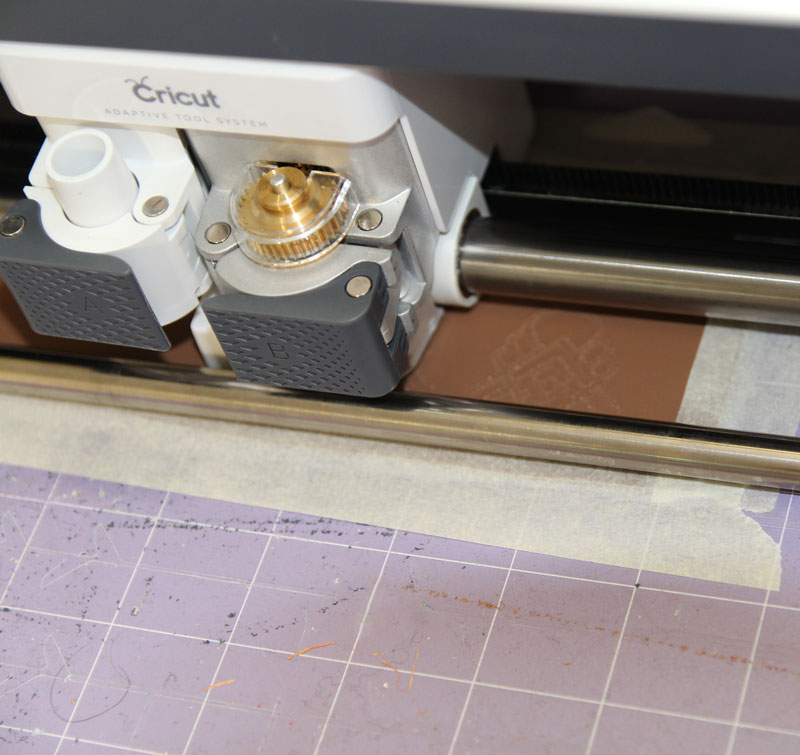
Just look for a design that works for engraving (it can be a pattern, an embellishment, or even a monogram), load the tip when prompted and voila!
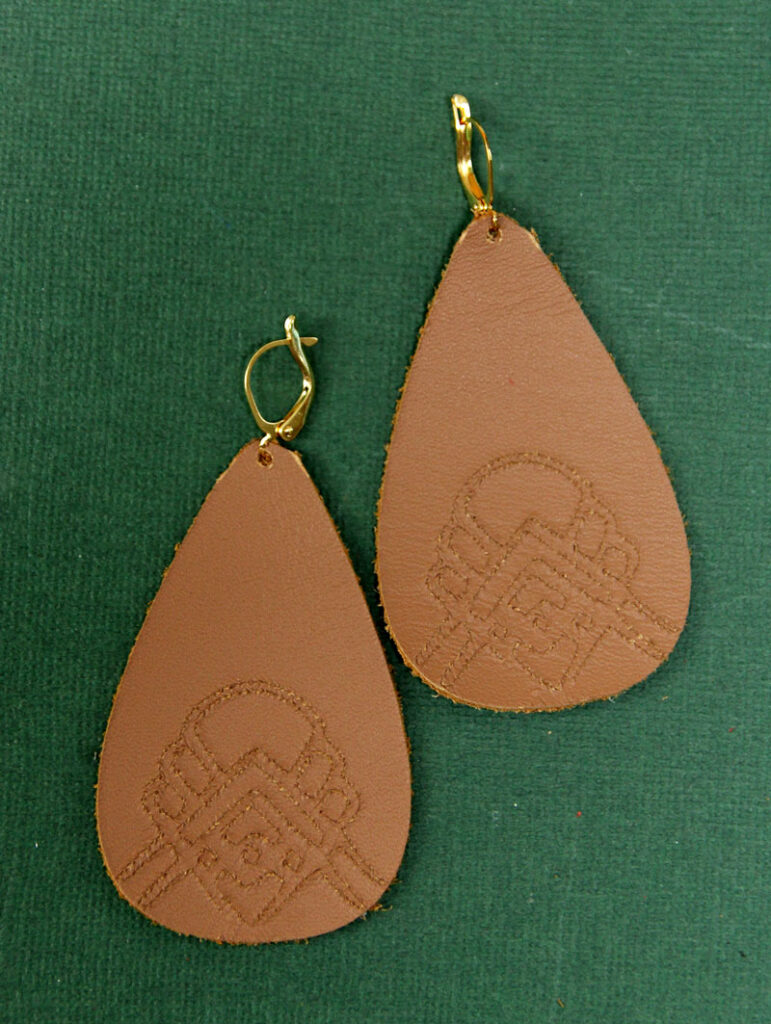
It’s really easy and uncomplicated, especially compared to debossing.
How to make layered leather earrings
Many of Cricut’s DIY leather earrings are multi-layered.
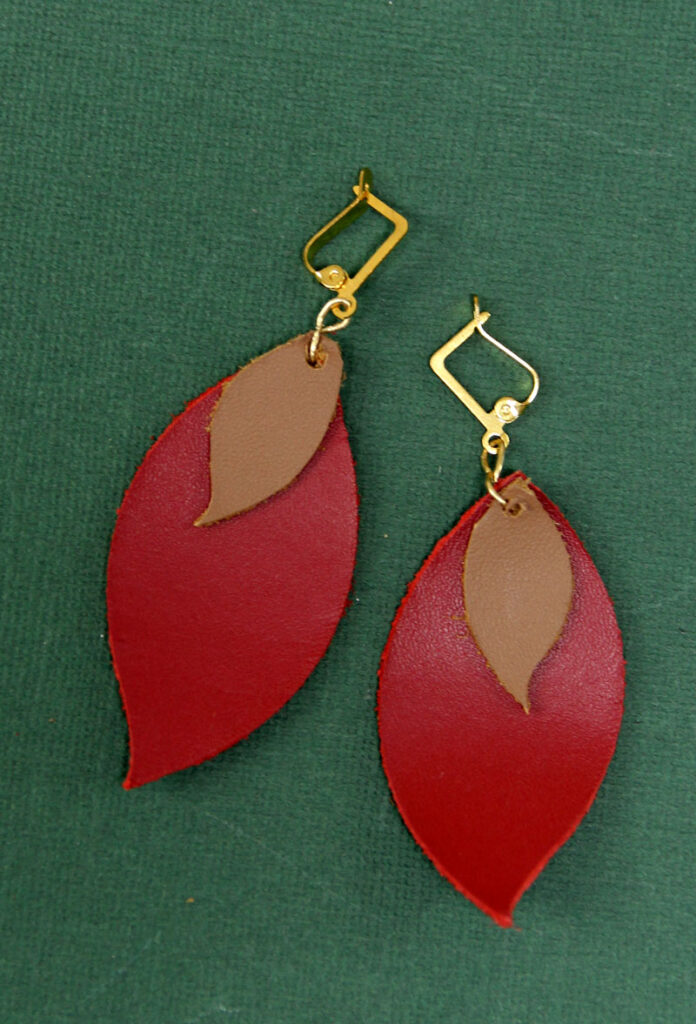
One thing to consider when making them is the thickness of your leather.
As you can see, I chose to make my triple-layered DIY leather earrings with three tones of metallic leather and they look amazing!
However, they are very thick and bulky.
It may be wiser to stick to double layer when using metallics (I could literally make the same design without the middle layer).
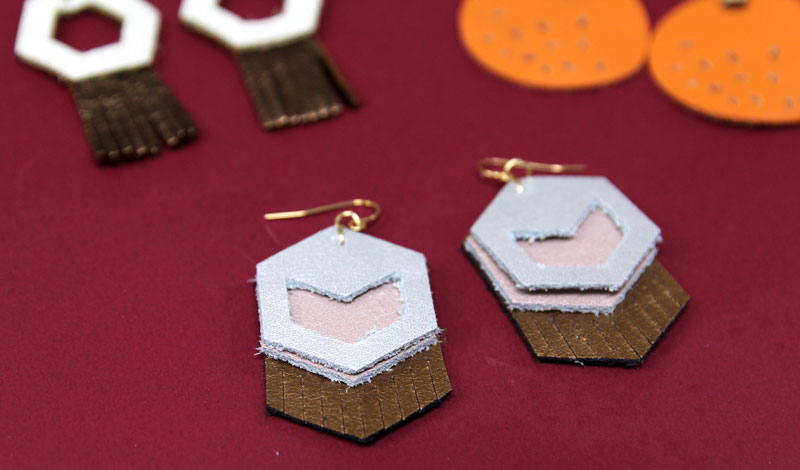
Otherwise, layering earrings are fun and you can get creative. Mix and match Cricut designs, add a letter hanging on top of a teardrop – the possibilities are endless.
How to punch holes in your leather earrings
Most of Cricut’s earring designs (and many you’ll find online) come with a hole cut out.
However, I found that when using the knife blade (for its clean cut on the outer shape) it didn’t necessarily do a thorough job of punching out the hole.
For that reason, I compared two tools for punching holes in DIY leather earrings.
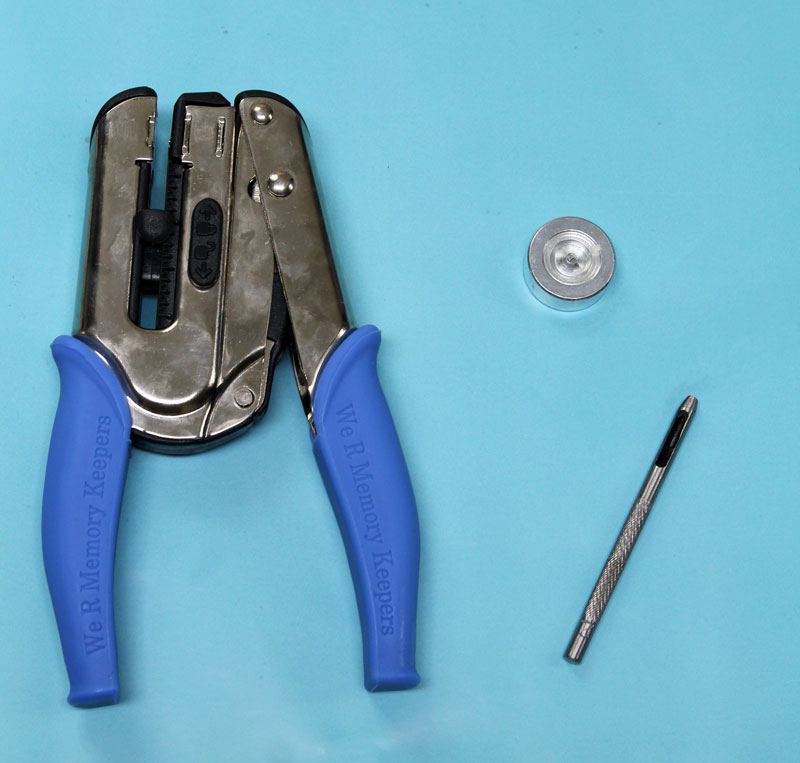
To use this tool, you use a hammer to bang down a hole punch in the spot you want it.
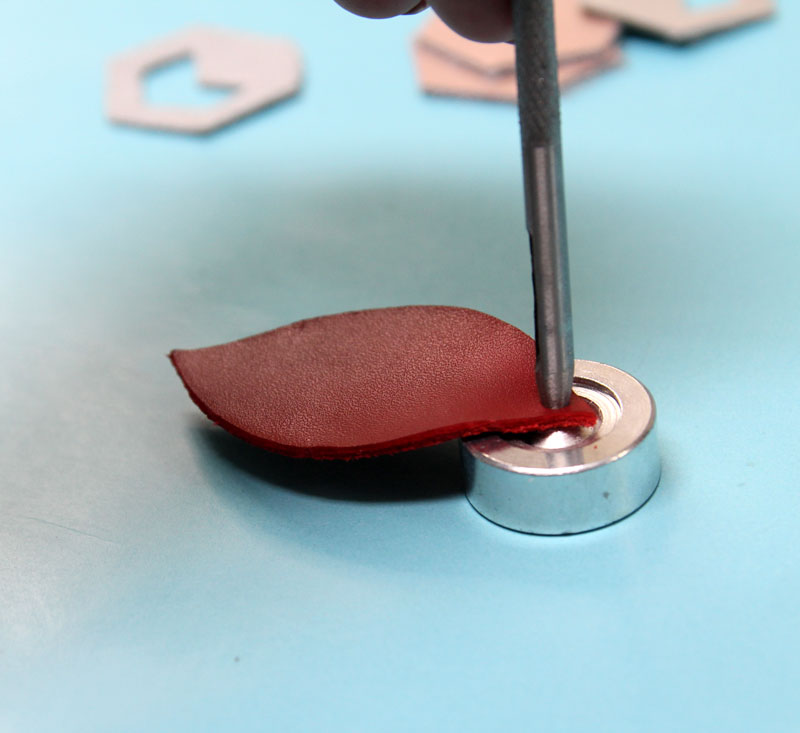
While this method might be primitive, it makes beautiful, clean holes.
It’s also easier to be accurate as you can really carefully place your punch.
This really versatile 1/16 inch punch has come in handy in so many projects that I definitely recommend having it handy.
The biggest drawback with making holes in earrings using the Crop-A-Dial is accuracy. It’s frankly hard to see where you’re punching.
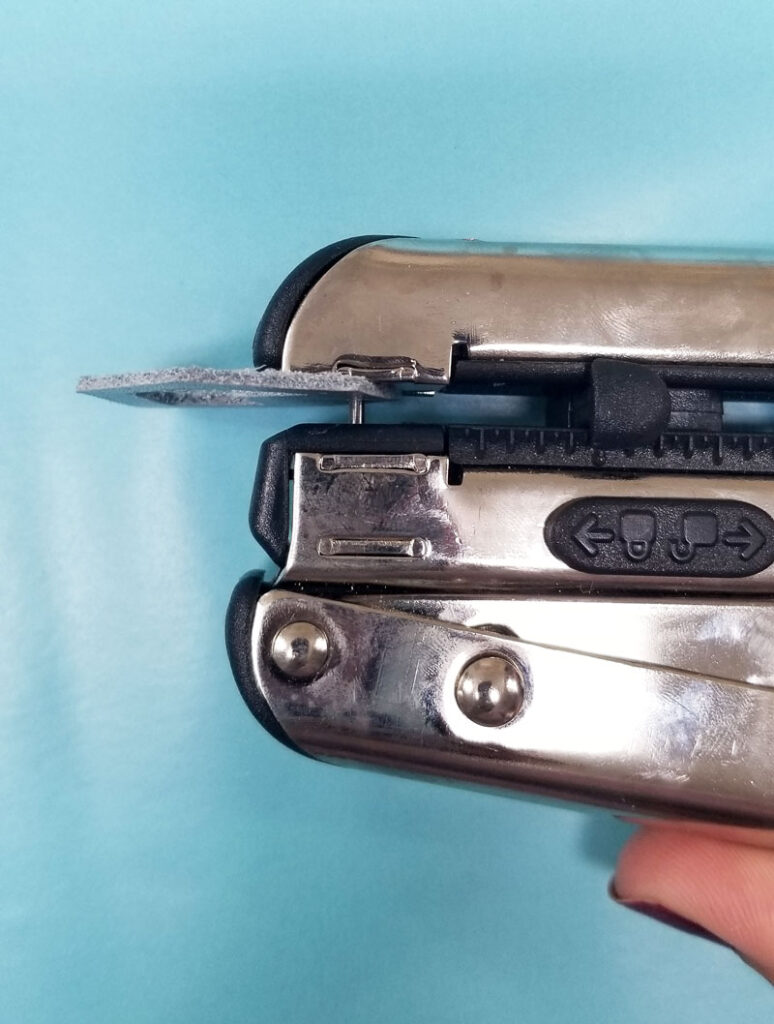
That being said, it’s a single, quick punch and SO convenient for lazy people like me. I was able to be accurate enough by peeking through the side, and starting to tighten the punch, then placing my earring accordingly.
The hole punch itself is quick, clean, and thorough.
Bottom line?
As a hobby crafter, the Crop-A-Dile won for me for ease-of-use.
If you’re trying for more professional, cleaner results you may prefer a leather punch.
How to make and finish off your DIY leather earrings
And now for the actual how-to (finally!)
Yes, I do have a step-by-step tutorial for you, but there’s so much learning/decision making to do first, I had to go there first!
Supplies for making leather earrings
How to make leather earrings
To attach your leather earrings to an earhook, you can choose one of three ways:
1. Attach your hook directly to the earrings. You may need to trim off some of the leather on top of the hole, especially on layered designs. This is best if you want less dangle, and for the leather to sit closer to your ear.
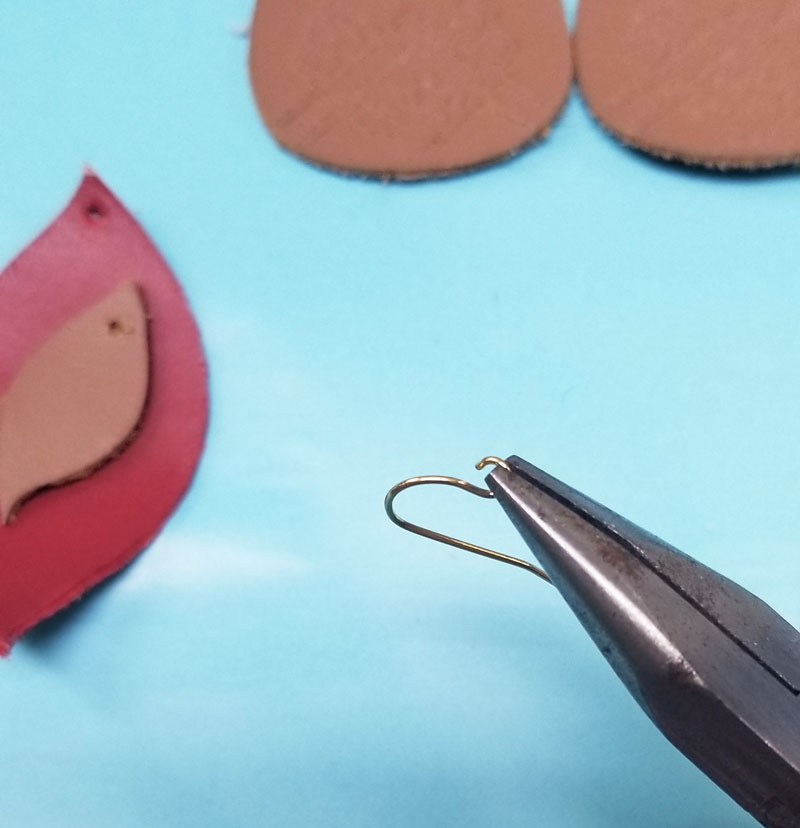
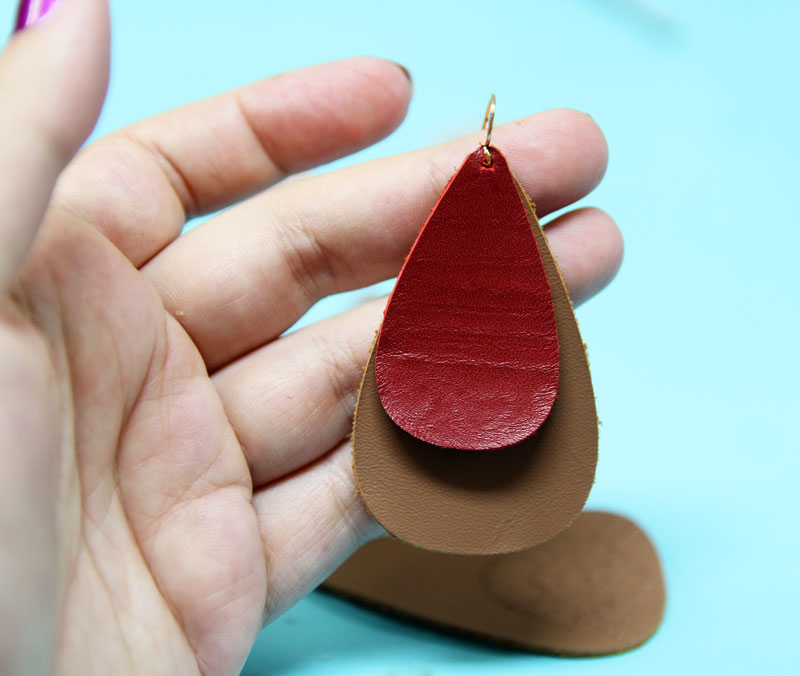
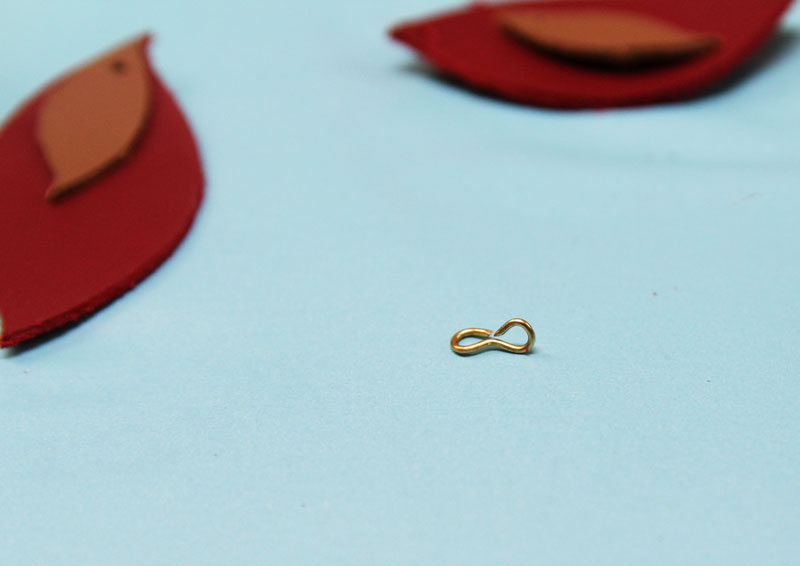
2. Make a figure eight to bridge the dangle and the earwire. If you need more space for your leather, or if you want a bit of dangle, you can form a figure eight with a bit of wire (use round nose pliers). Turn one of the loops so that it’s facing the opposite direction of the other (so your earrings face forward). Attach your leather to one loop and your earwire to the other.
3. Use two jumprings. Since most ear wires have the loop facing the way you need it, if you add a jumpring, you’ll need to add two so that it faces forward. I recommend using the jump ring method for when you have thicker leather, more layers, etc. It allows you more flexibility with sizing so that you can fit all your layers in the loop.
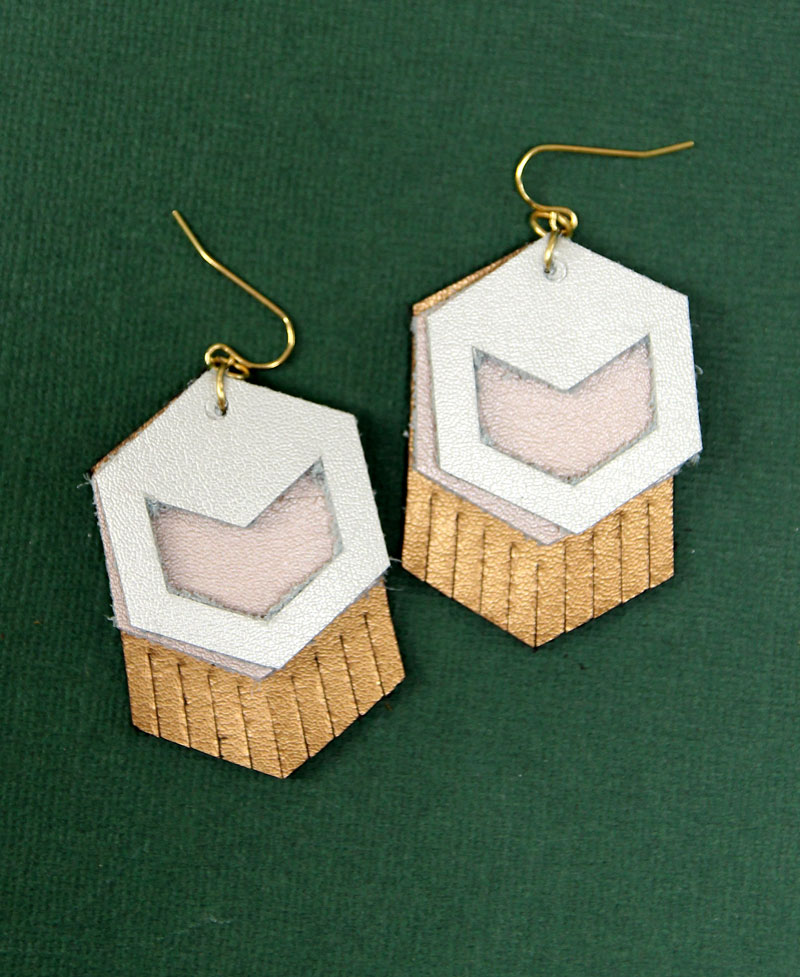
The next and final step is to wear your DIY leather earrings with pride!
[ad_2]
Source link


