[ad_1]
A gorgeous DIY dreamcatcher pendant is a fun DIY pendant that’s quirky and adorable to wear! Find more of my favorite necklace ideas here! This post contains affiliate links.
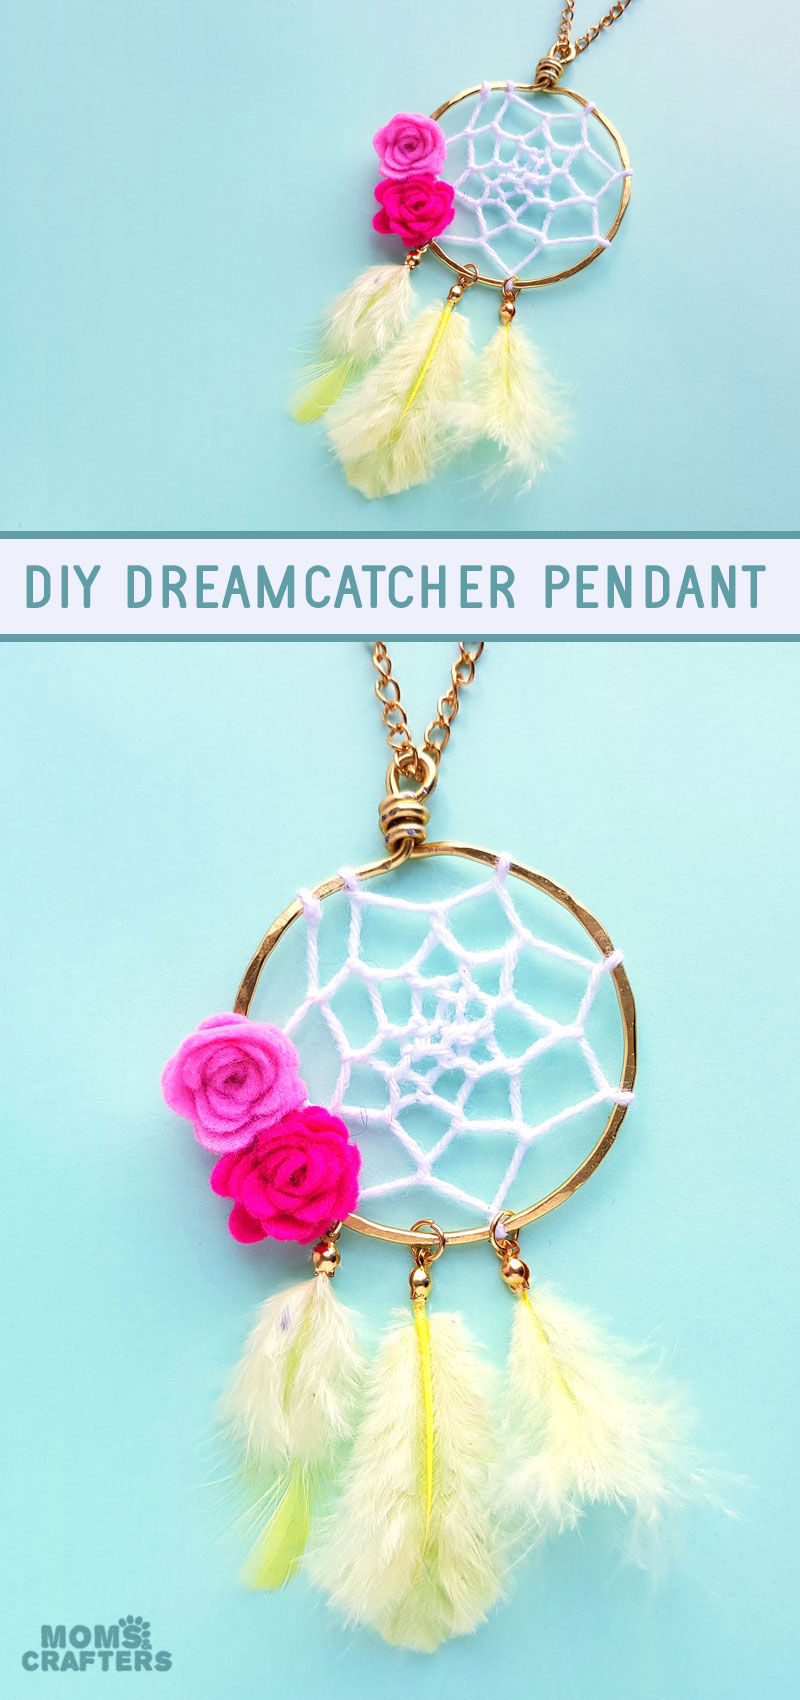
My favorite jewelry crafts are those that incorporate other craft elements and skills – and this dreamcatcher pendant is so… dreamy!
In this tutorial you’ll gain so many new skills. You’ll be wire wrapping the loop (if you want – you can also use something like this.) Then, you’ll be knotting the center of the dreamcatcher, making mini felt flowers, and more!
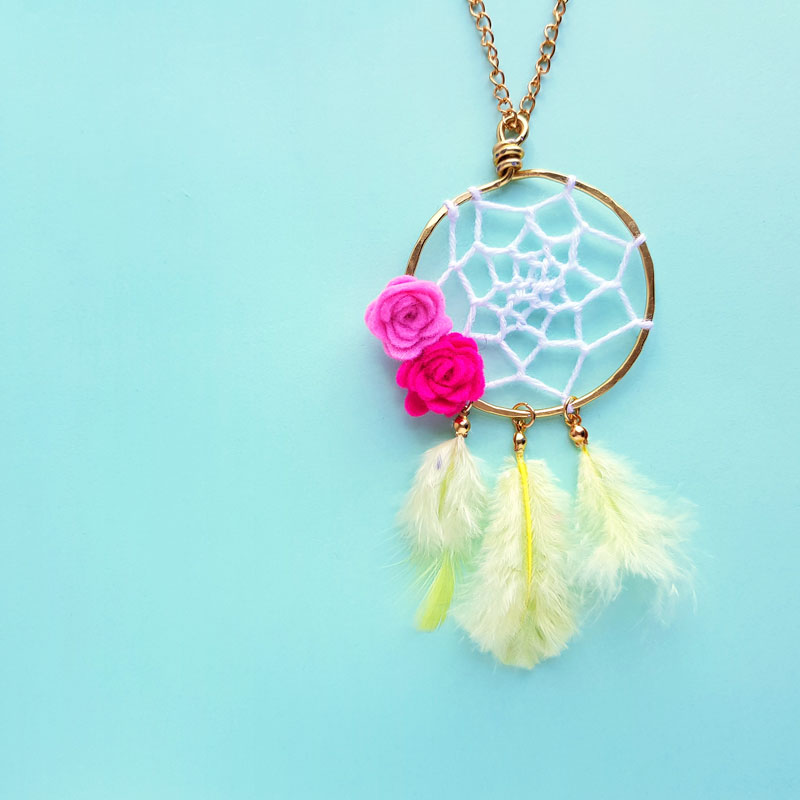
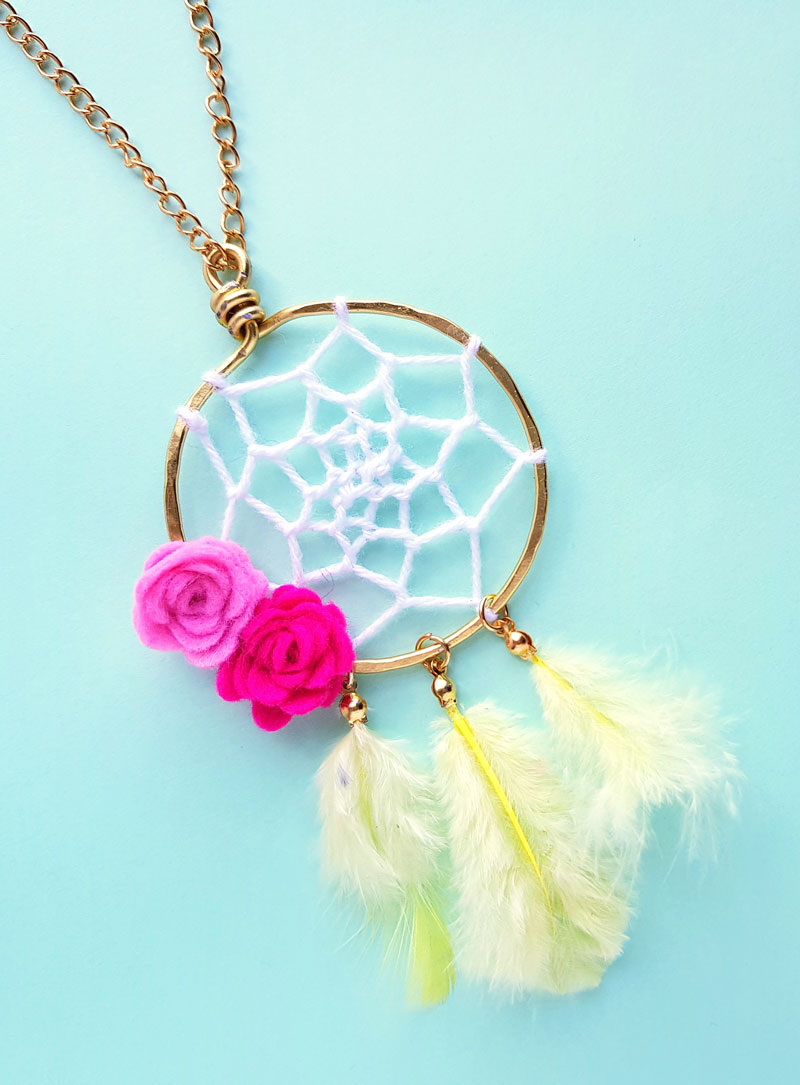
String your dreamcatcher pendant on a long chain to dress up a simple top. This is also the ideal pendant for wearing on a ribbon or similar chain – so if your skin is sensitive to metal this project is spot on!
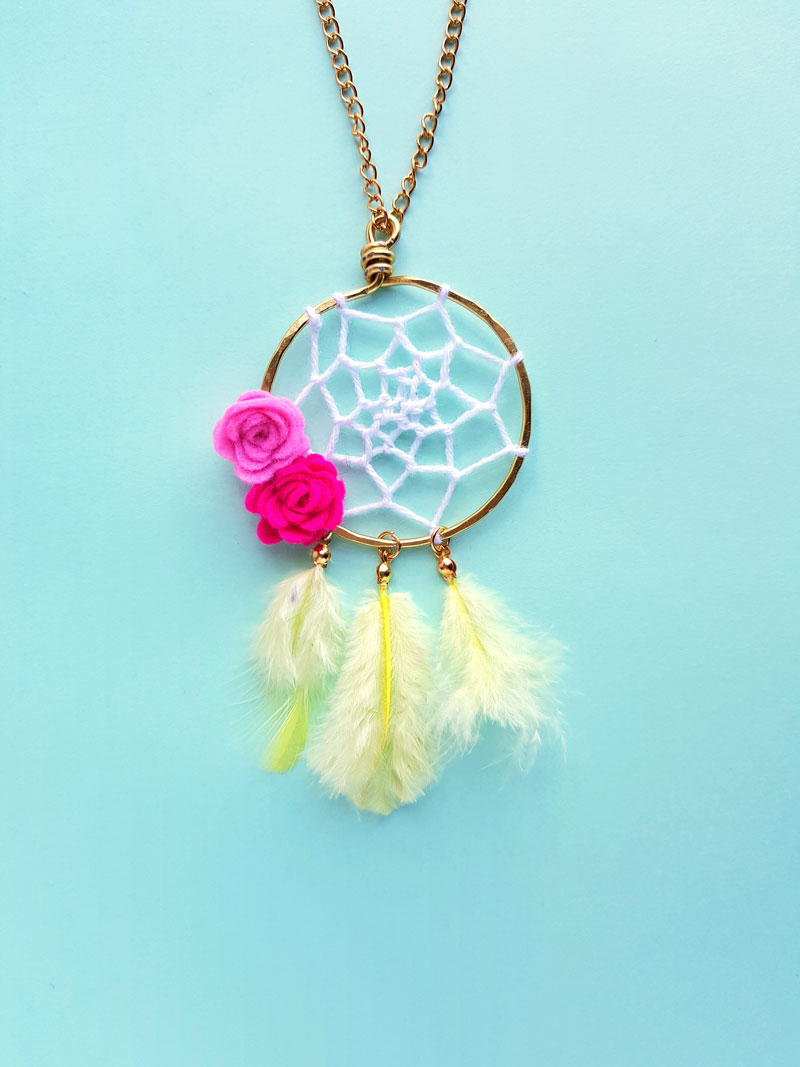
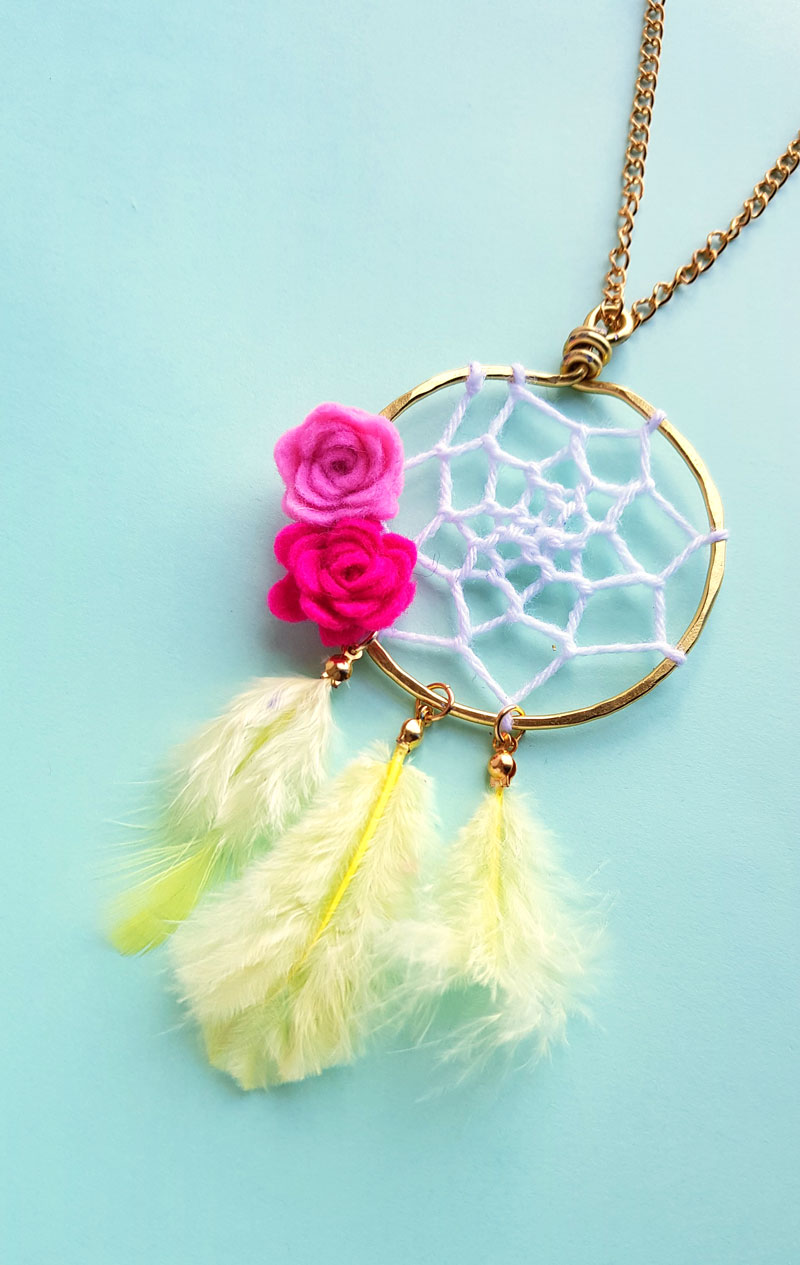
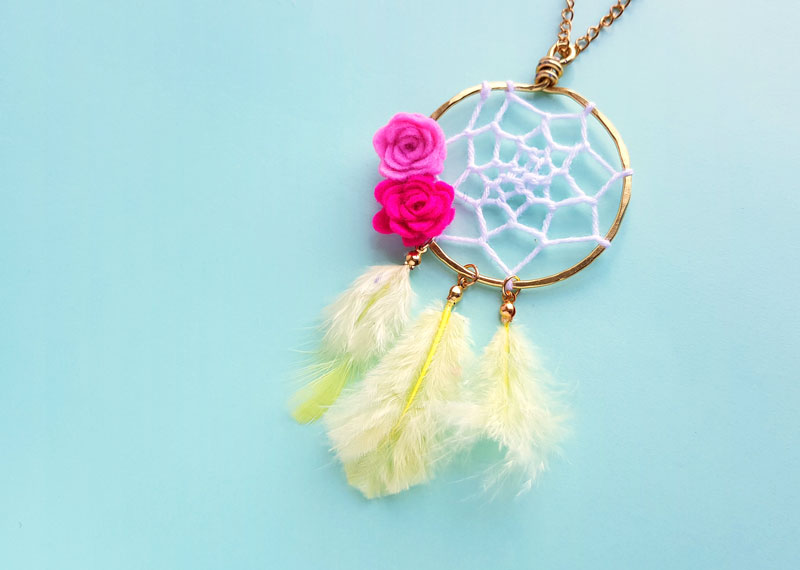
This dreamcatcher pendant was made with bright colors for a playful look. You can use cream colored felt (or skip the flowers completely), natural feathers, or other more organic feeling elements if you want to tone it down.
You can also glue on pre-purchased flowers if you don’t want to work with the little pieces of felt.
What you need to make this necklace
How to make a dreamcatcher pendant
1. Make a small loop at the open end of your wire spool. Leave about 1 cm of wire below the loop and bend the wire below it 90 degrees.
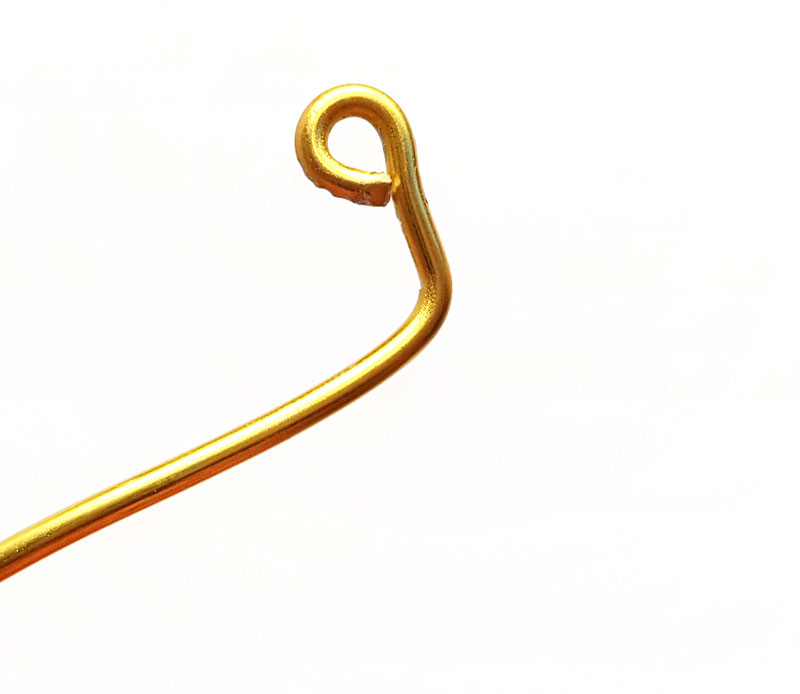
2. Create a circle using the wire that’s still on the spool. The size of this round base would depend on your personal preferences.
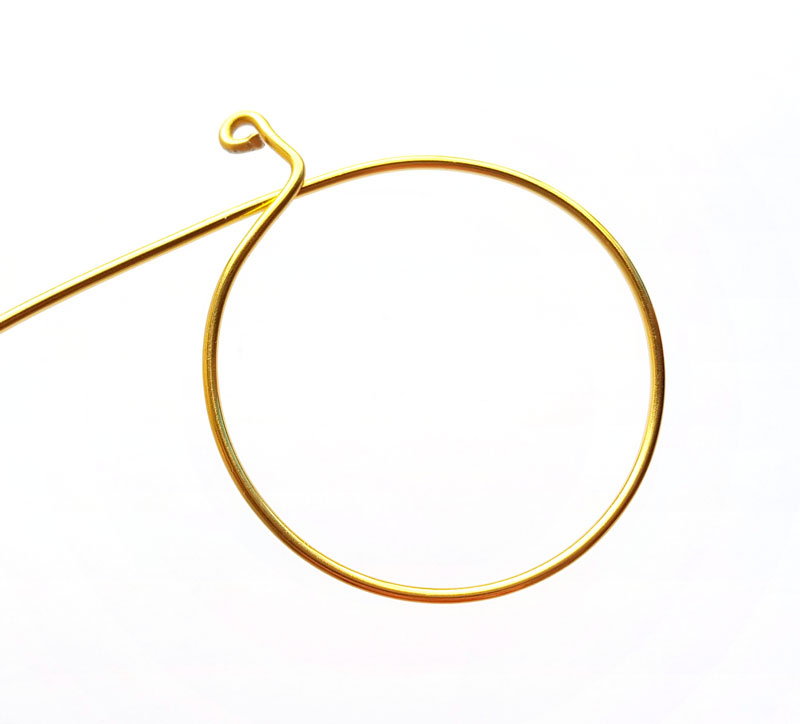
3. Trim your wire from the spool, leaving an inch or two. Coil the open end of the wire around the “neck” you left below the loop.
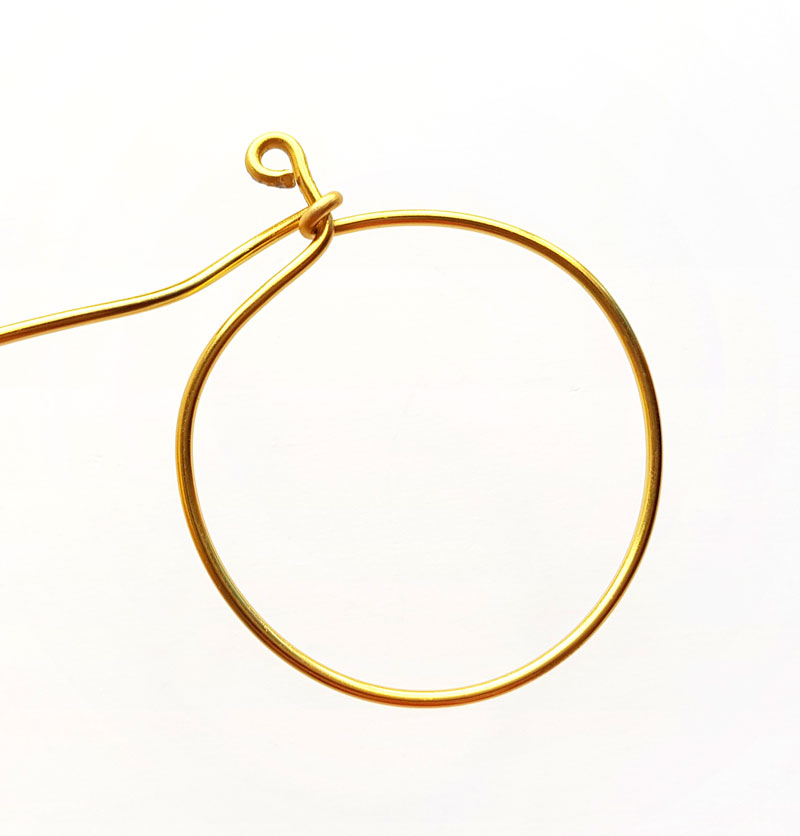
4. Finish your coil, trim, and make sure to squish the end in so it’s not poking out. The dream catcher base is ready. You can hammer the base to flatten, harden, and add texture or you can keep it as it is.
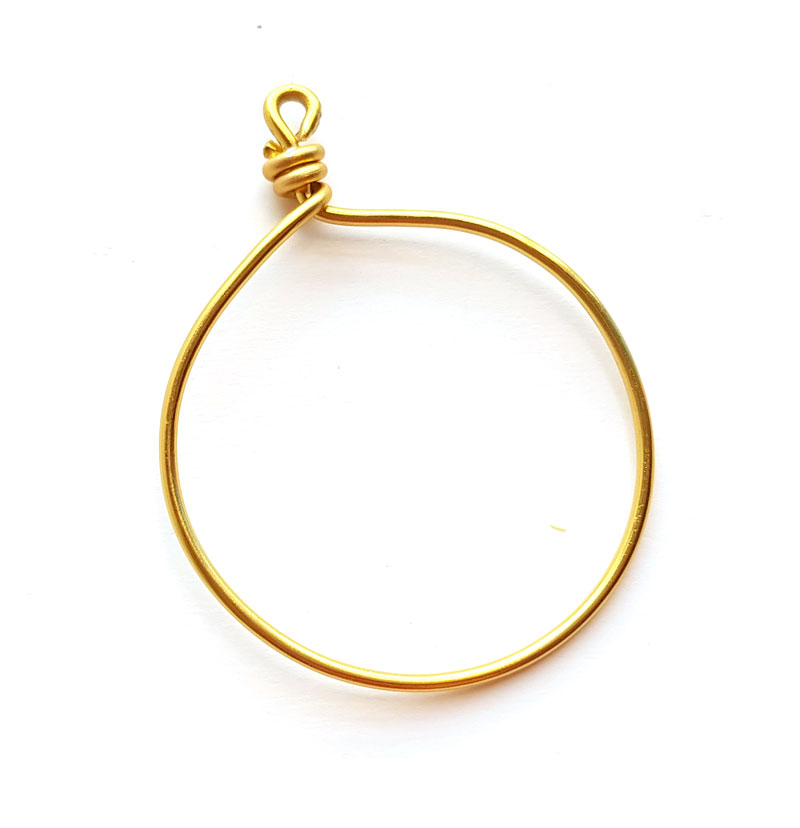
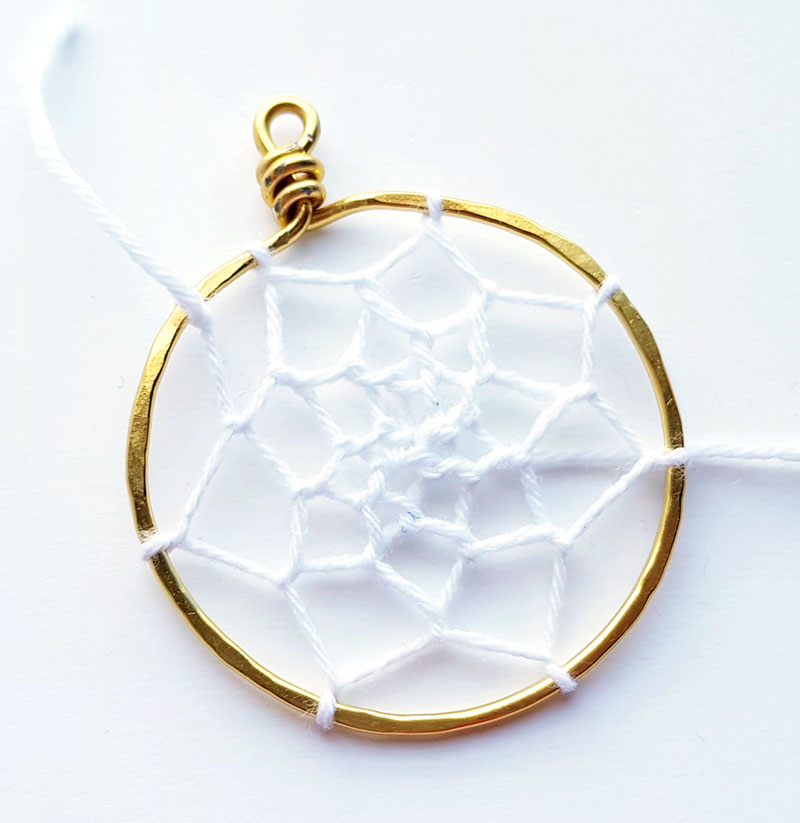
5. Take the skein of yarn and tie a knot around the round base band, close to the coil.
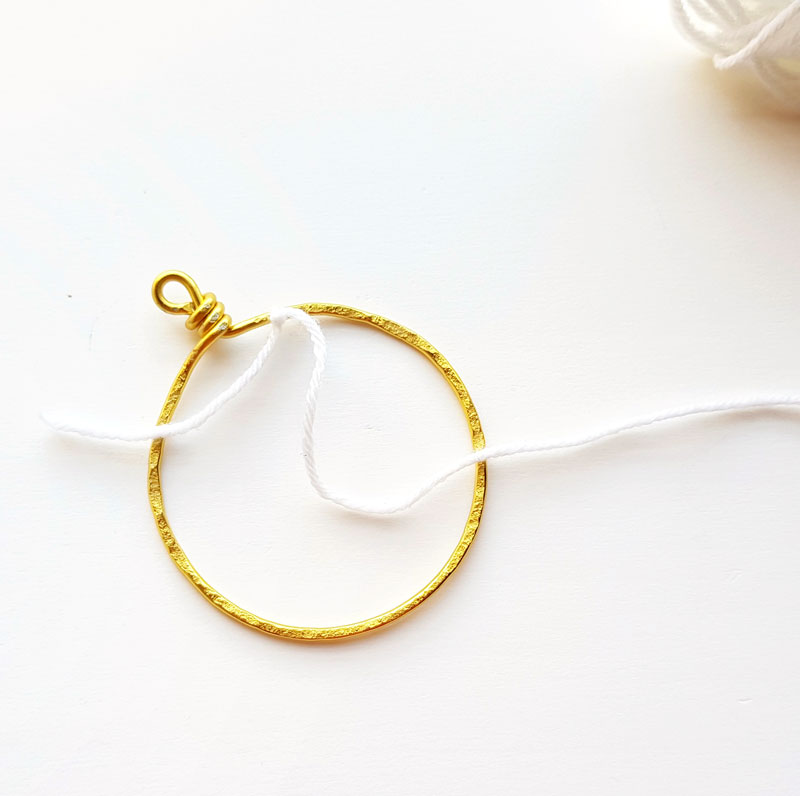
6. Leave a little yarn intact and then wrap the yarn around the base, leaving yourself a little space on the circular base between the knot and the wrap. .
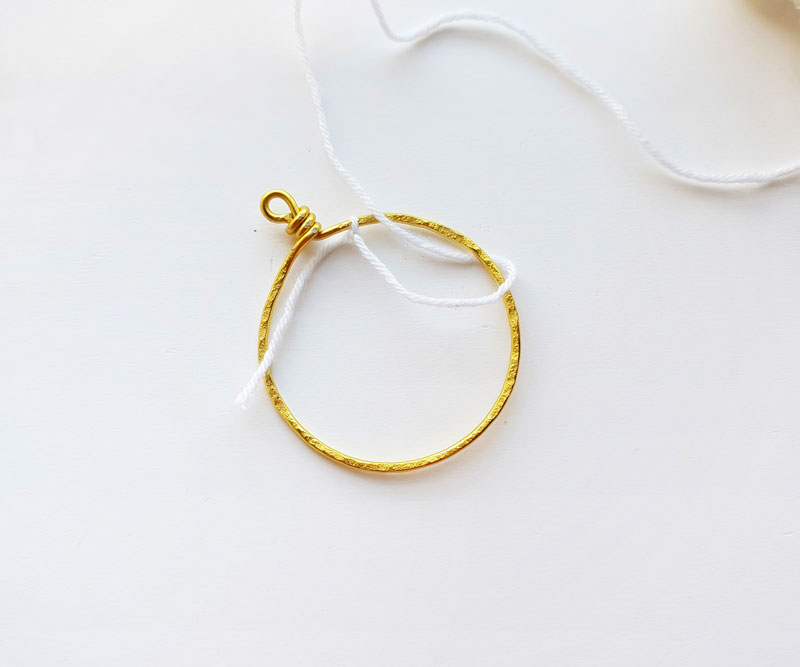
7. Leaving about 2 cm of the yarn between the knot and the wrap, wrap the yarn again around the base, tightening it in place.
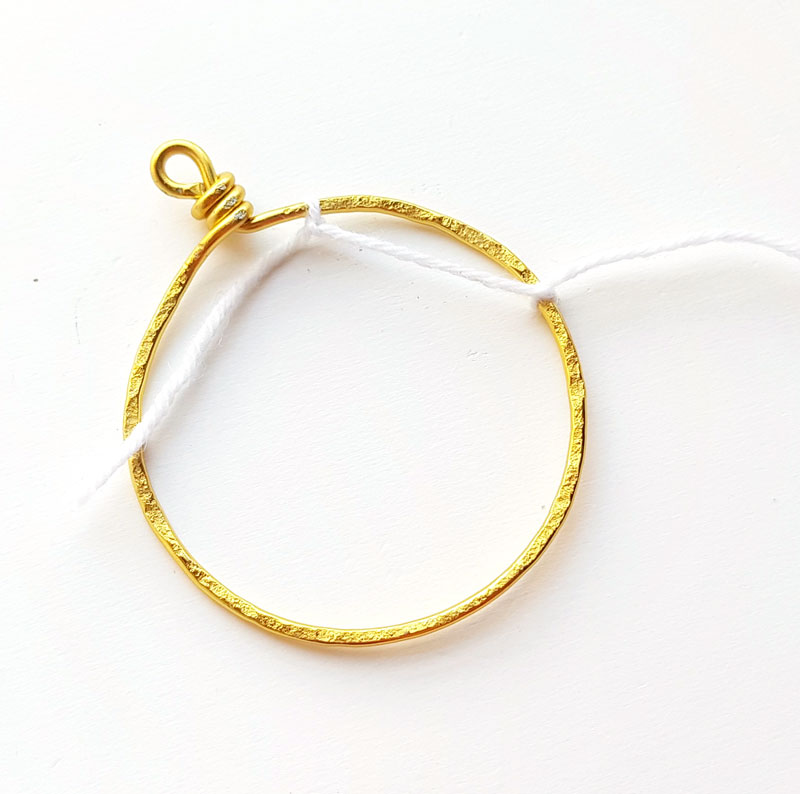
8. Continue step 6 and step 7 until you’ve worked your way around the circle.
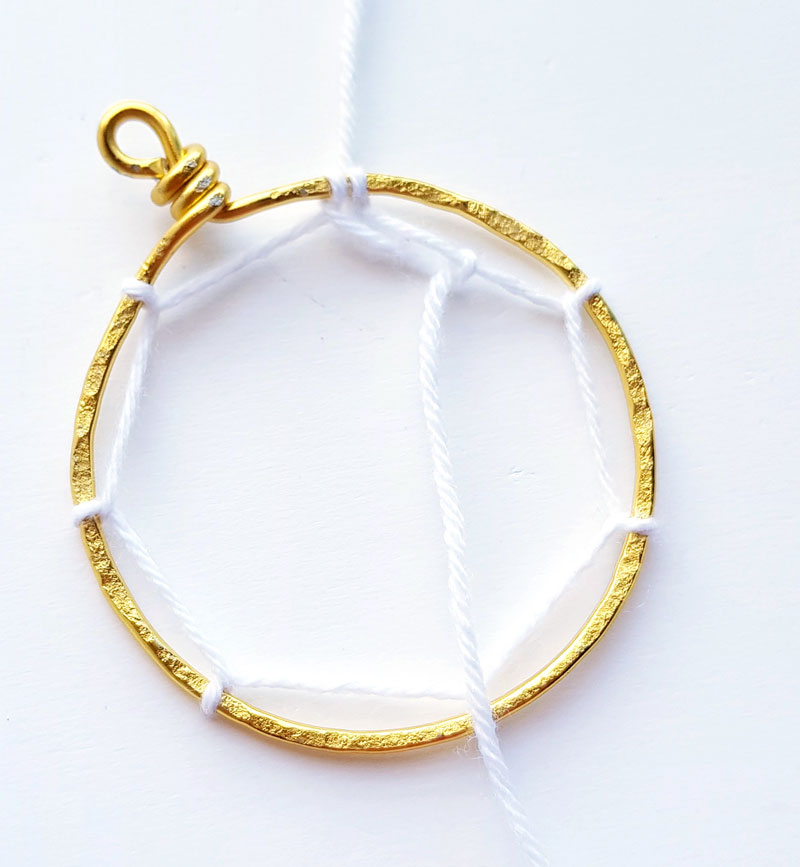
9. Now let’s move work on the second layer, working our way toward the center. Wrap the yarn around the previous layer of yarn, in the center of each section of the previous layer.
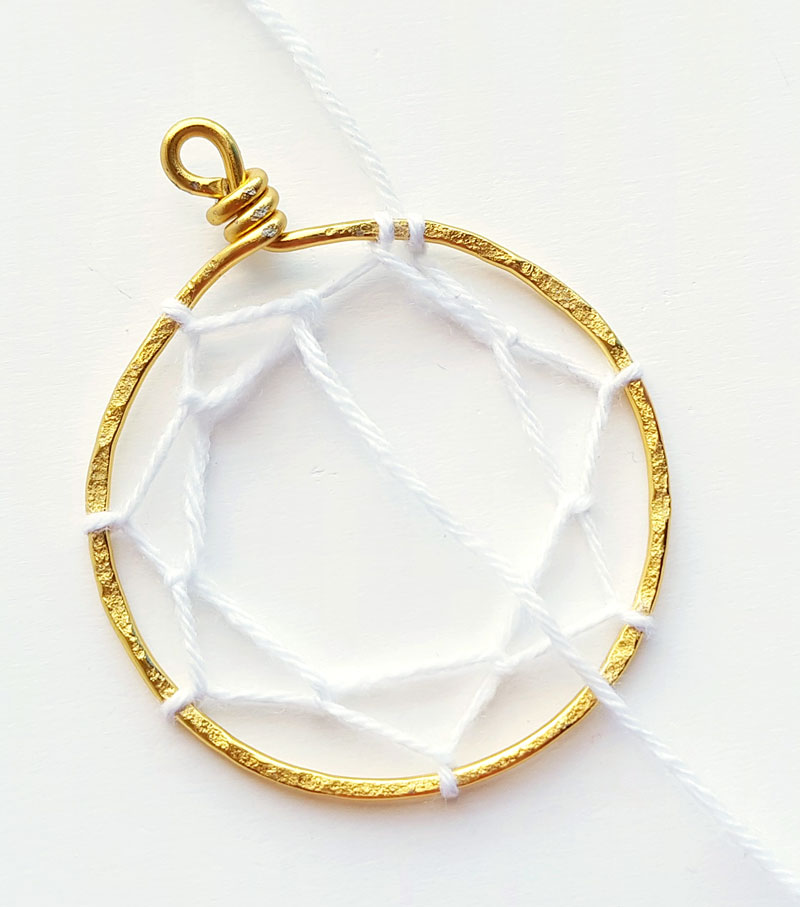
10. Continue to wrap the yarn towards the center until you’re left with a really small hole there. Tie a tight knot and cut off the extra yarn.
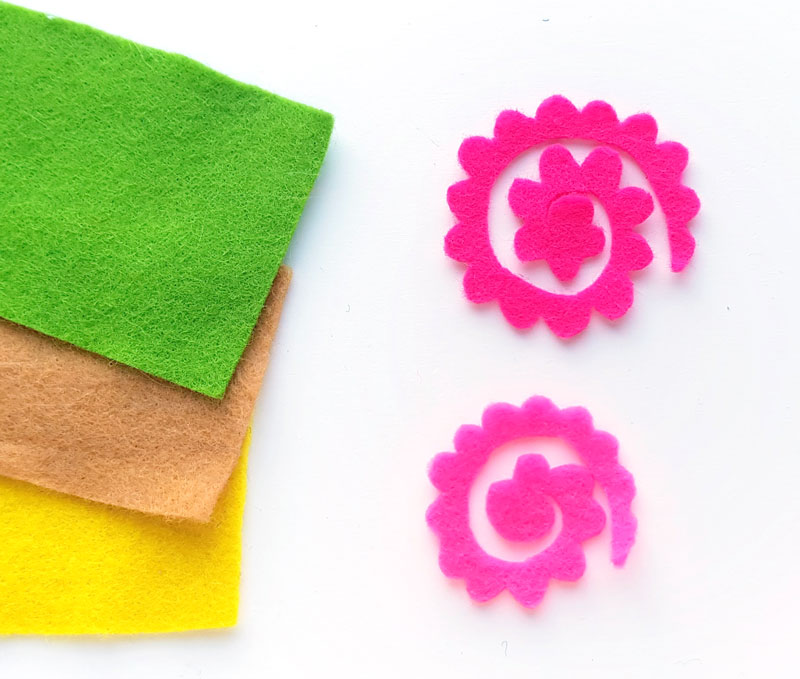
11. Cut out spiral-shaped patterns from your felt scraps. You can keep it plain or create a scallop border on the spiral.
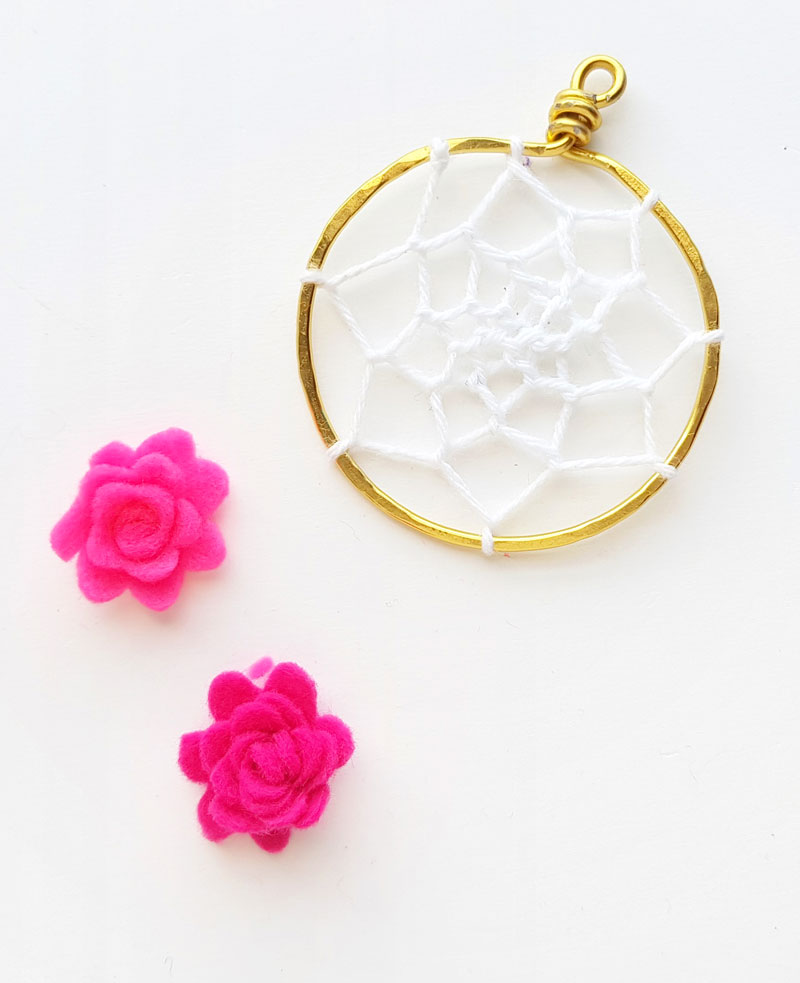
12. Roll the spiral felt from its outer end towards the center. Apply hot glue on the center to secure the roll. Make 2 or 3 of these rolled flowers.
13. Take a craft feather and attach a bead tip or cord end on the hollow shaft of the feather.
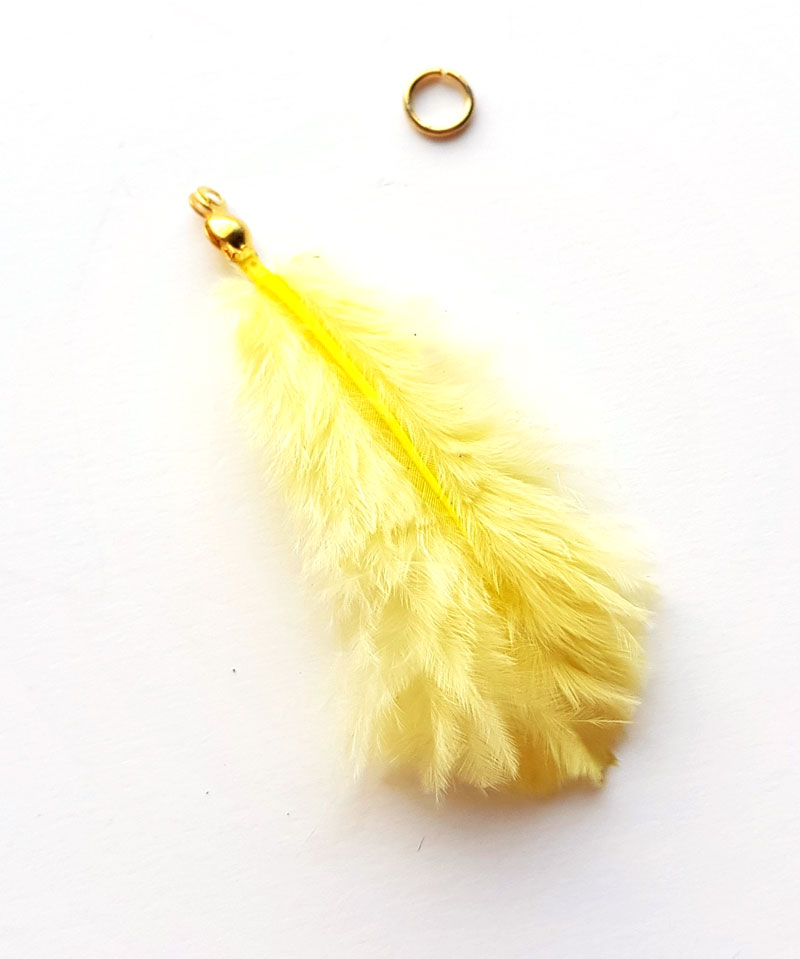
14. Prepare more craft feathers with bead tips. You will need a jump ring to attach each feather to the dream catcher base.
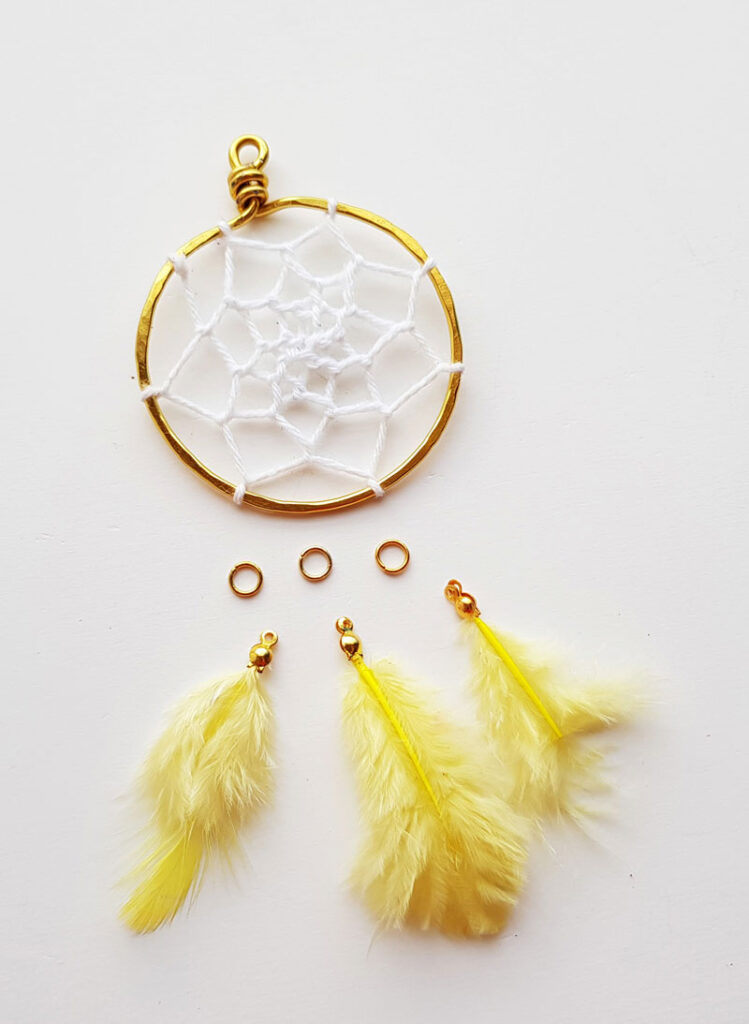
15. Attach the felt flowers and the feathers to the dream catcher.
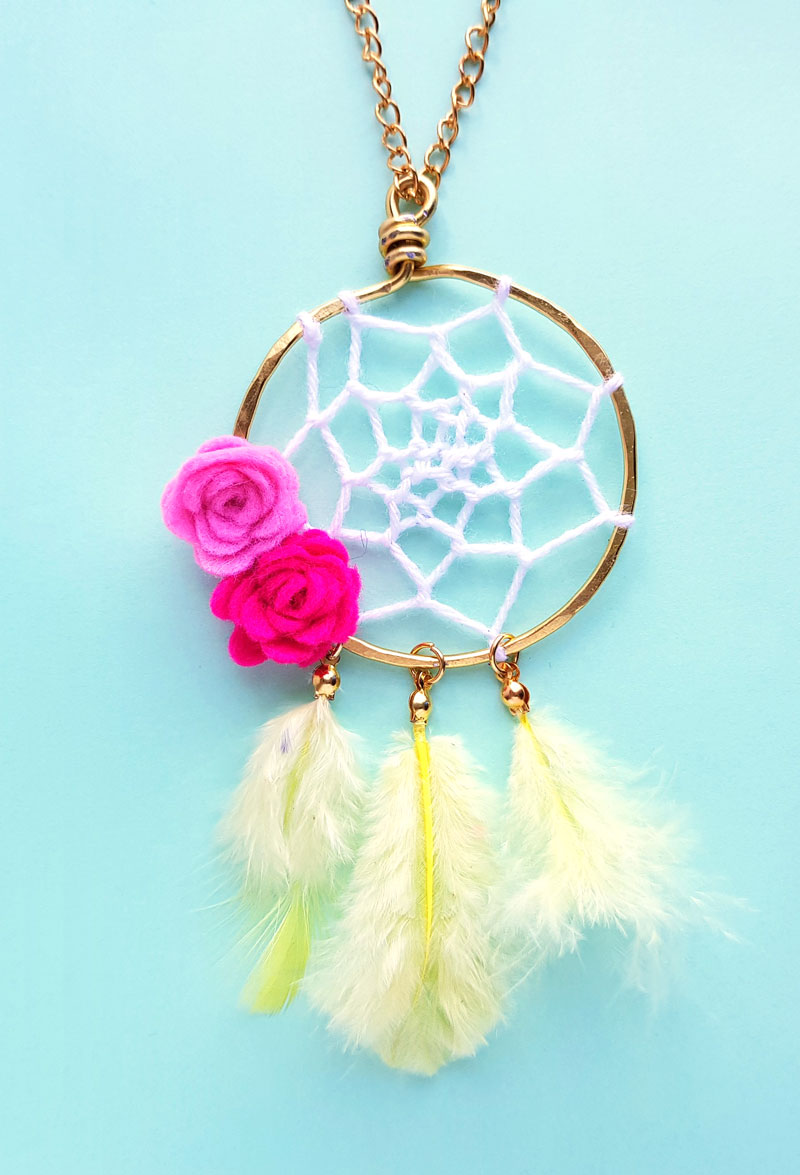
Your dreamcatcher pendant is complete! Now try it another way!
Want more jewelry making ideas? Sign up for updates below and then scroll down for more ideas!
[ad_2]
Source link


